If Elsa had a favorite fruit, I think it would most likely be blueberries. I mean, without officially asking her, wouldn’t you guys guess her favorite color is blue. Even if I haven’t heard her say it, I don’t think she would deny it?
Let’s say there was some rule, where your favorite fruit had to match your favorite color. Sounds like it could be a real thing, right? If so, I’m guessing her favorite fruit would be blueberries. Really though, who doesn’t like blueberries? They are amazing.
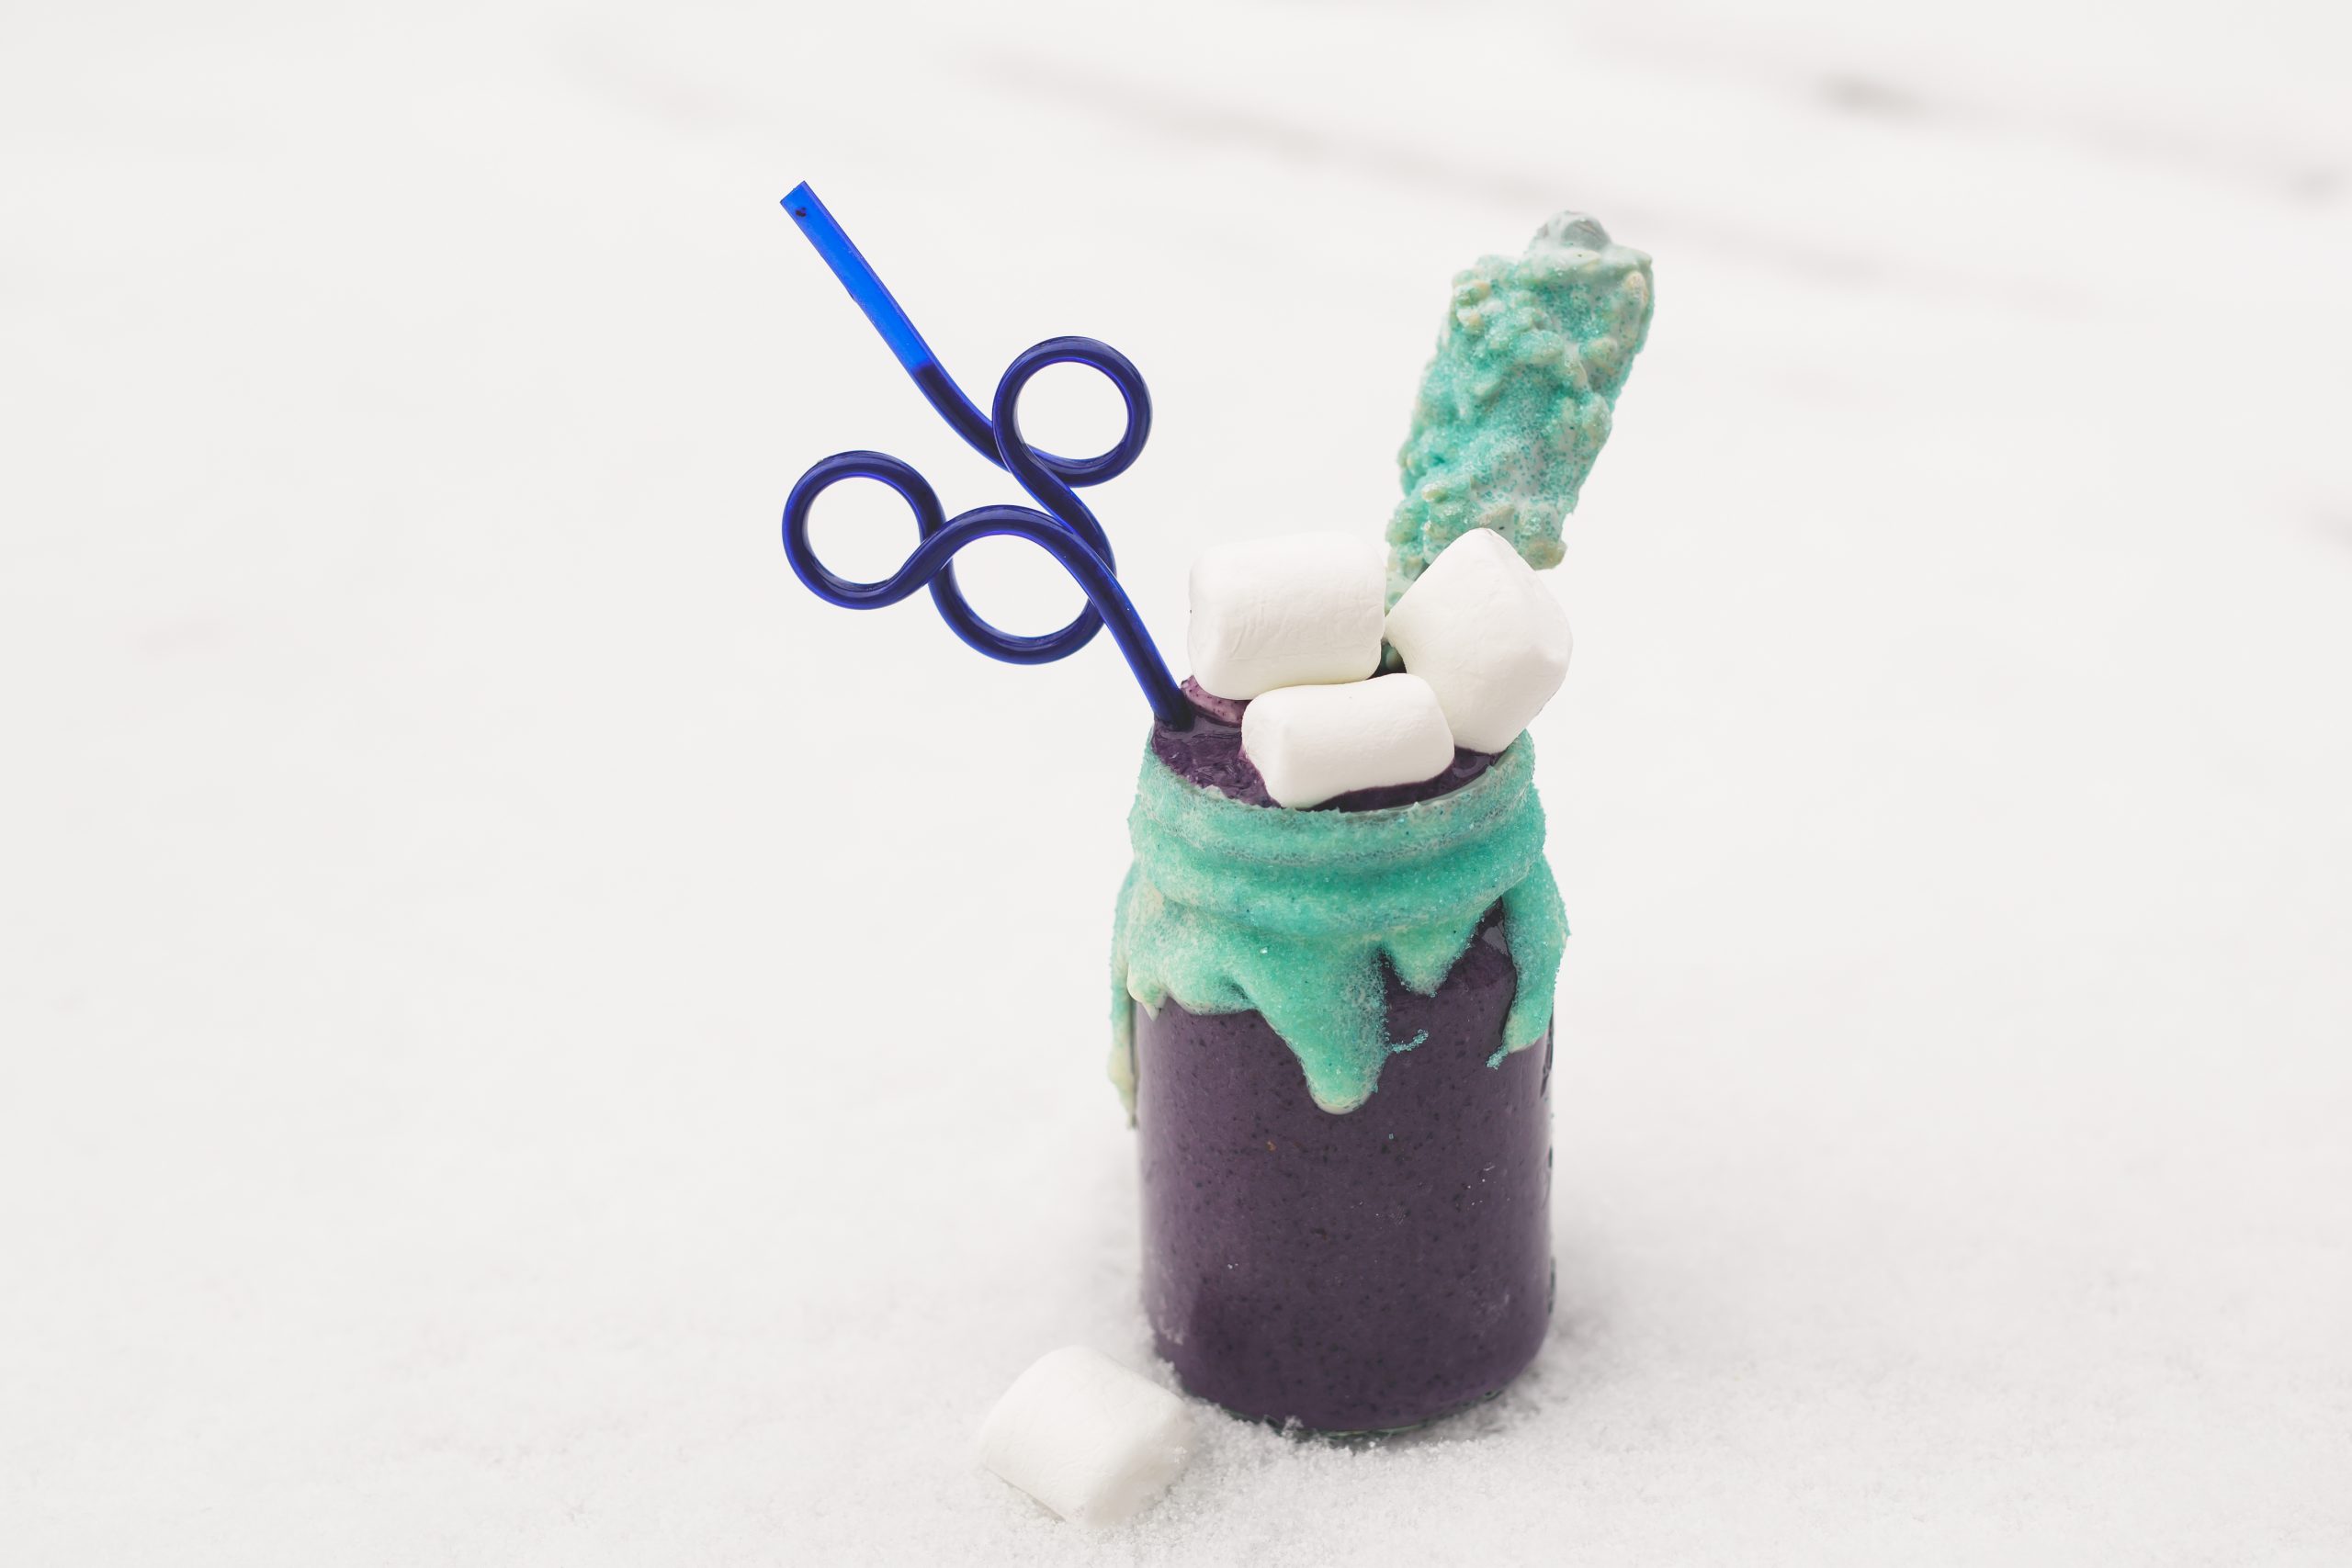
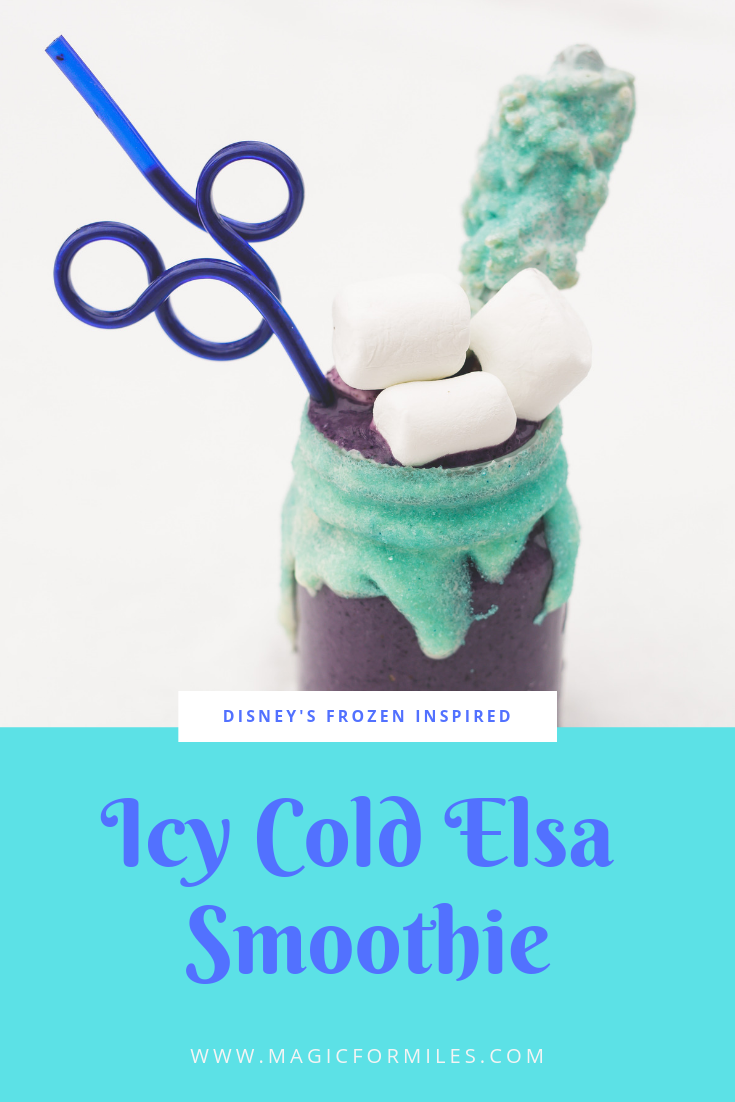
Going on the unofficial fact that Elsa’s favorite color is blue and her favorite fruit has to be blueberries, I’ve created a Disney’s Frozen-Inspired Smoothie featuring both of these things! It’s delicious and healthy! Unless you decide to embellish it a little, like me! I figure things always balance out if you do, so listed a few examples below. Without further ado, let’s dive into making Disney’s Frozen-Inspired Icy Cold Smoothie!
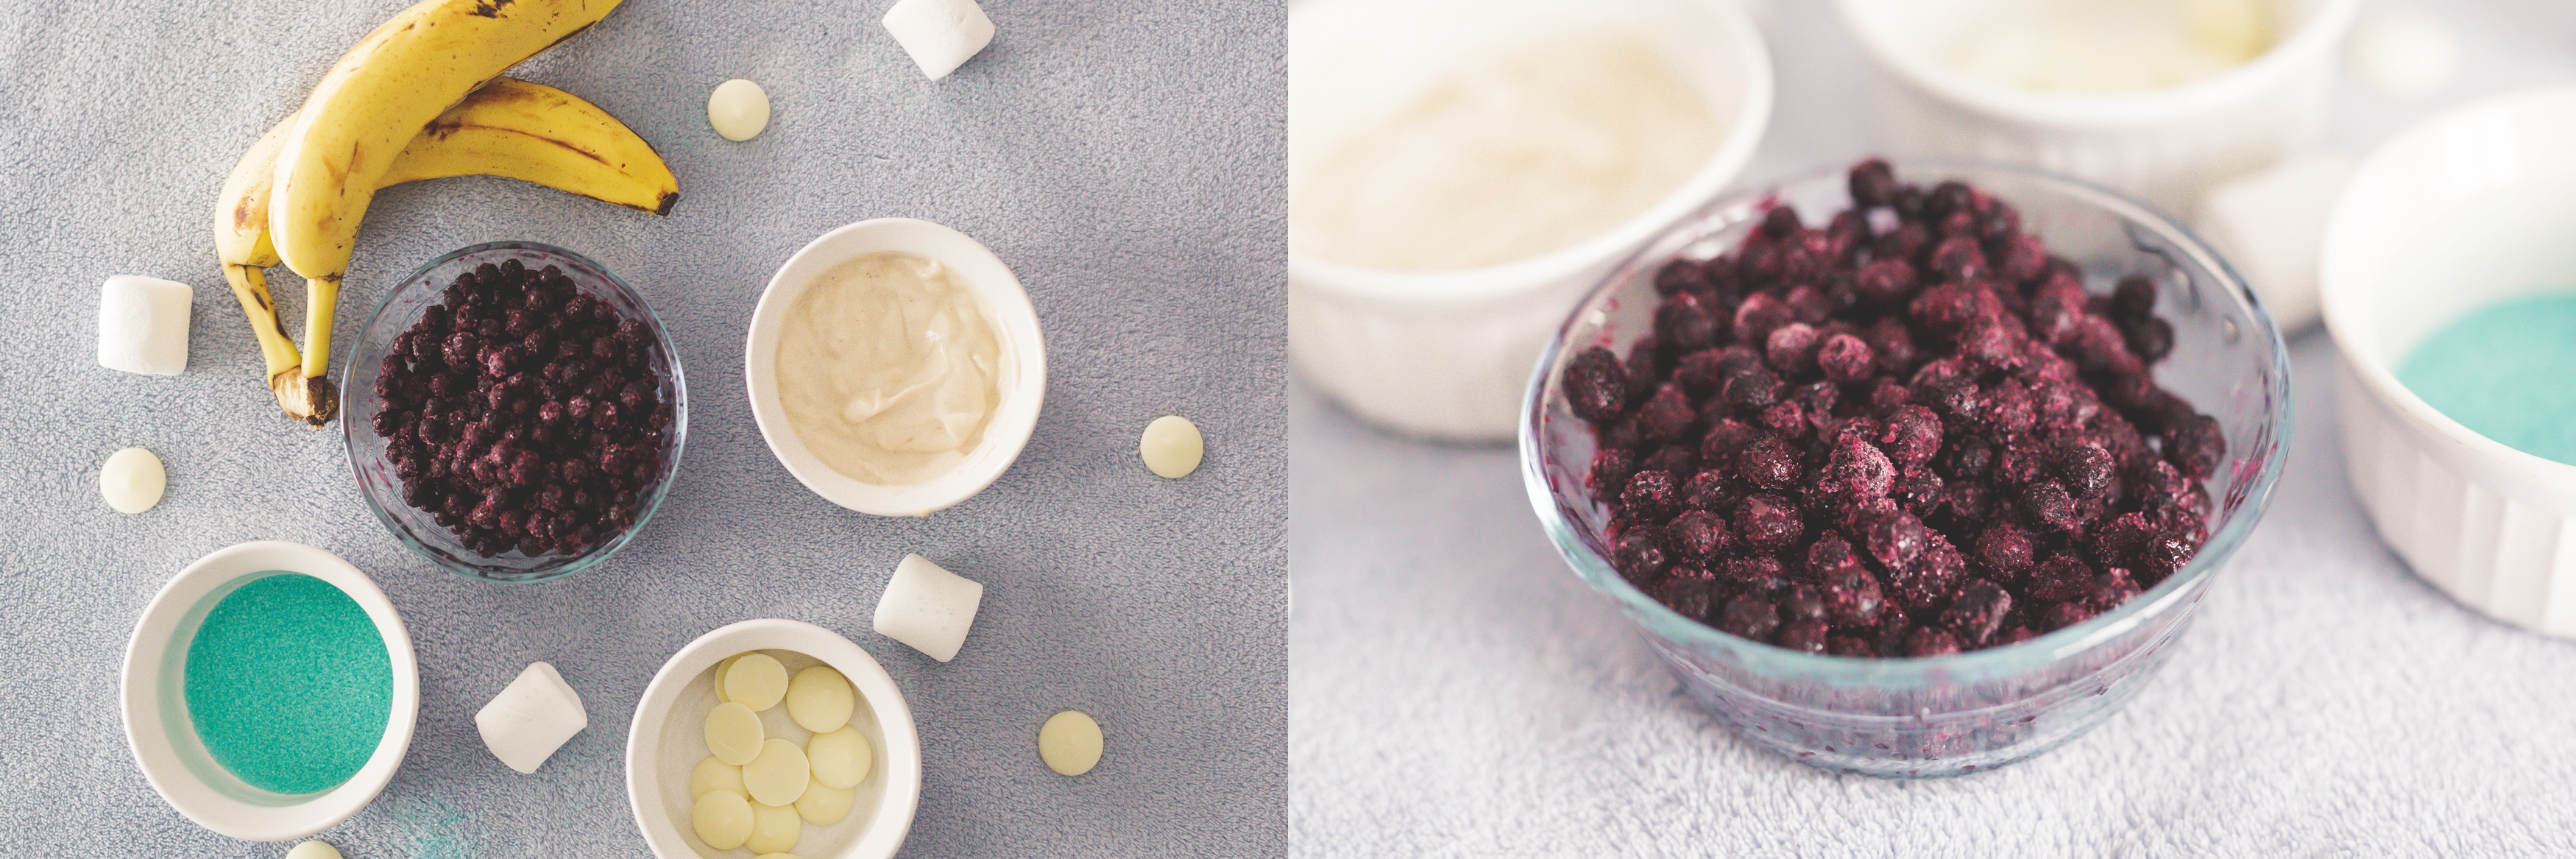
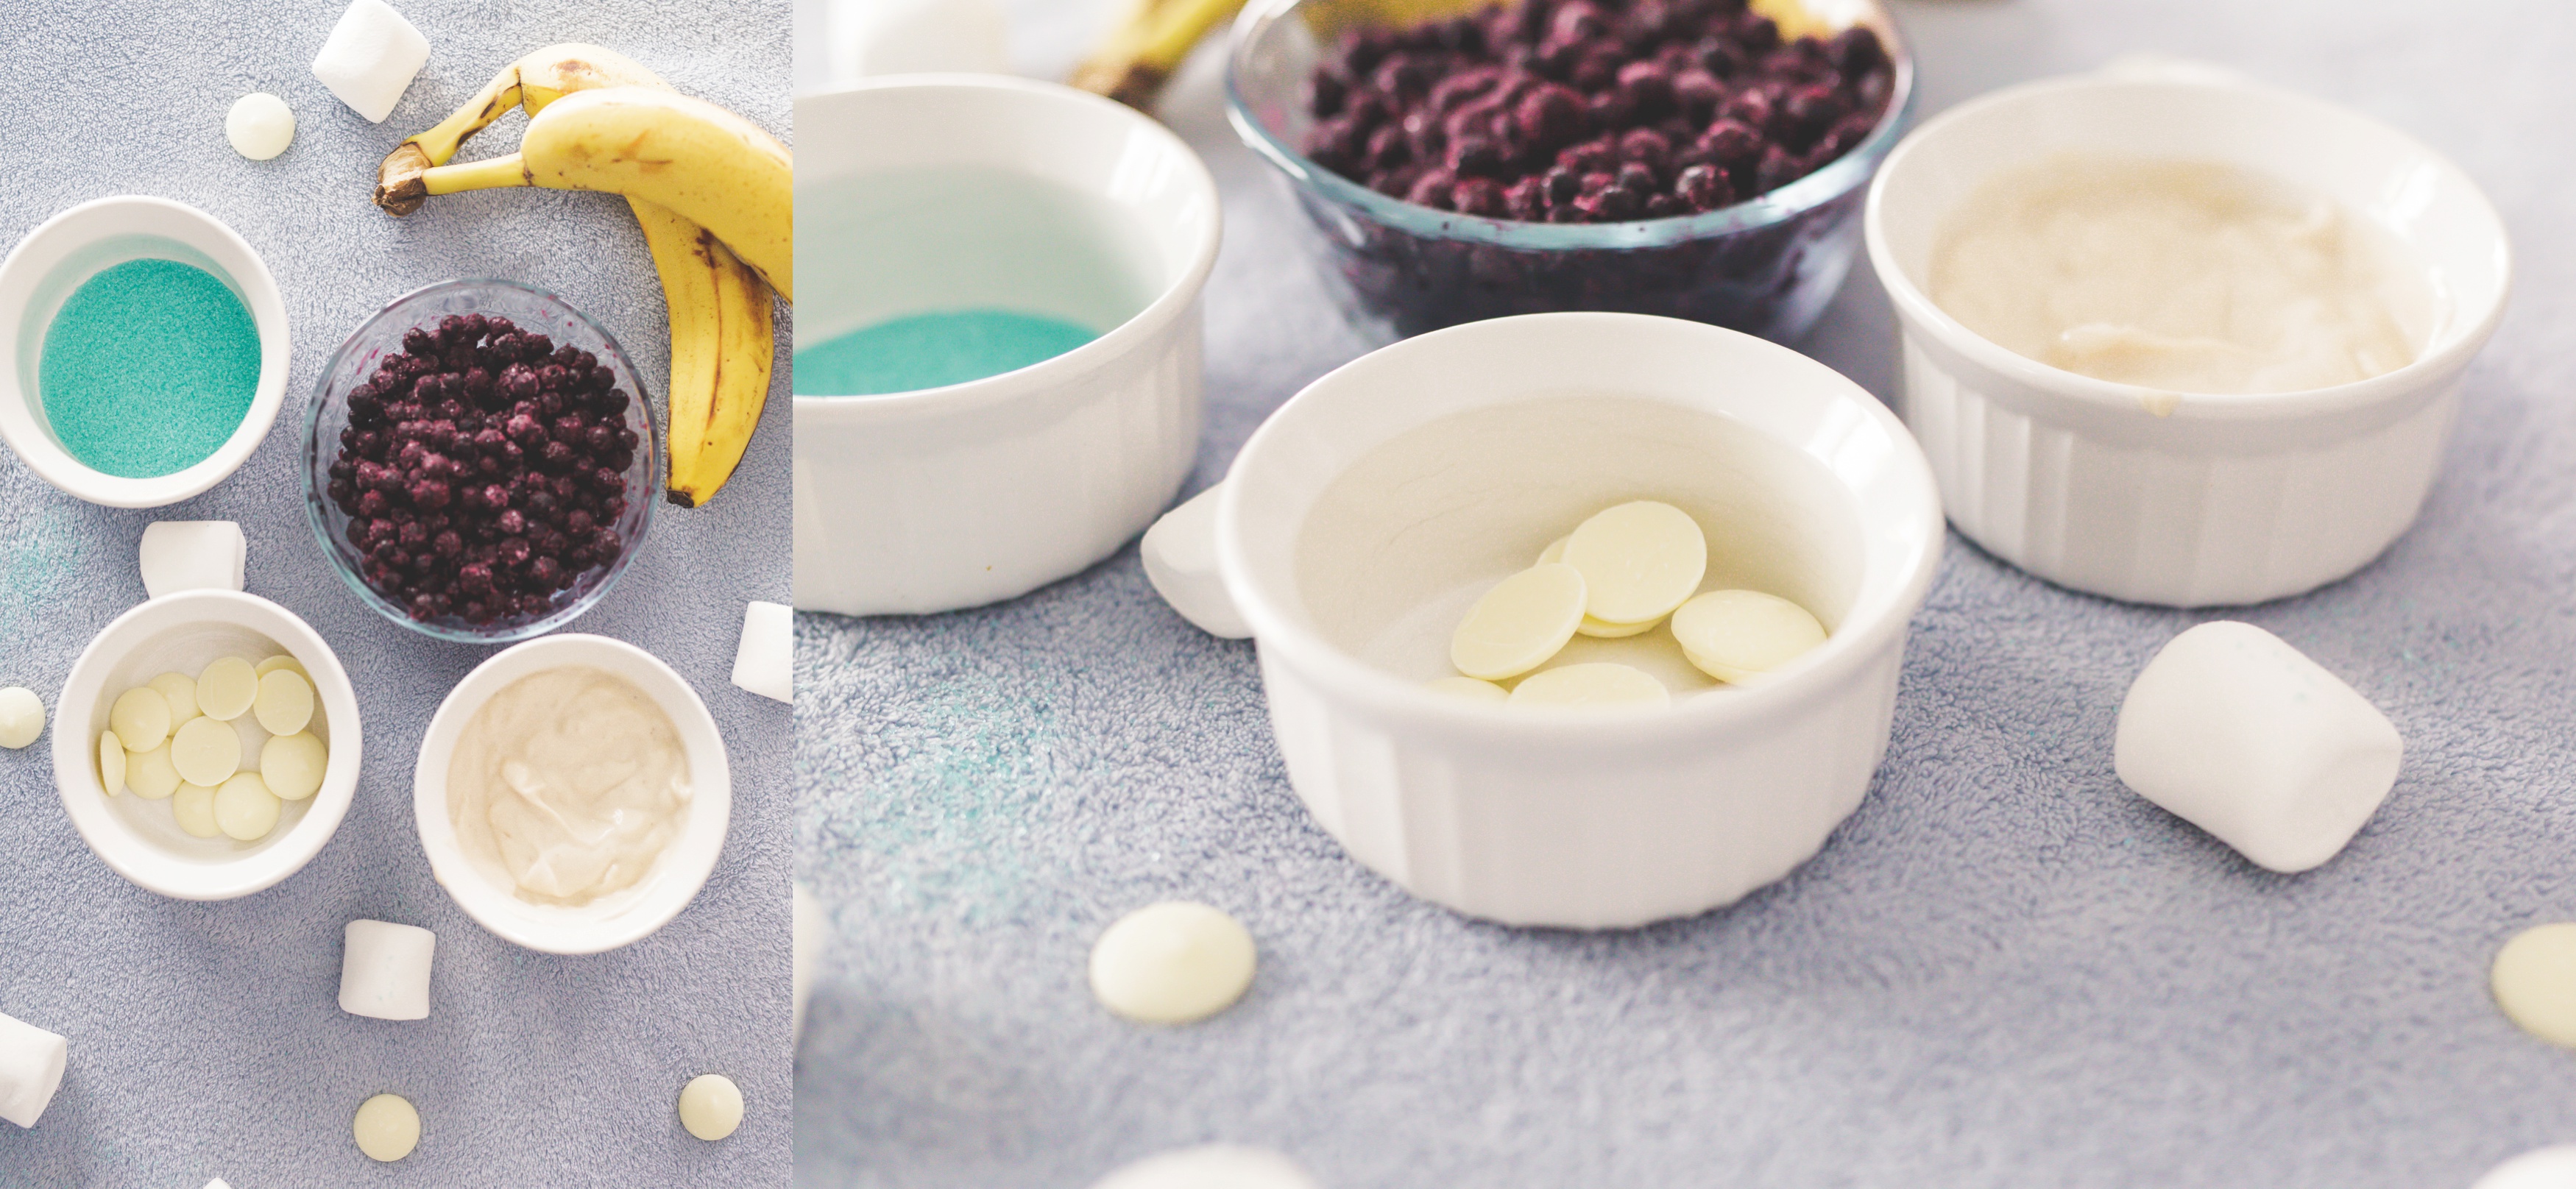
Supplies
2 Frozen Bananas (Sub regular bananas and a handful of ice cubes if you don’t have frozen bananas.)
1/2 Cup Blueberries (Frozen or Regular)
Vanilla Yogurt (We like Silk Vanilla yogurt)
Milk (We like Silk Almond Milk)
Embellishments: White Melting Chocolate, Teal Sanding Sugar, Marshmallows, Frozen Fractals
Step 1:
If you’ve been following along and have seen the other posts to celebrate ‘Frozen’ week, you probably can guess my first step already. Turn on the Frozen soundtrack! It sets the mood for any Frozen project or food!
Step 2:
Gather up all your supplies! The embellishments are options and not necessary for completion of this recipe. They do, however, just make it more fun! Possibly, tastier as well!
Step 3:
Add the bananas, blueberries, vanilla yogurt and (optional) ice cubes to the blender. Cover your ingredients with almond milk and blend away! Now, as you’re probably guessing, your smoothie is going to turn purple. I know we already established above that Elsa’s favorite color is most likely blue, but I think she’d jive with this deep purple. Besides, purple is the color of royalty, especially deep purple!
One last thing, before moving onto the next step, don’t pour your smoothie into the (preferably microwave safe) glass you are drinking out of if you plan to decorate it! Let it chill in the blender for a few more minutes.
Step 4:
If you aren’t adding any of the embellishments, your smoothie is complete! Your last step is to enjoy! If you are, continue onto step 5!
Step 5:
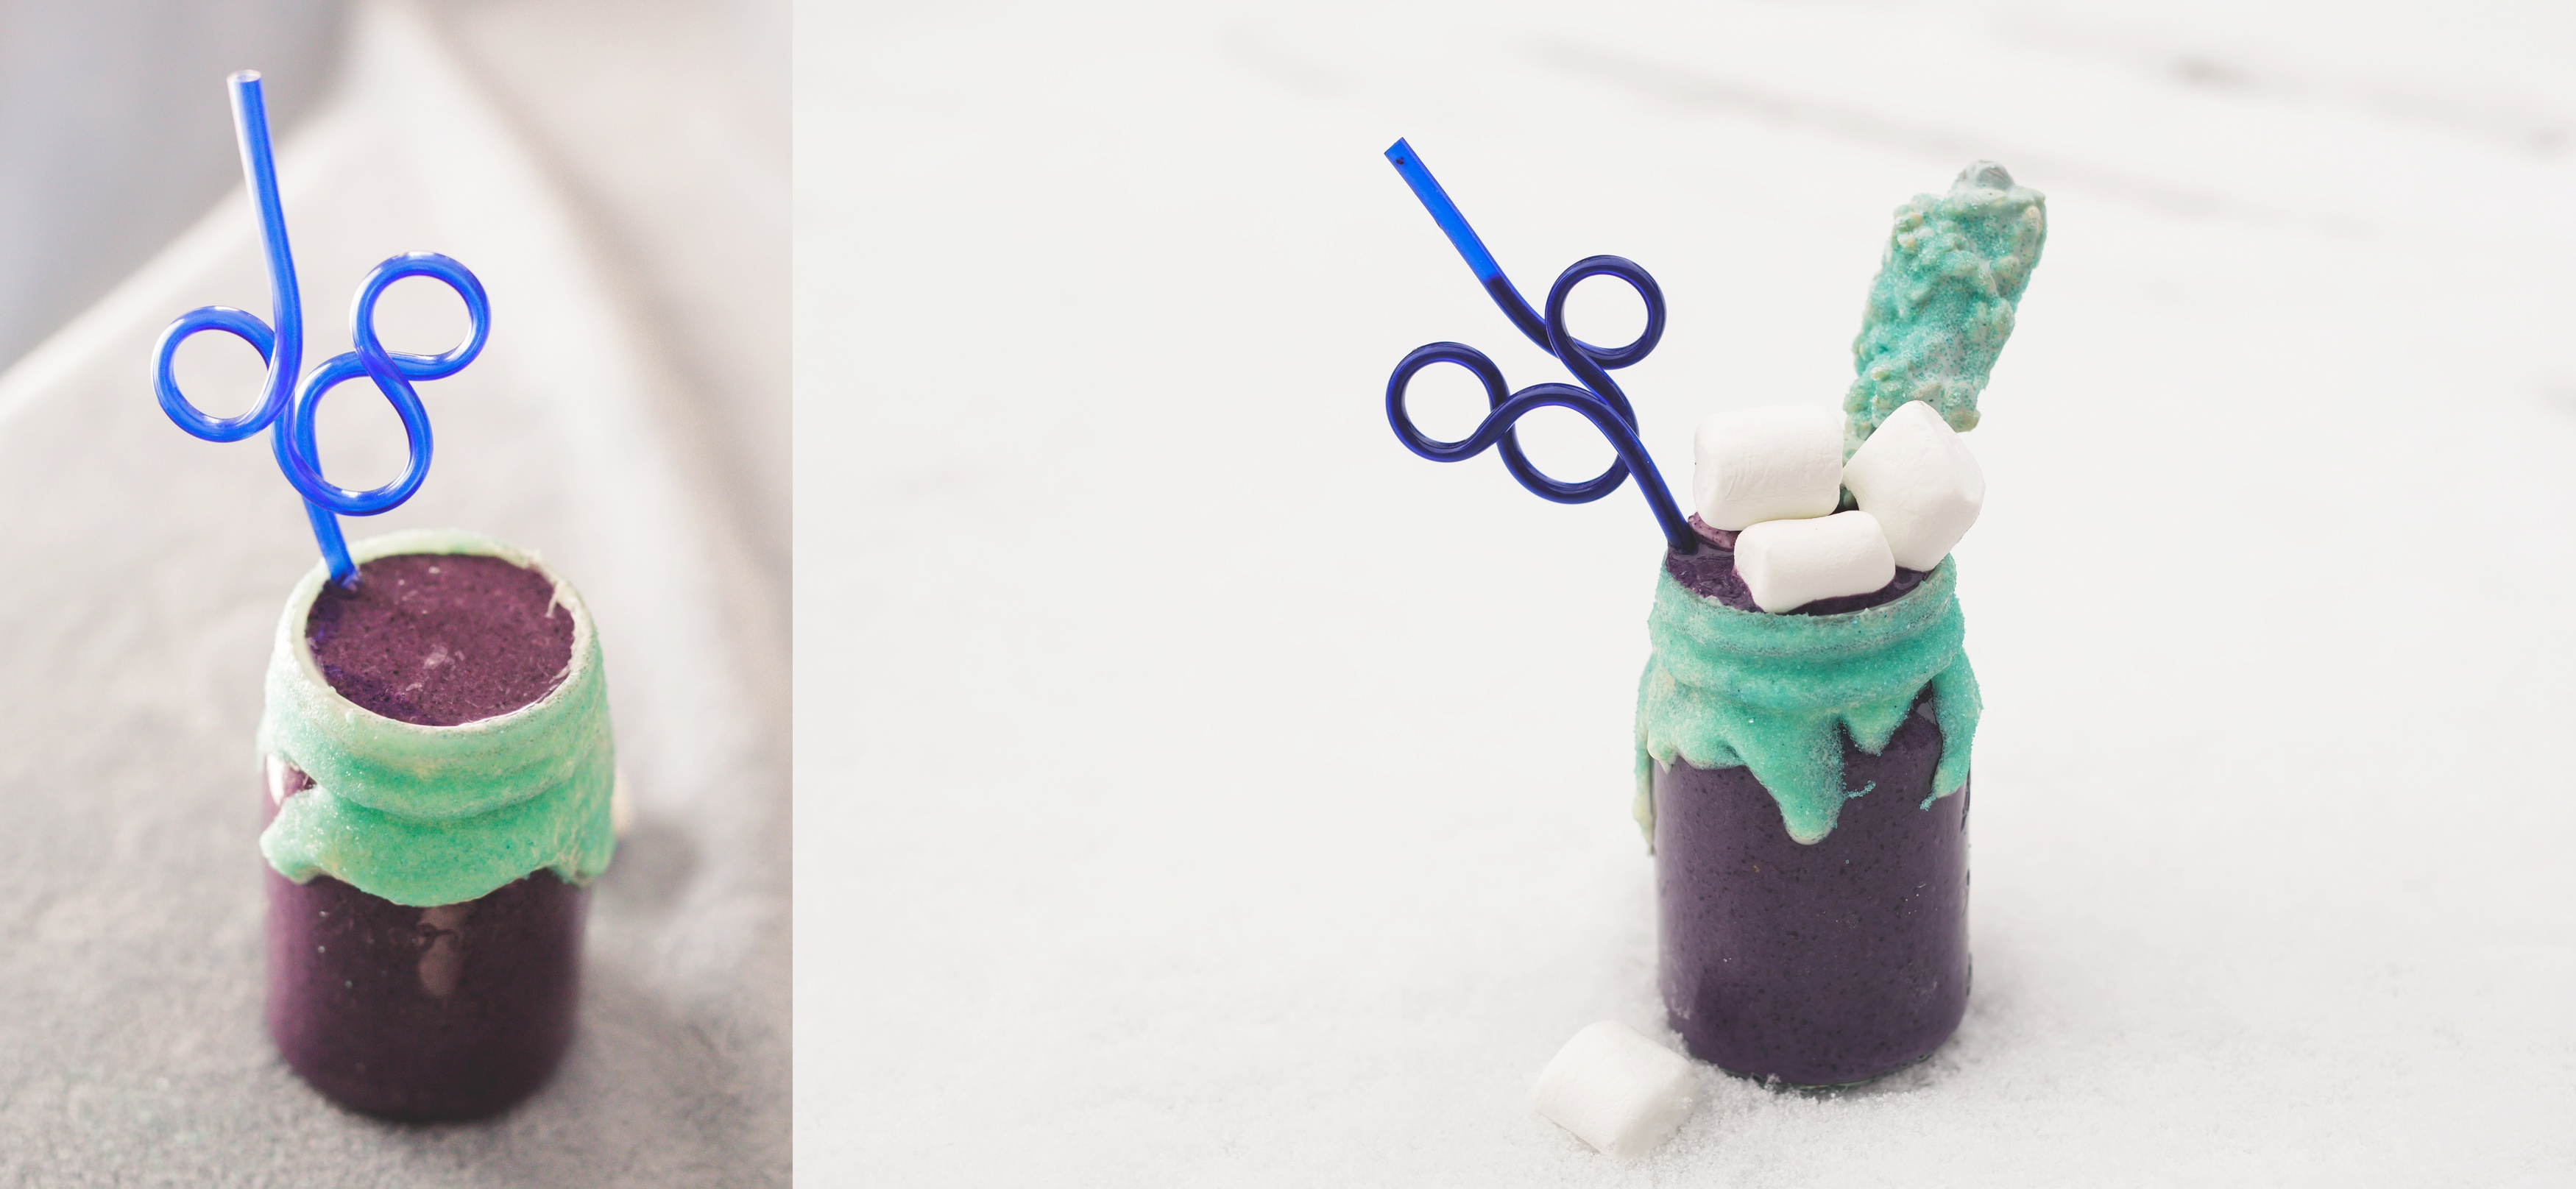
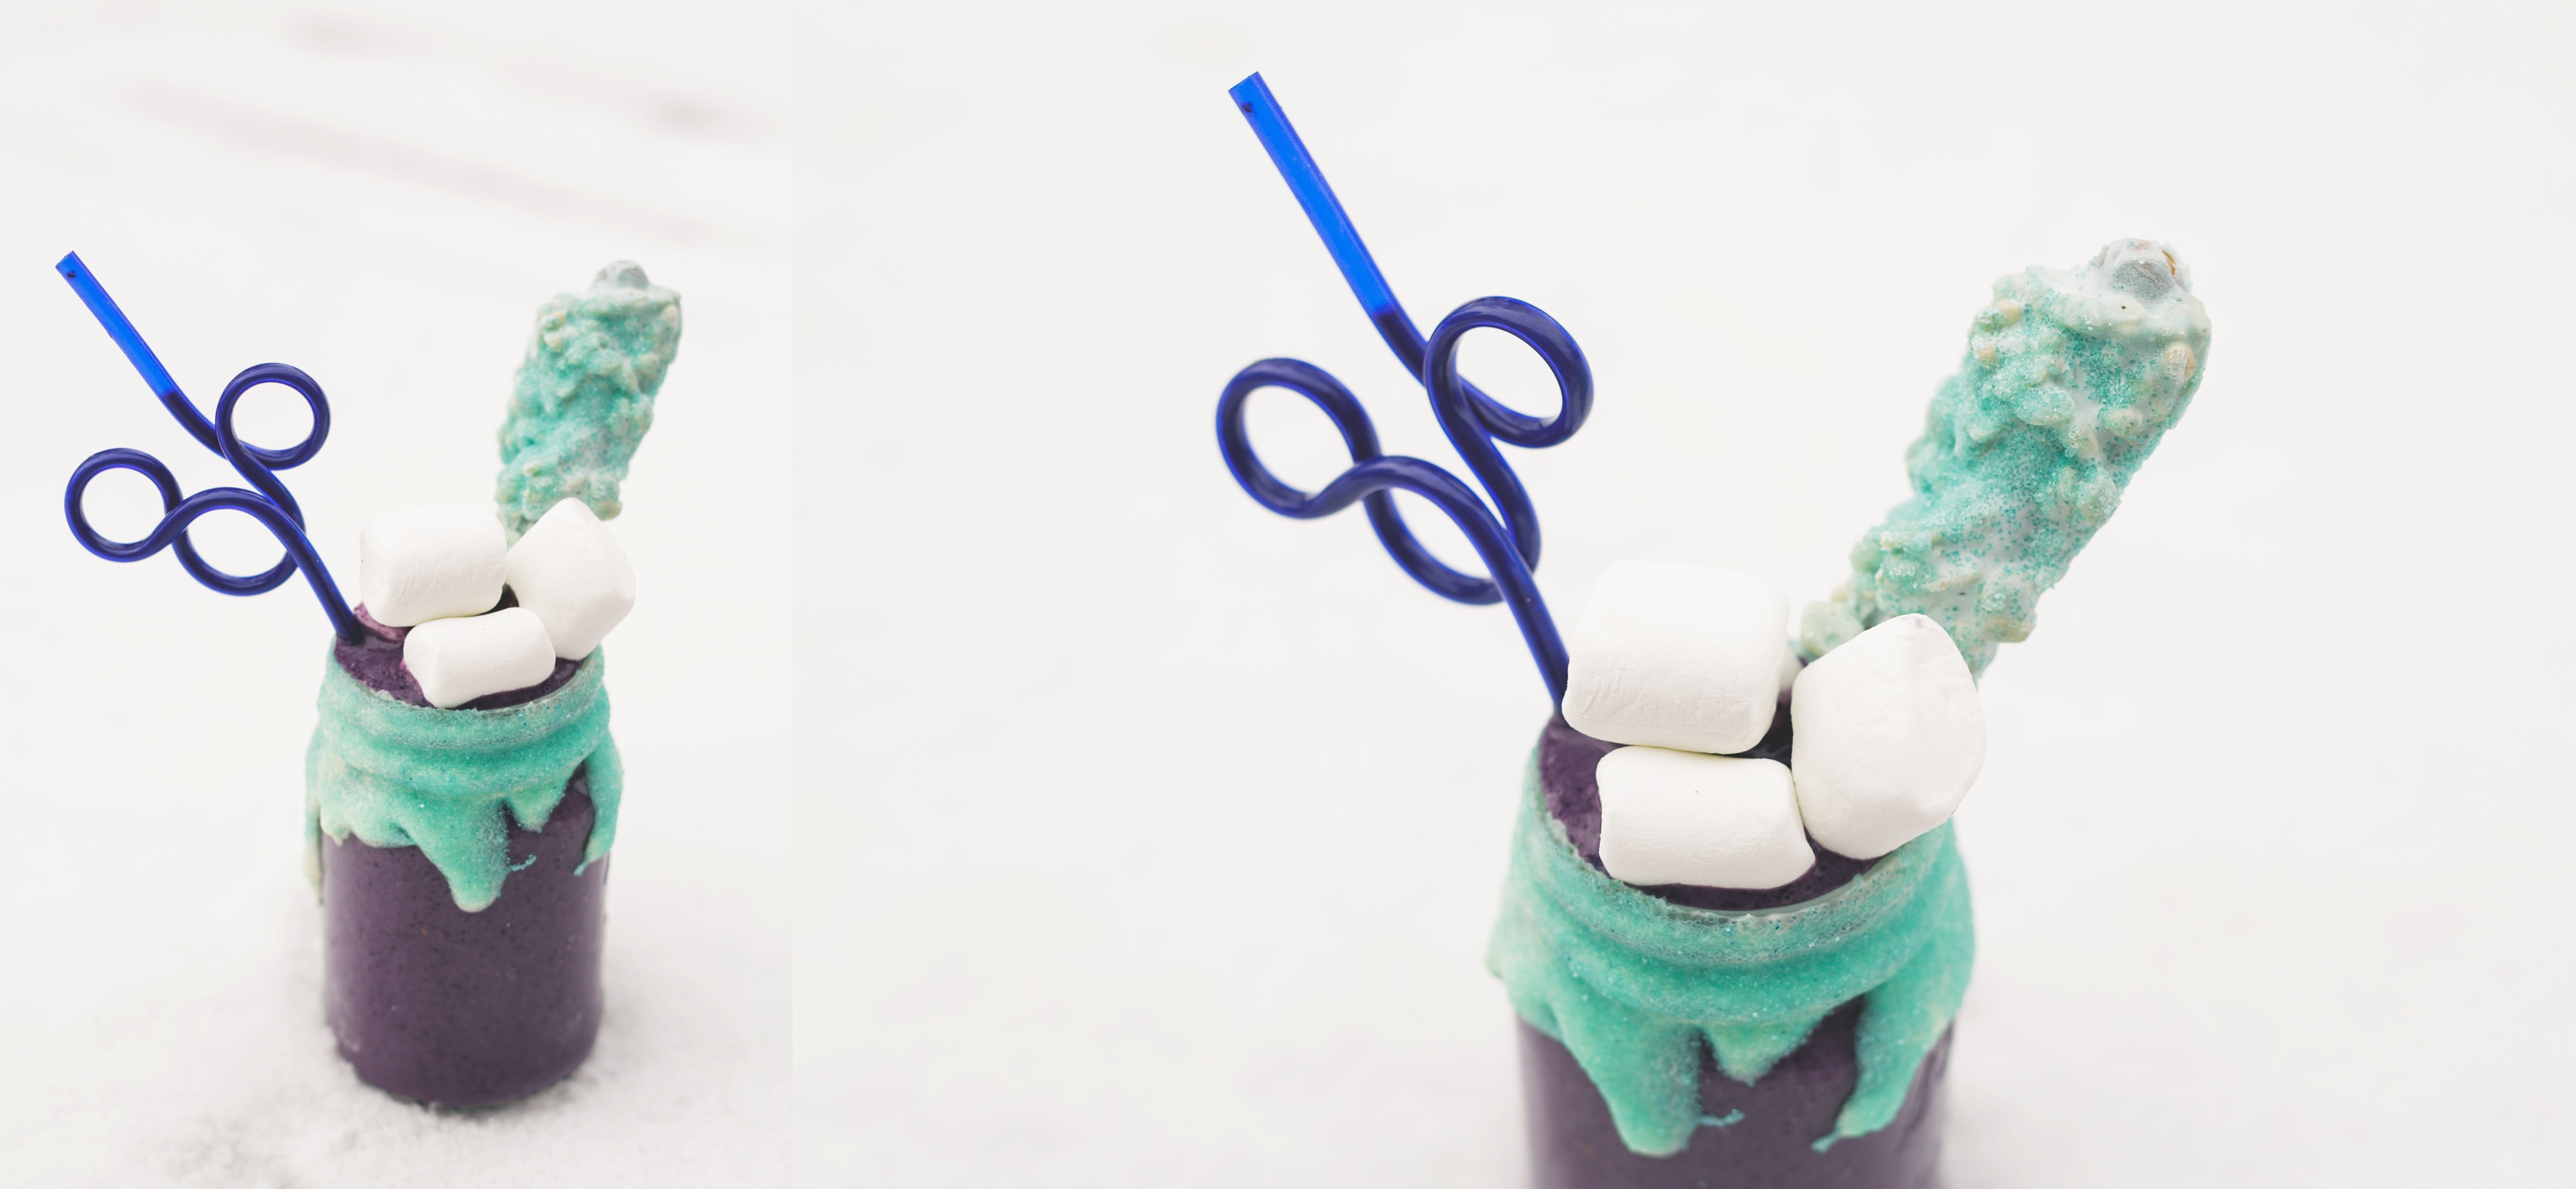
Let’s start with the white chocolate. Go ahead and put the white chocolate in a microwave safe bowl and pop it into the microwave. In 30 second increments, melt the chocolate down. Make sure to give it a stir after every increment and keep a close eye on things so it doesn’t burn! Once melted, take your empty smoothie glass and dip it into the white chocolate. I found that after dipping I needed to take a spoon to make sure the chocolate was able to cover the entire rim. A little extra chocolate made it onto the sides, but it felt more like ‘snow’ to me so I went with it. Add some teal sanding sugar to create an ‘icy’ affect to the rim.
Step 6:
Once the chocolate has cooled and hardened, pour in your smoothie. At this point you can top your smoothie with whipped cream. We like to change things up and added marshmallows to our smoothies this time. Pop a ‘Frozen Fractal‘ in the glass, add a Mickey straw, and, viola, you have a Disney’s Frozen-Inspired Icy Cold smoothie! While it’s not the same straw pictured, you can get a bunch of Mickey shaped straws here that are super cute!
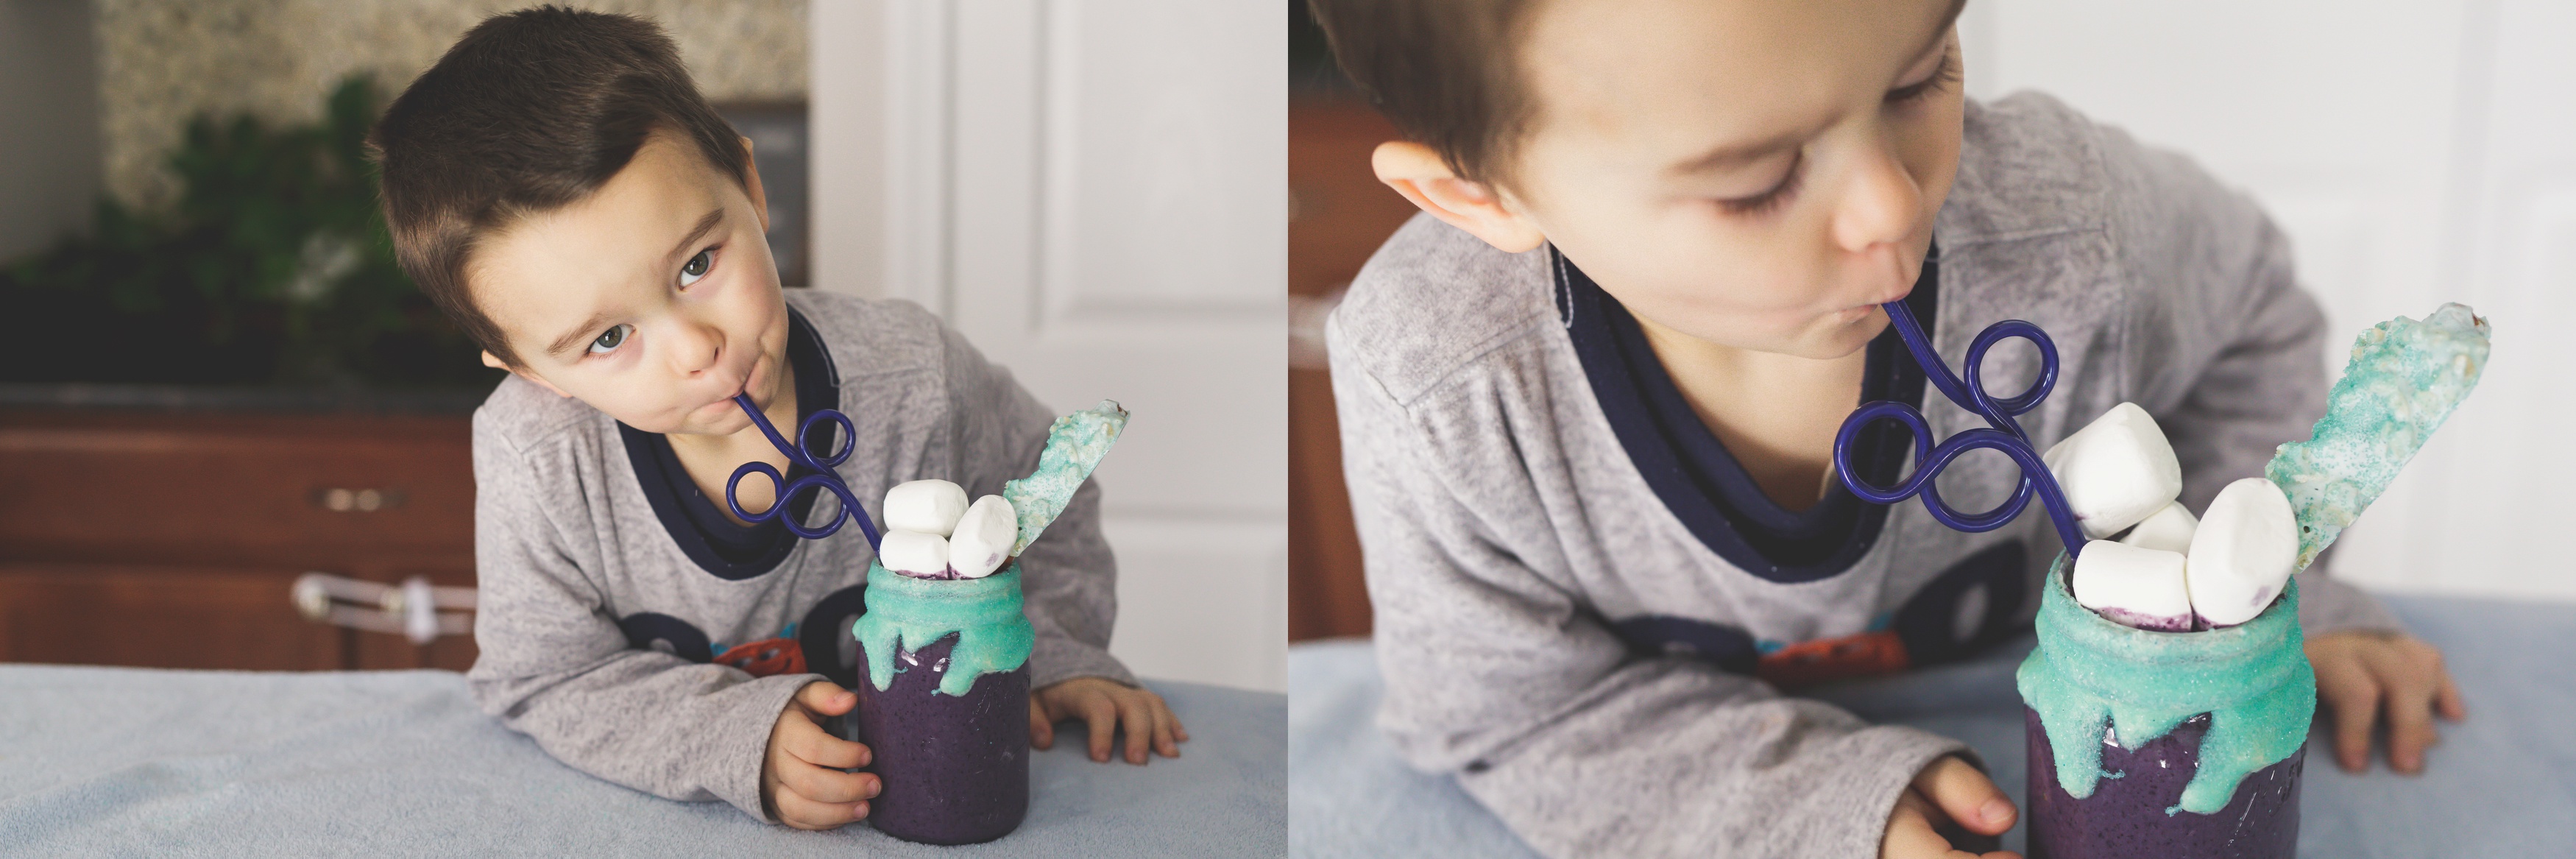
This Disney’s Frozen-Inspired Icy Cold Smoothie was approved by my preschooler and toddler! Plus, we all think Elsa would approve as well!
Pro-Tip
Did you go ahead and do the melted chocolate on the side of your glass? Are you having problems cleaning it off? If so, take a bowl and place your (hopefully microwave safe, as mentioned above) glass in the bowl and in the microwave. Set the microwave for 30 seconds and watch the chocolate melt right off! If 30 seconds isn’t enough, give it another 15-20 seconds. You should be able to take your glass container and run it under hot water and remove any stuck, stubborn spots. Might be a little extra work, but it’s such a cool effect on the glass! We think it is worth it!
Be Sure to Pin the Above Image and Follow-Me on Facebook, Instagram, Twitter, and Pinterest: @magicformiles

