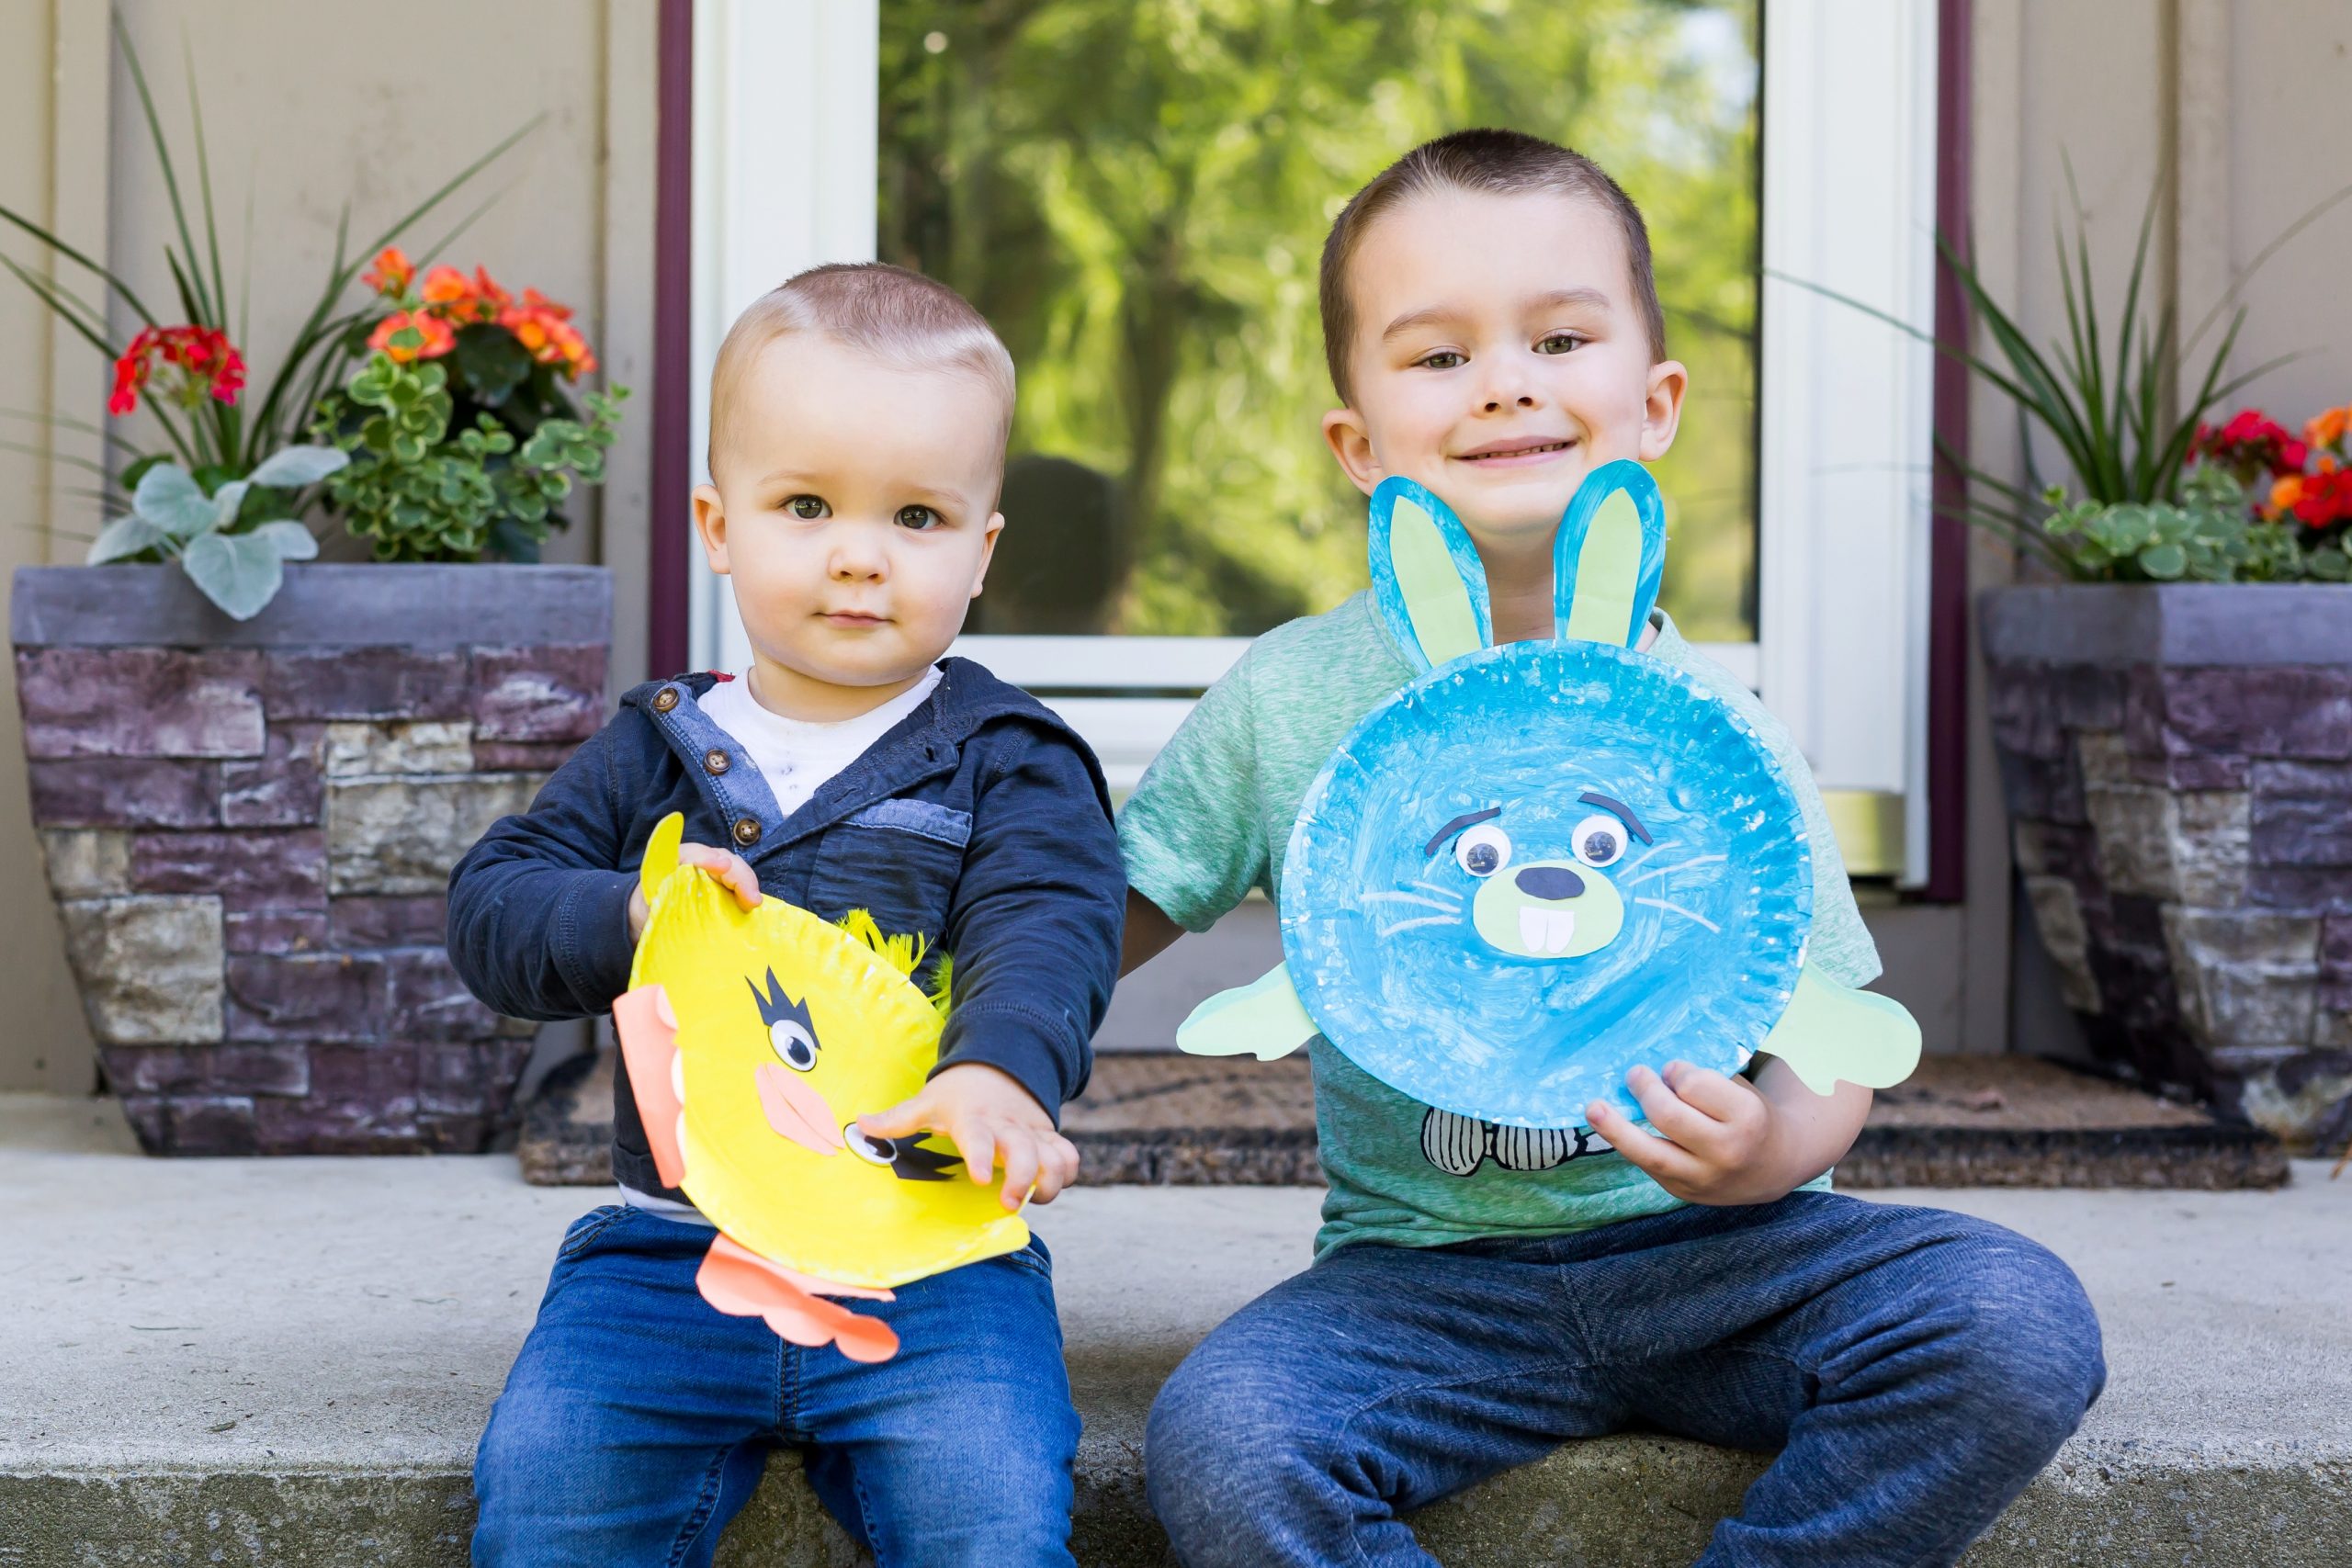
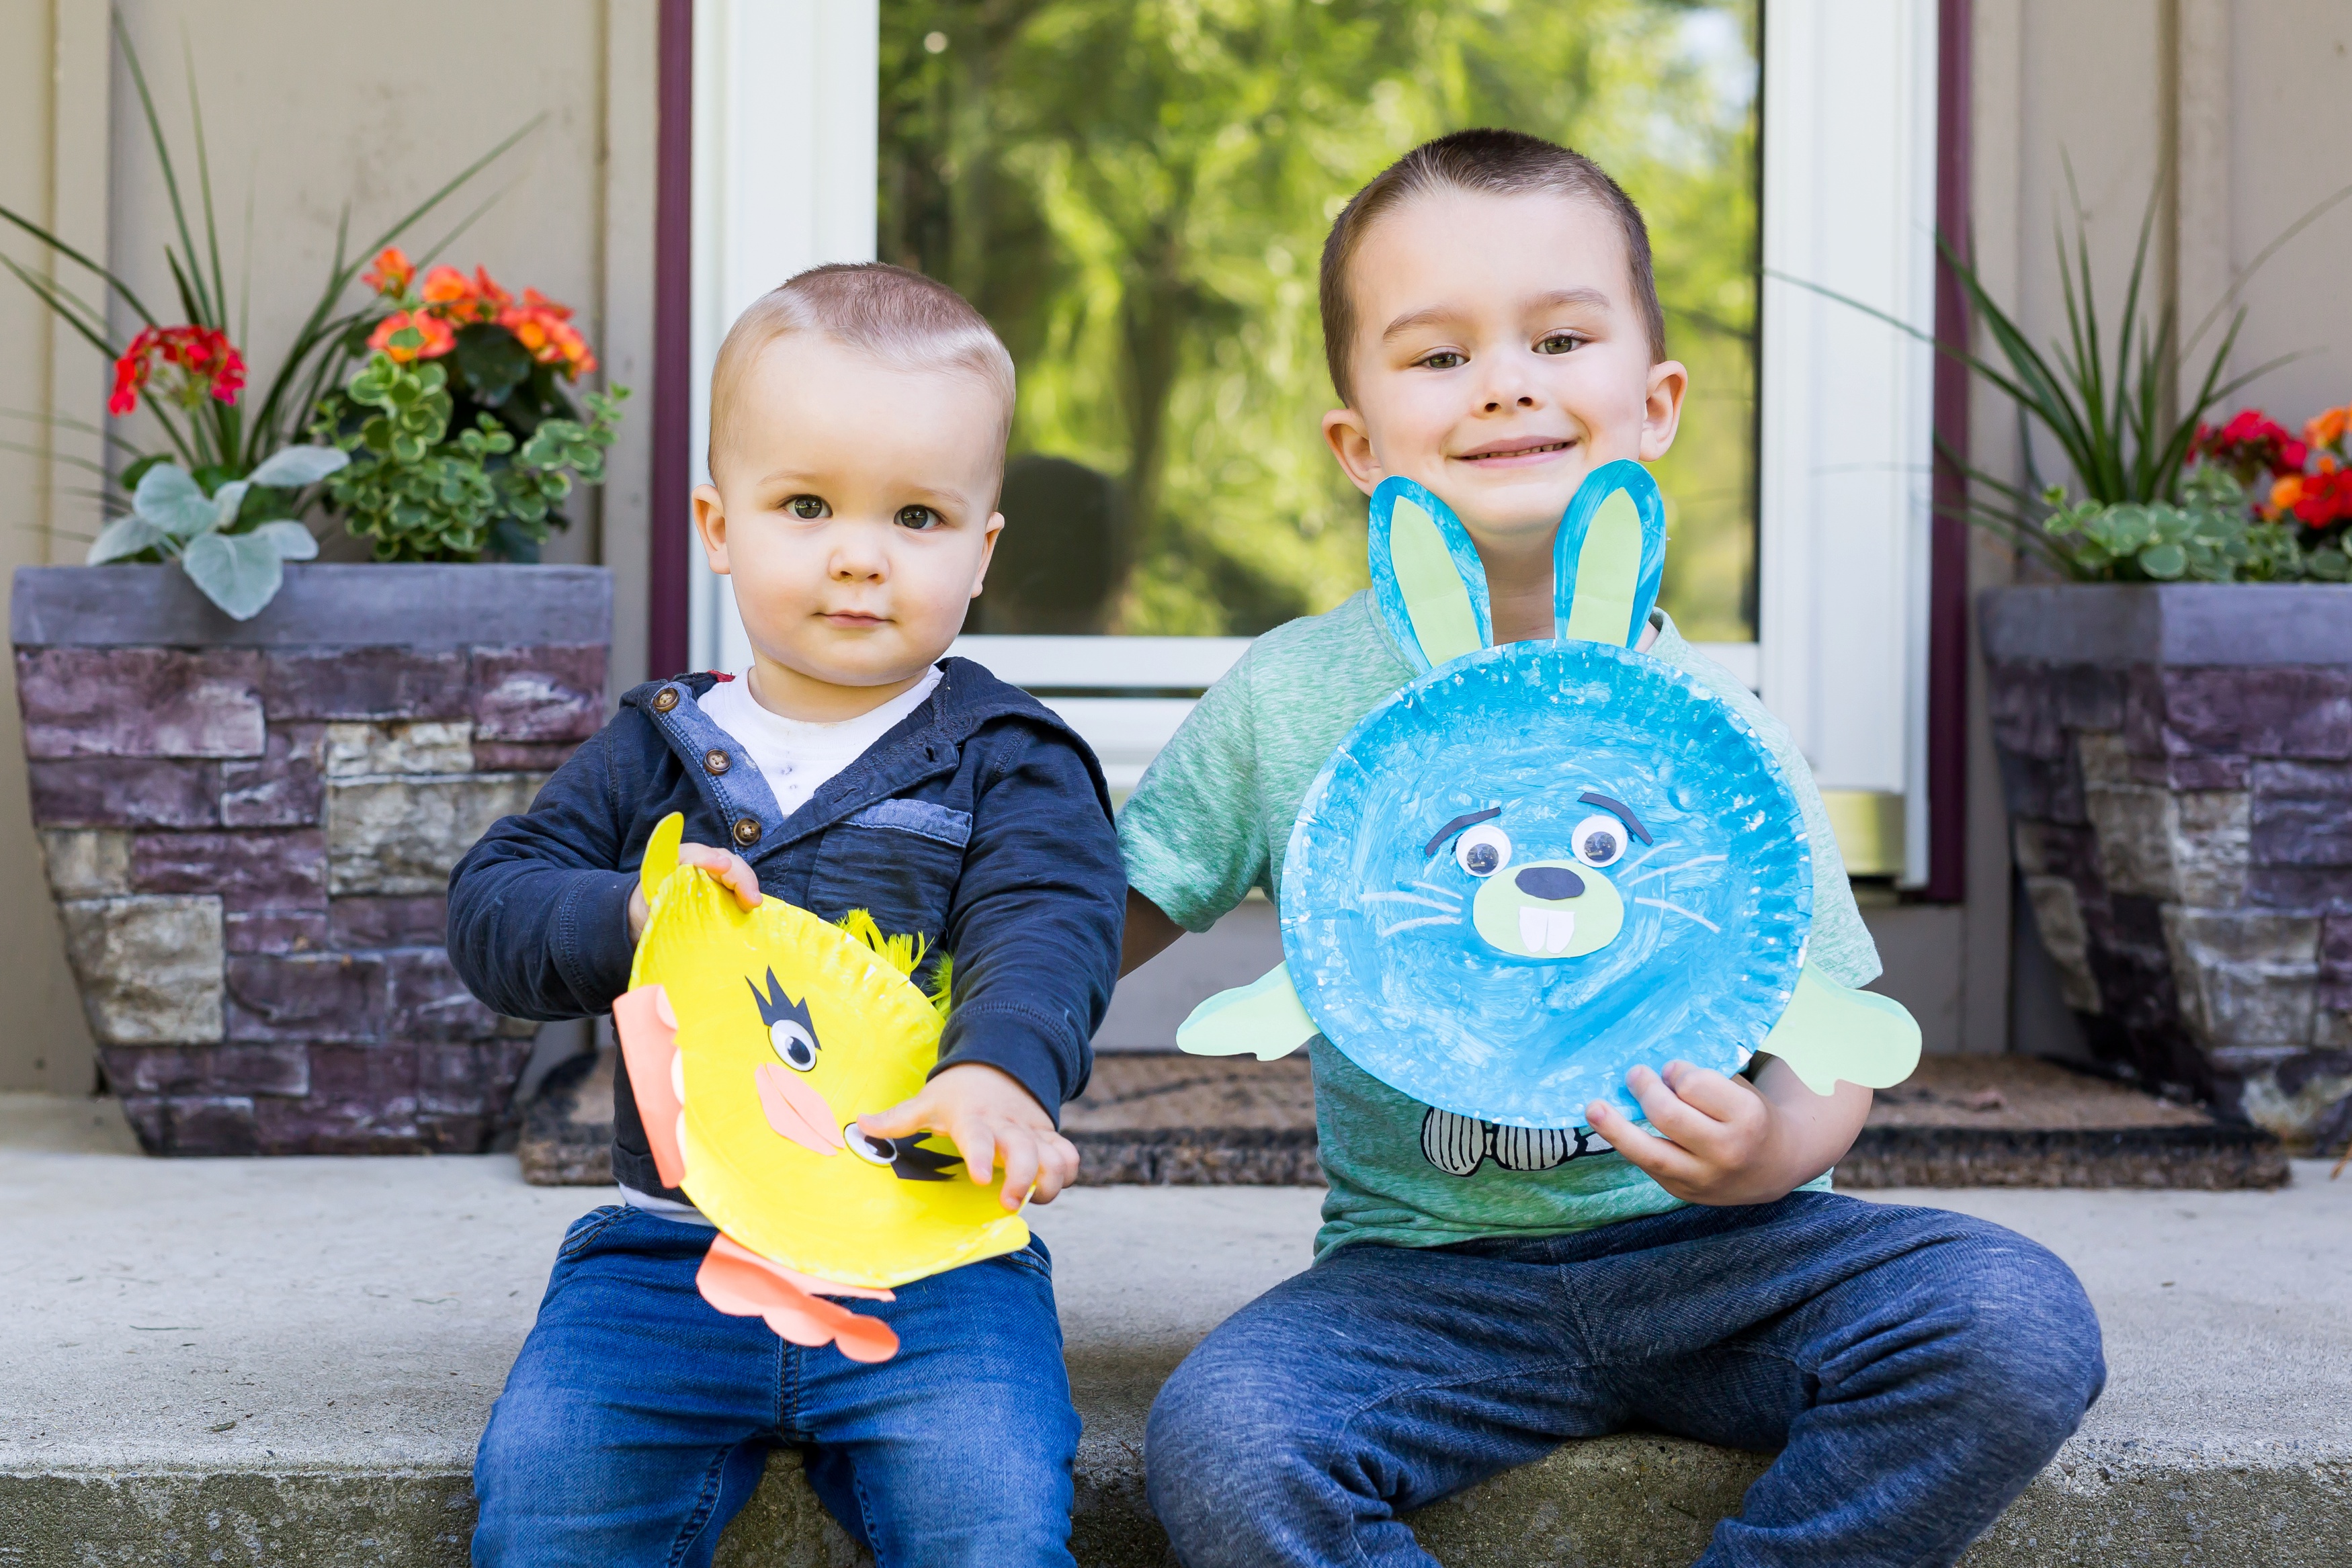
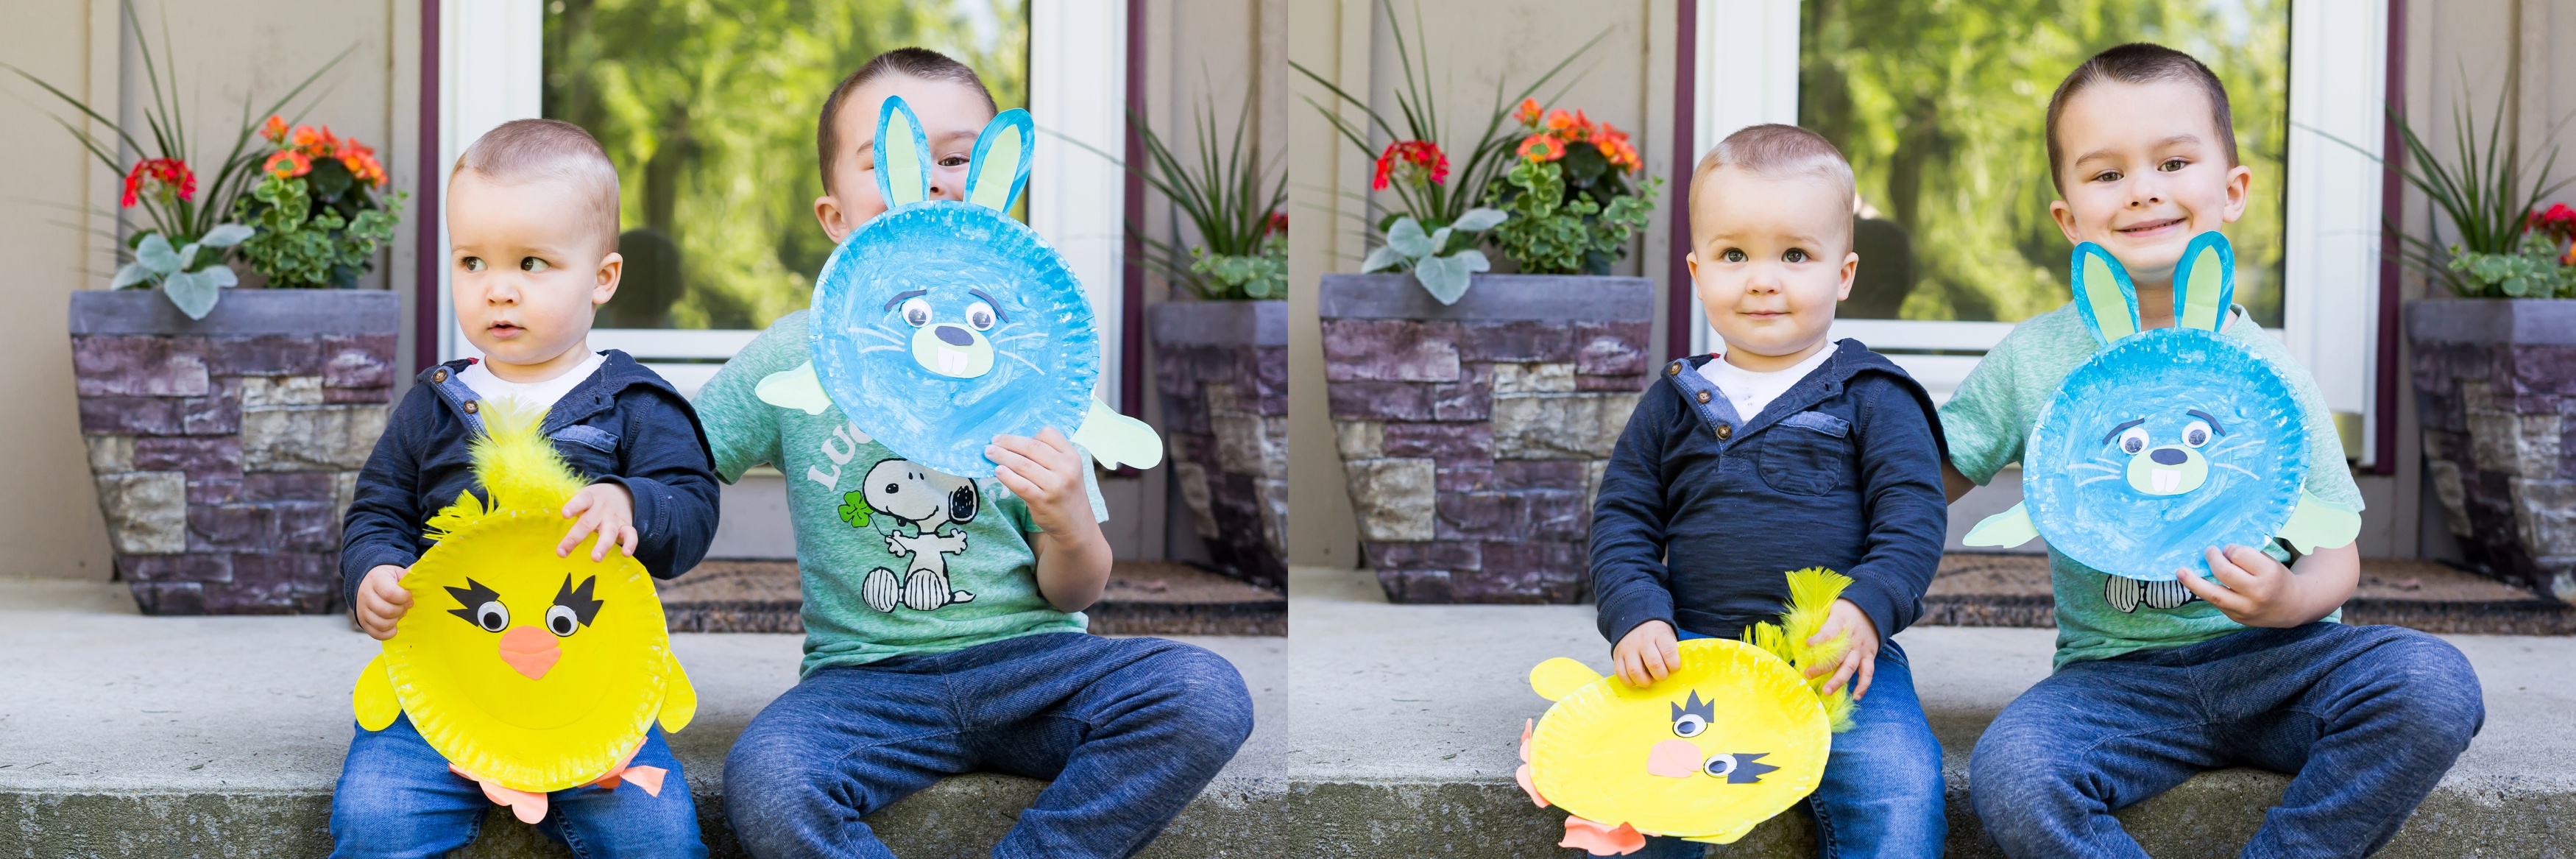
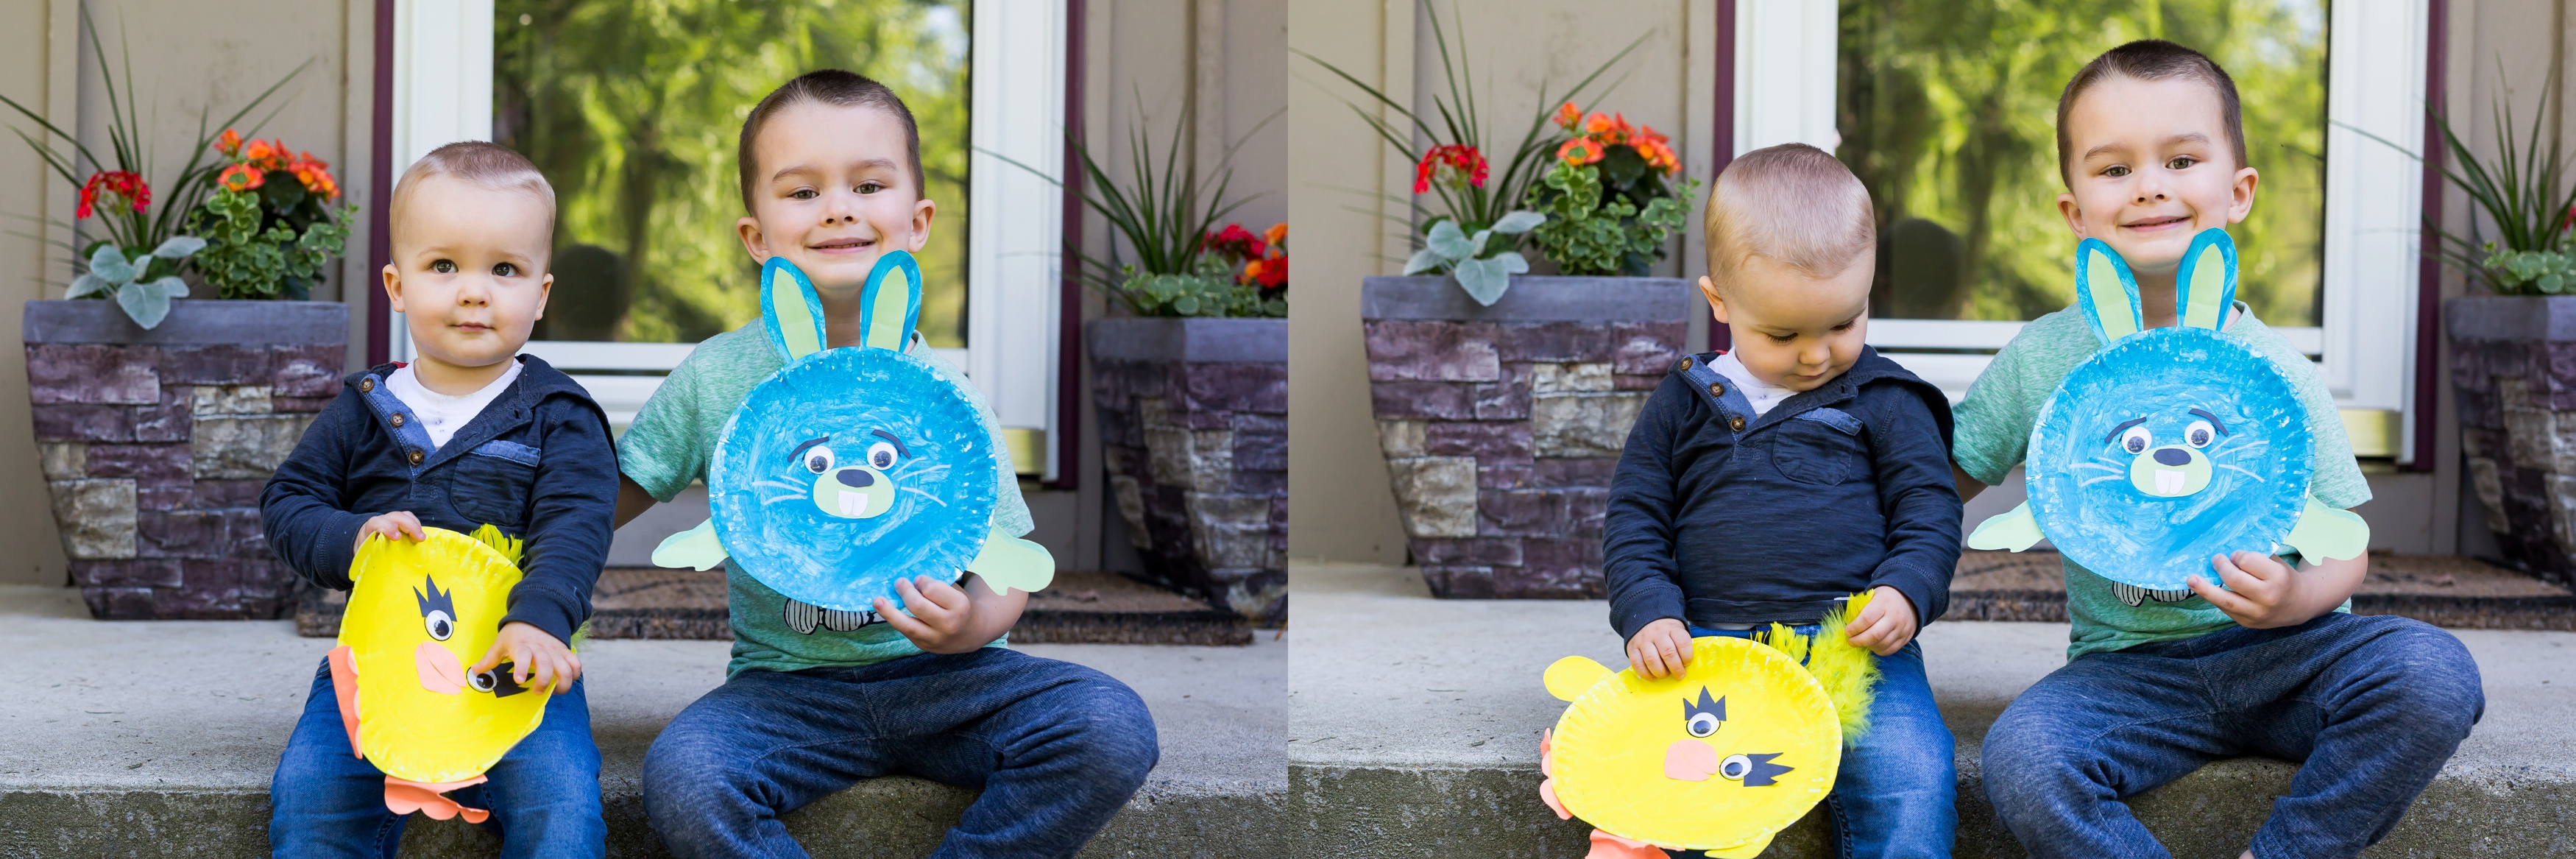
To Infinity and Your Mom!!
Without having even seen the movie, I can already tell Ducky and Bunny are going to be a dynamic duo that steal the show! I mean the preview alone had me laughing.
Bunny and Ducky will be portrayed by the comedians Key and Peele. Have you ever seen Key & Peele in action? The comedic duo is known for their, what seems like, automatic back and forth banter.
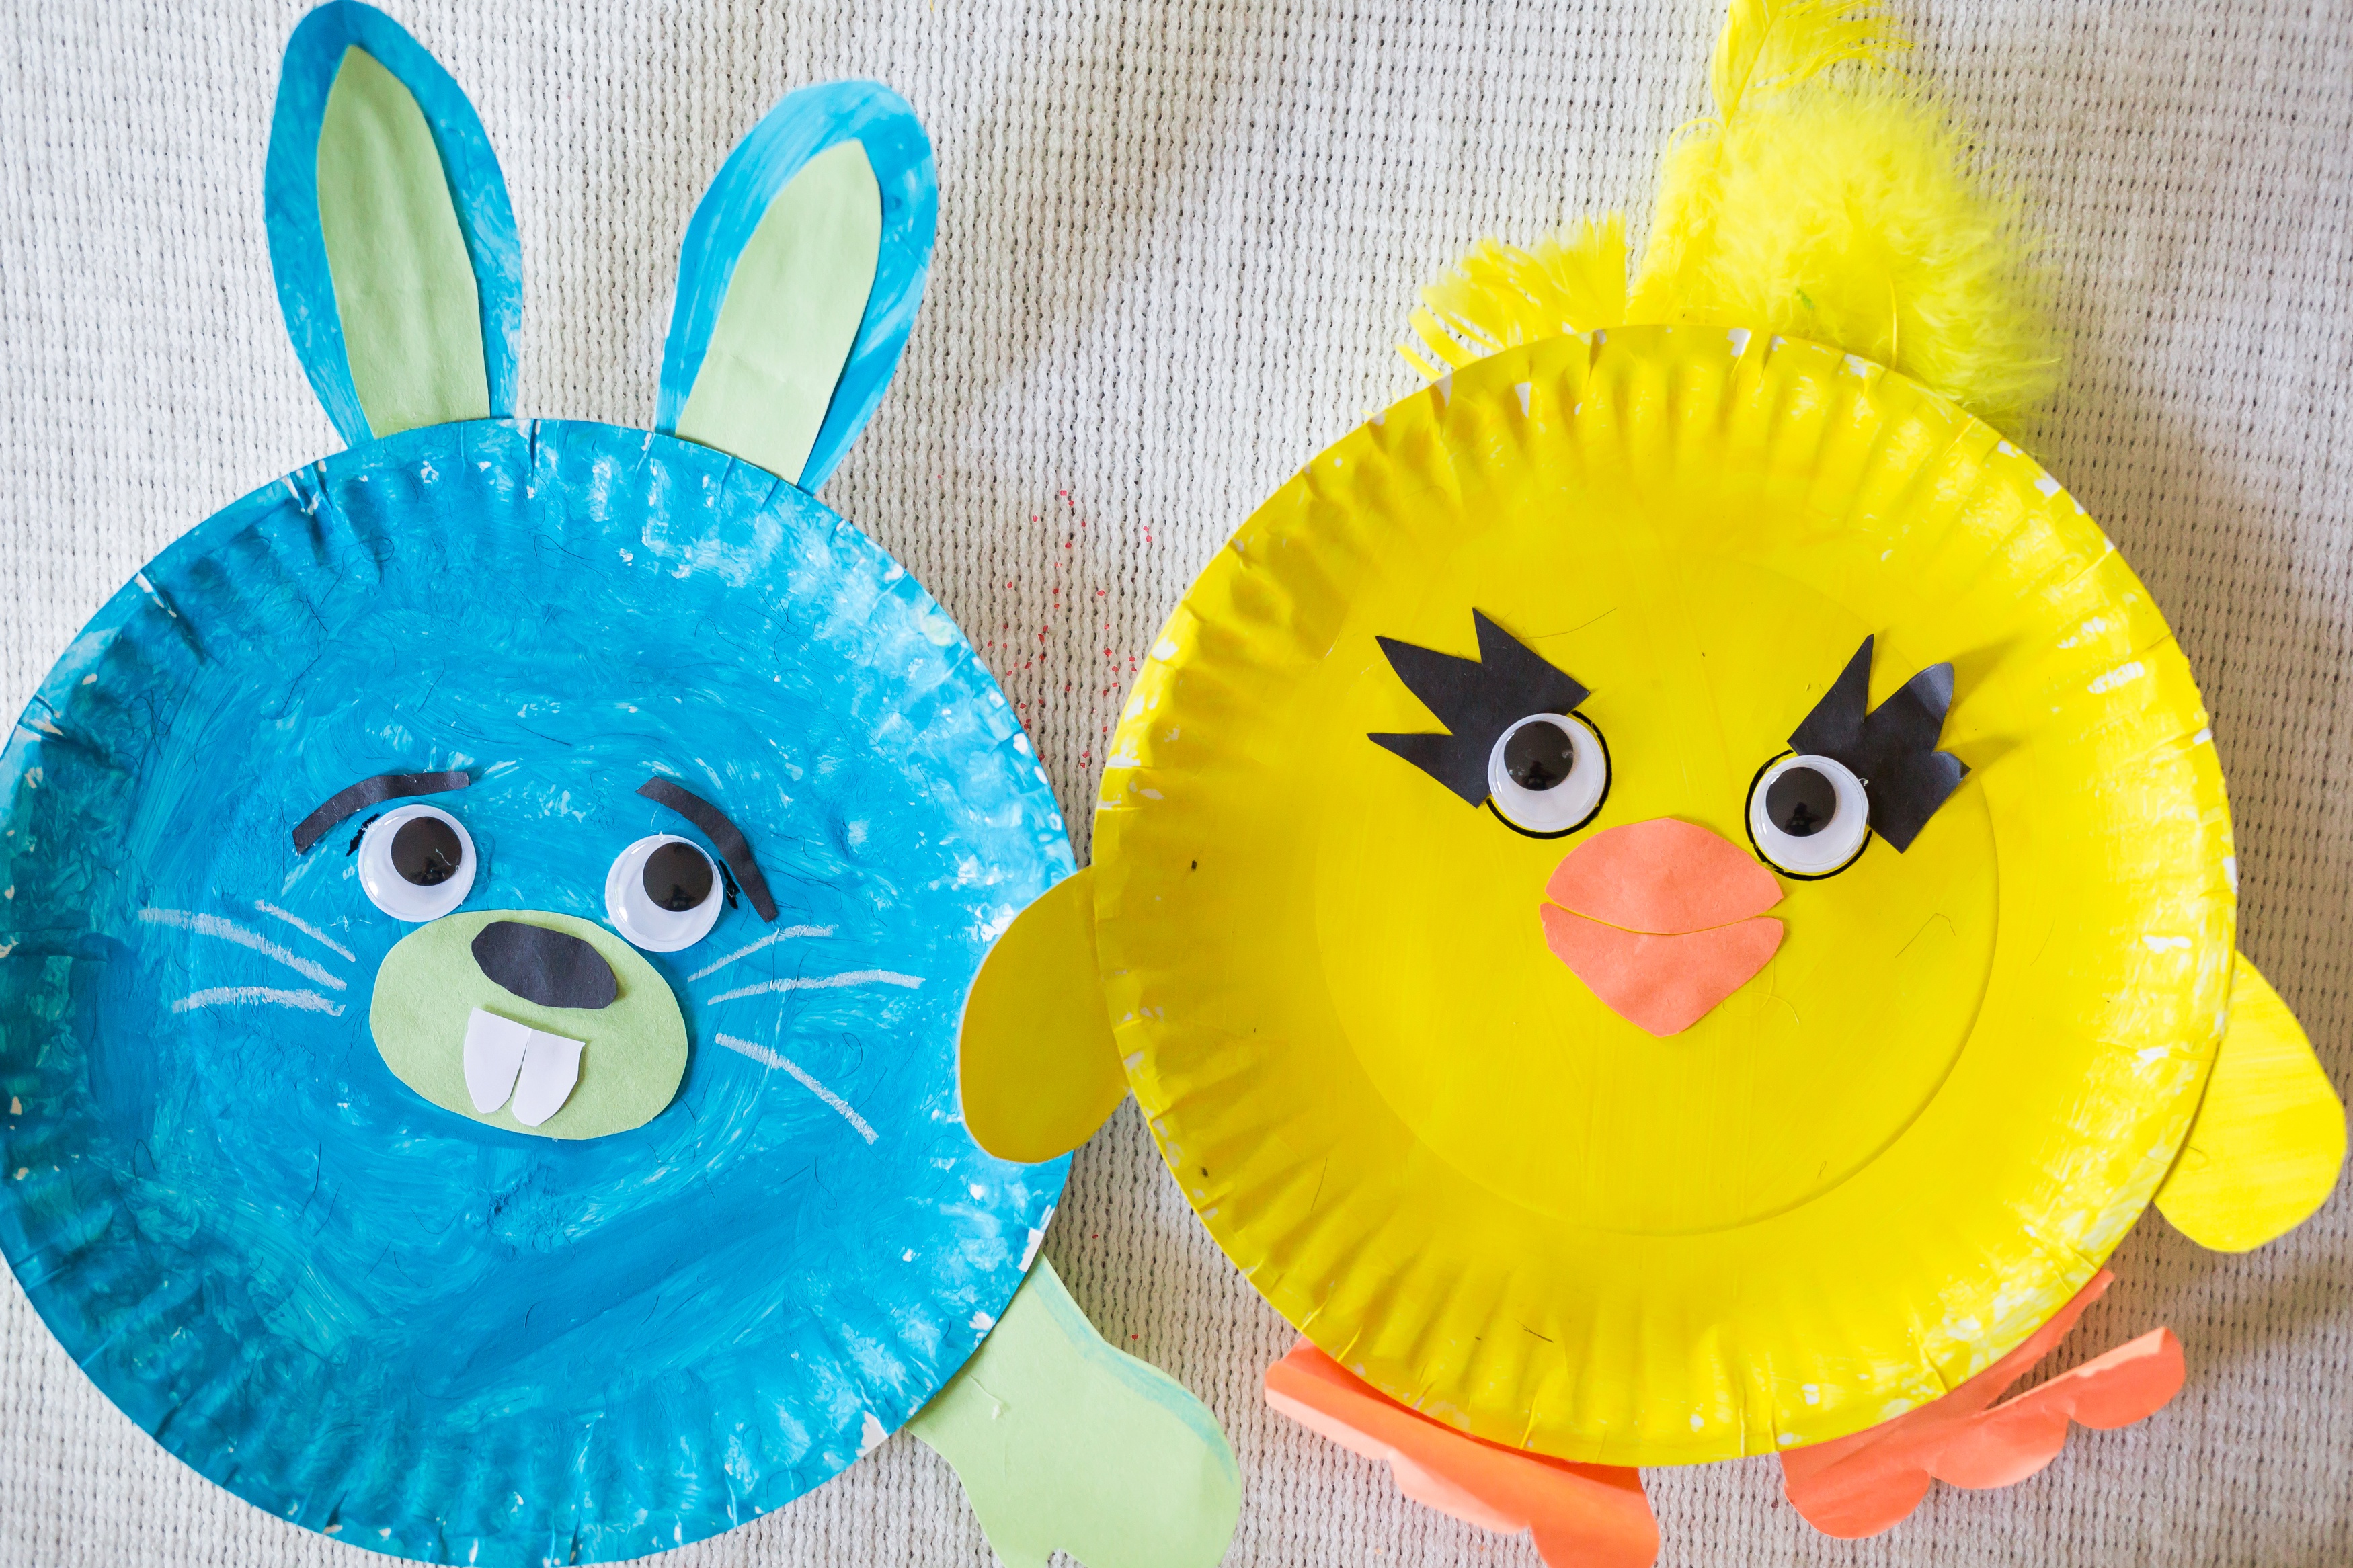
Perfect for Ducky and Bunny from the new Toy Story 4 movie!
I mean, we already know Ducky and Bunny are super witty, but also super cuddly carnival toys!
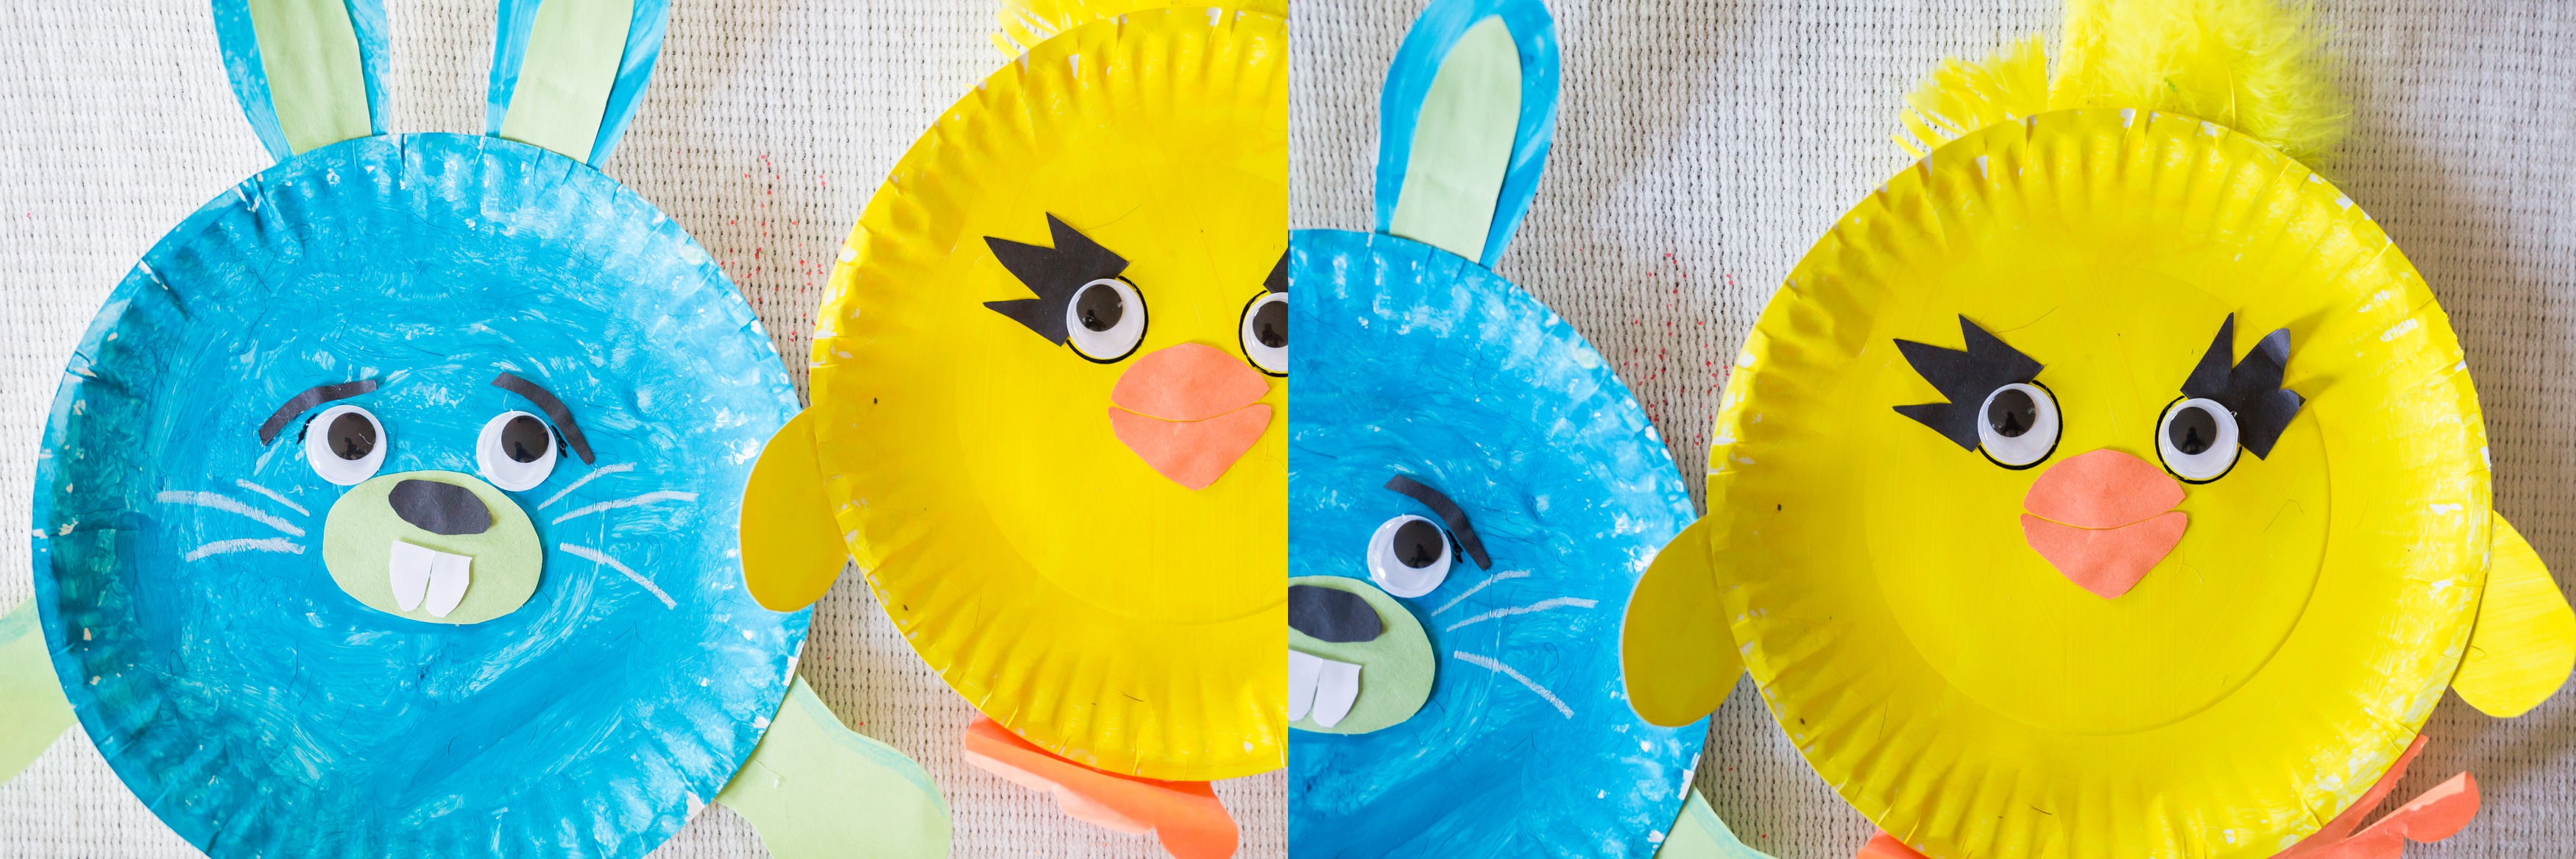
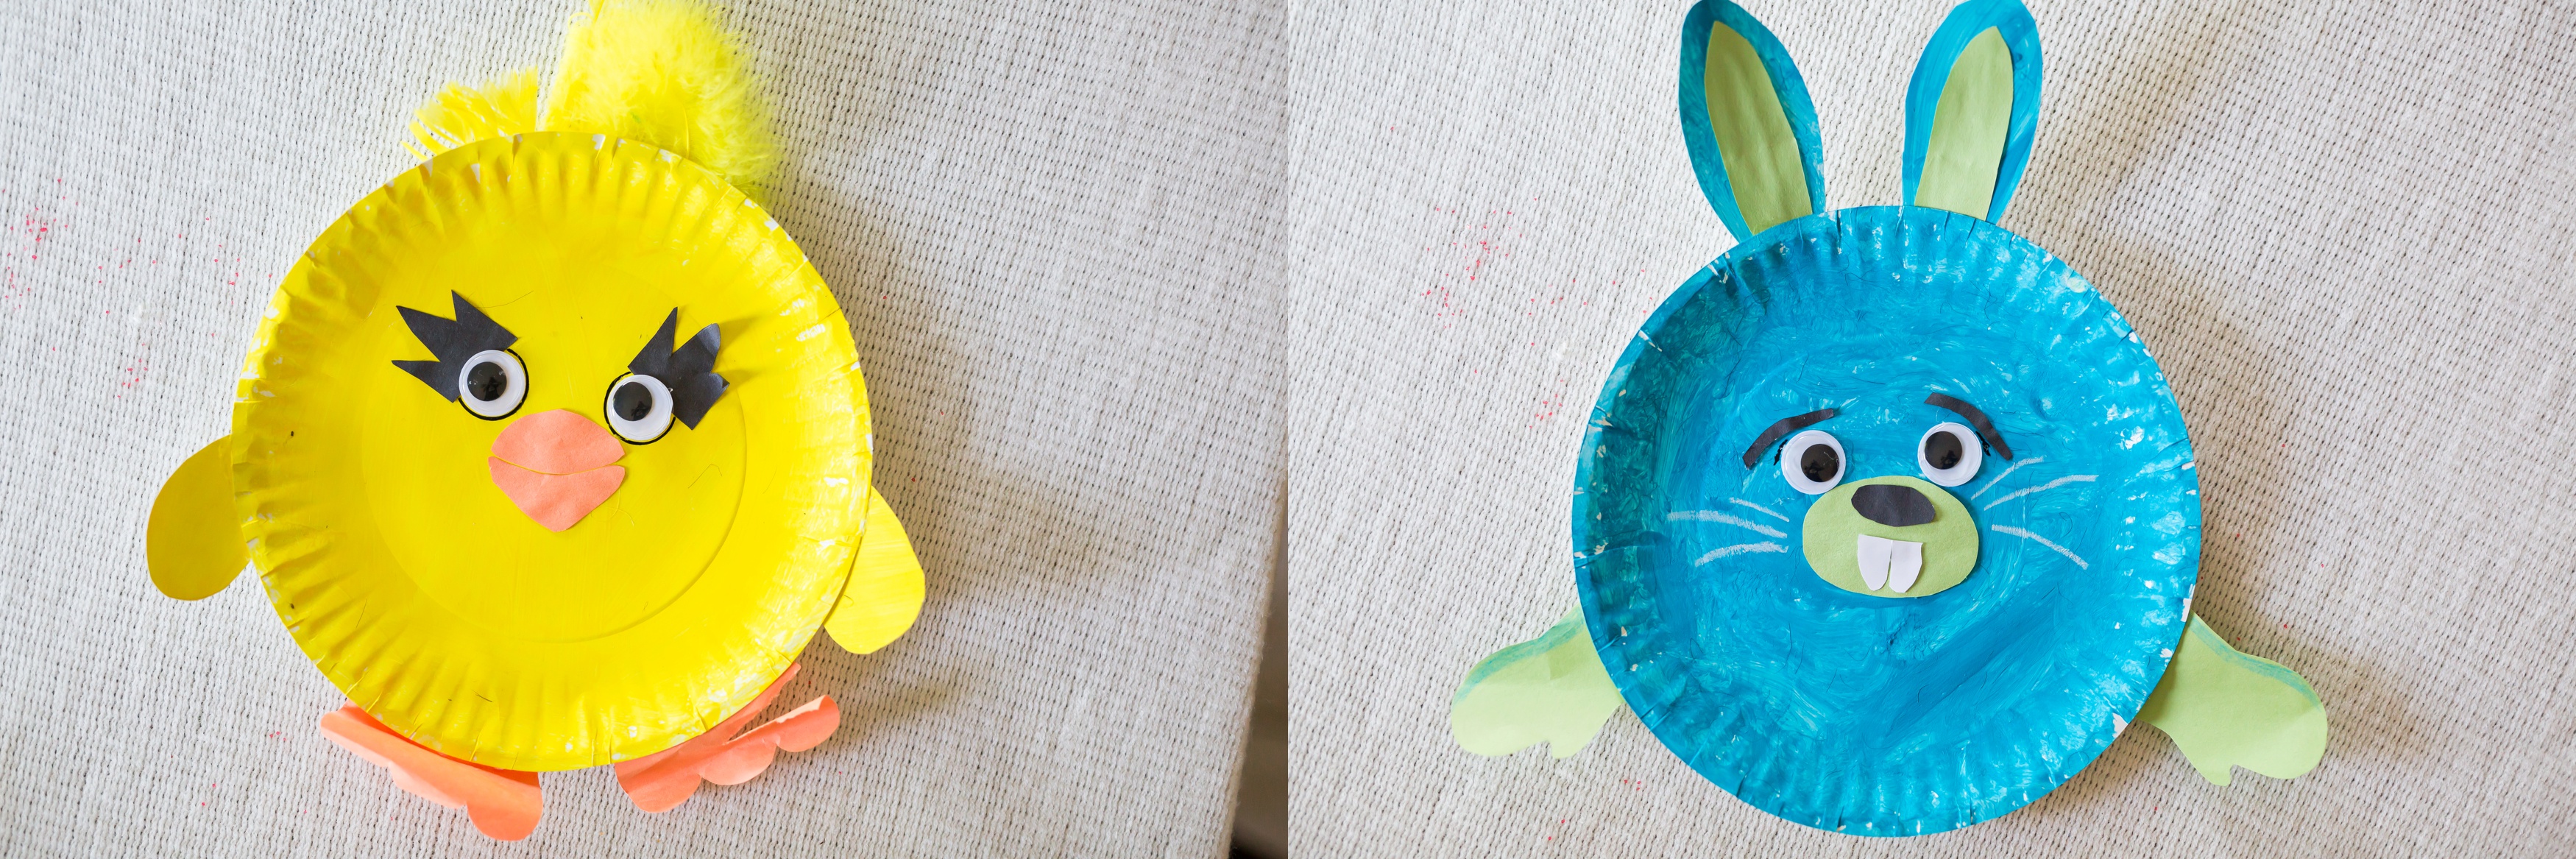
So cuddly, that it’s probably a good plan to bring these two cuties home with you, in the form of a super simple DIY Ducky and Bunny paper plate craft.
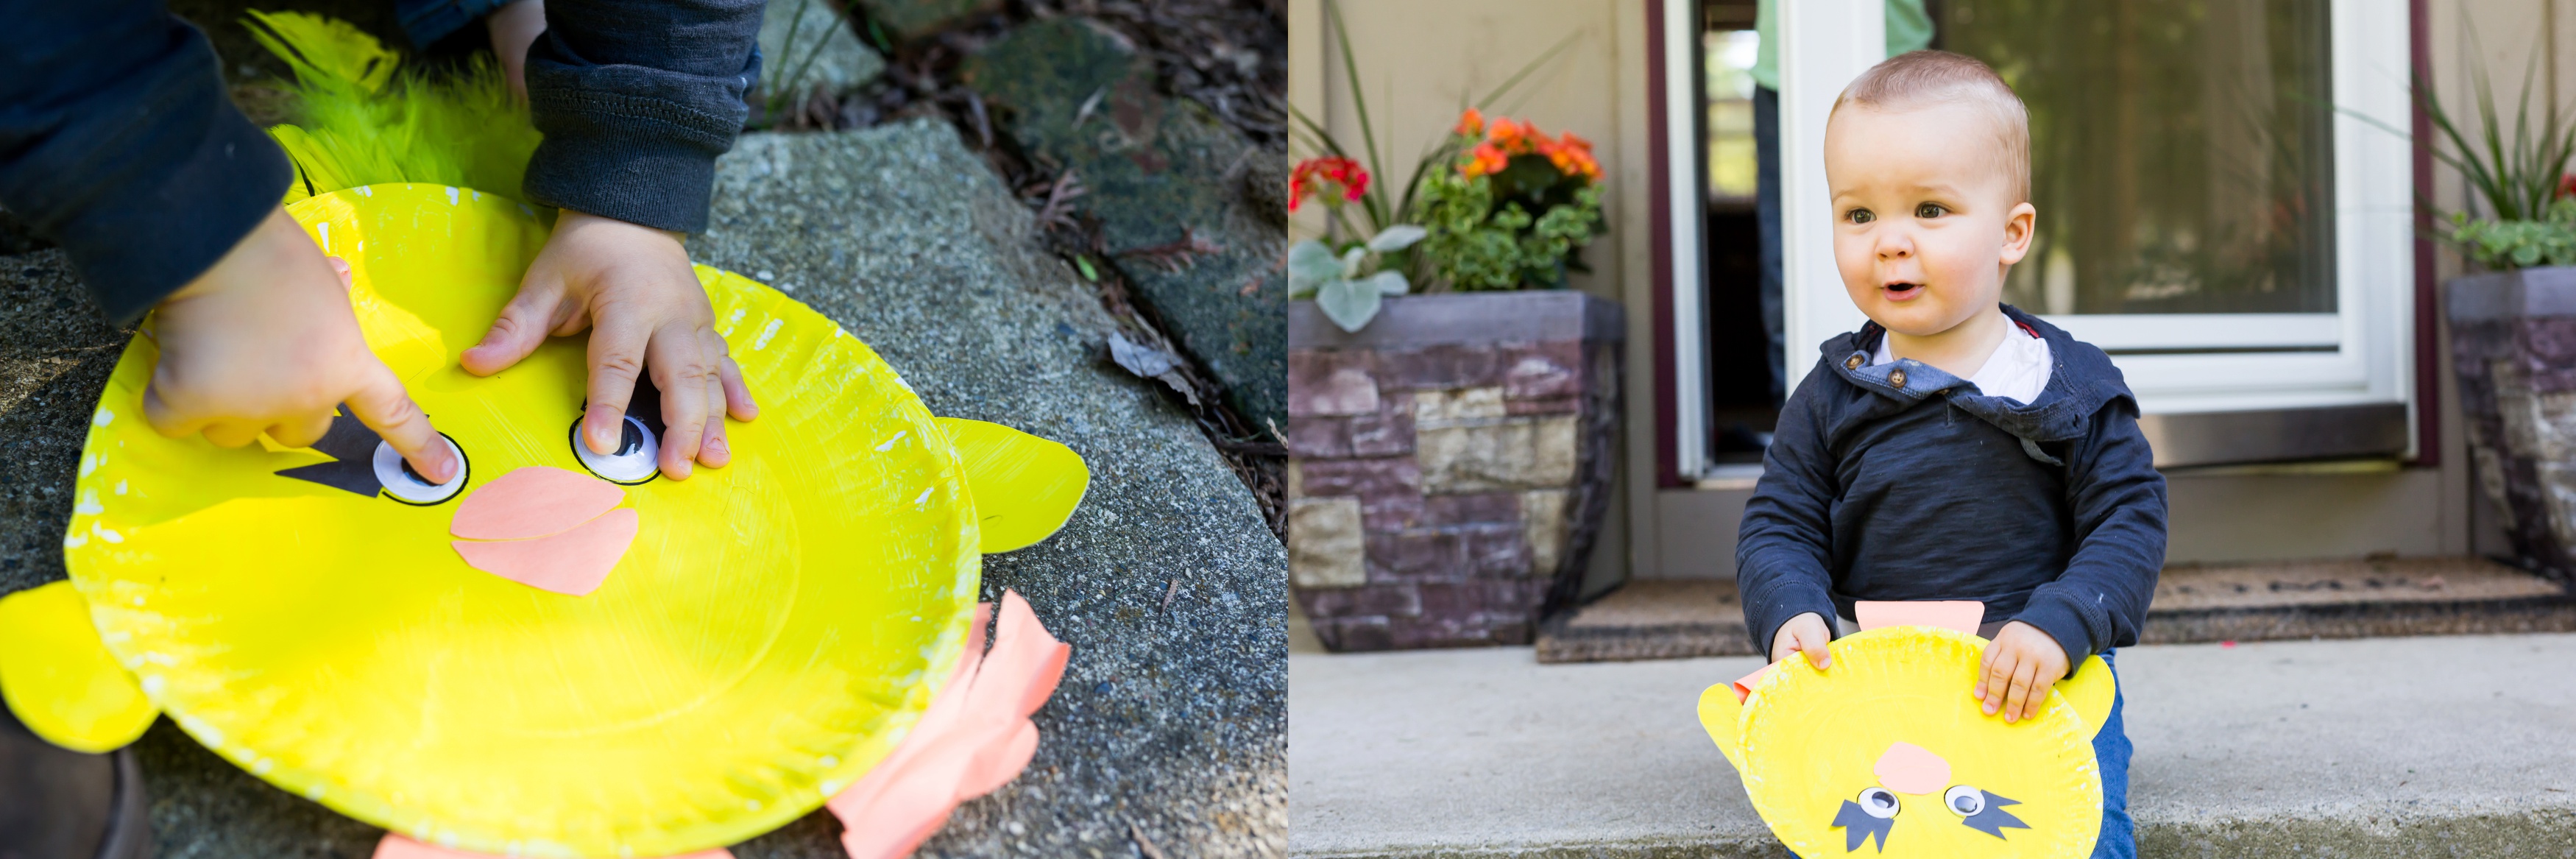
Plus, bonus, it’s a really easy project that will actually keep your preschooler busy for about 30 minutes to an hour. I mean if that doesn’t add to the amazing cuteness of Ducky and Bunny, I don’t know what does!
DIY Ducky and Bunny Paper Plate Craft
Kids Crayola Paint: Yellow and Blue
Light Green Construction Paper
Hot Glue Gun, Elmer’s Glue, or Some Type of Adhesive
Pencil
1. Step One: Prep Work for Your DIY Bunny and Ducky
Gather up all your supplies! You can find most of the items at your local Dollar Store or Target. Alternatively, you can get them by clicking on any of the links listed above to get the items ordered off of Amazon.
Best part about the Amazon delivery? You don’t even have to leave the house to make this craft!
2. Step Two: Making Important Parts of Your DIY Bunny and Ducky
Paint two of the plates yellow and paint two of the plates blue in color. Let the paint dry and once dry take two of the plates, one of each color and flip them over.
Take your pencil and draw yourself a pair of wings on the yellow plate and a pair of bunny ears on the blue plate.
The wings and ears should be large enough to fill the space of the entire middle of the paint.
Cut out the wings and ears and set aside.
3. Step Three: Cutting Some More
Take the black construction paper and cut out: 1) Two eyelashes for Ducky, 2) Two eyebrows for Bunny and 3) a nose for Bunny.
Take the light green construction paper and cut out the inside of Bunny’s ears, arms and a large circle for his nose.
Take the orange construction paper and cut out Ducky’s feet and beak.
4. Step Four: Let’s Get Gluing
Get your hot glue gun warmed up (if you using one!) or your Elmer’s glue ready to go. I’m a fan of the glue gun, because it helps things stick a little better.
Of course a glue gun means little hands can’t help during this part. If you’d prefer your little one to be 100% hand-on, make sure to leave the glue gun out of the equation.
Position your feathers, googly eyes, eyelashes and eyebrows right where you want them. Once you have them in the right spot, glue them down!
5. Step Five: Even More Gluing Fun
Take the inner ears you created from the green construction paper and place it inside of the blue ears, glue it down.
Now, position Duckys beak, feet and wings and glue each item down.
Moving onto Bunny, take the arms, ears and two pieces of his nose. Position each item right where you want it and then glue it down.
6. Step Six the Final Touches
Add in white whiskers for Bunny and black circles around Ducky’s eyes. Add some other finishing touches and you’re good to go.
You’re all done!!
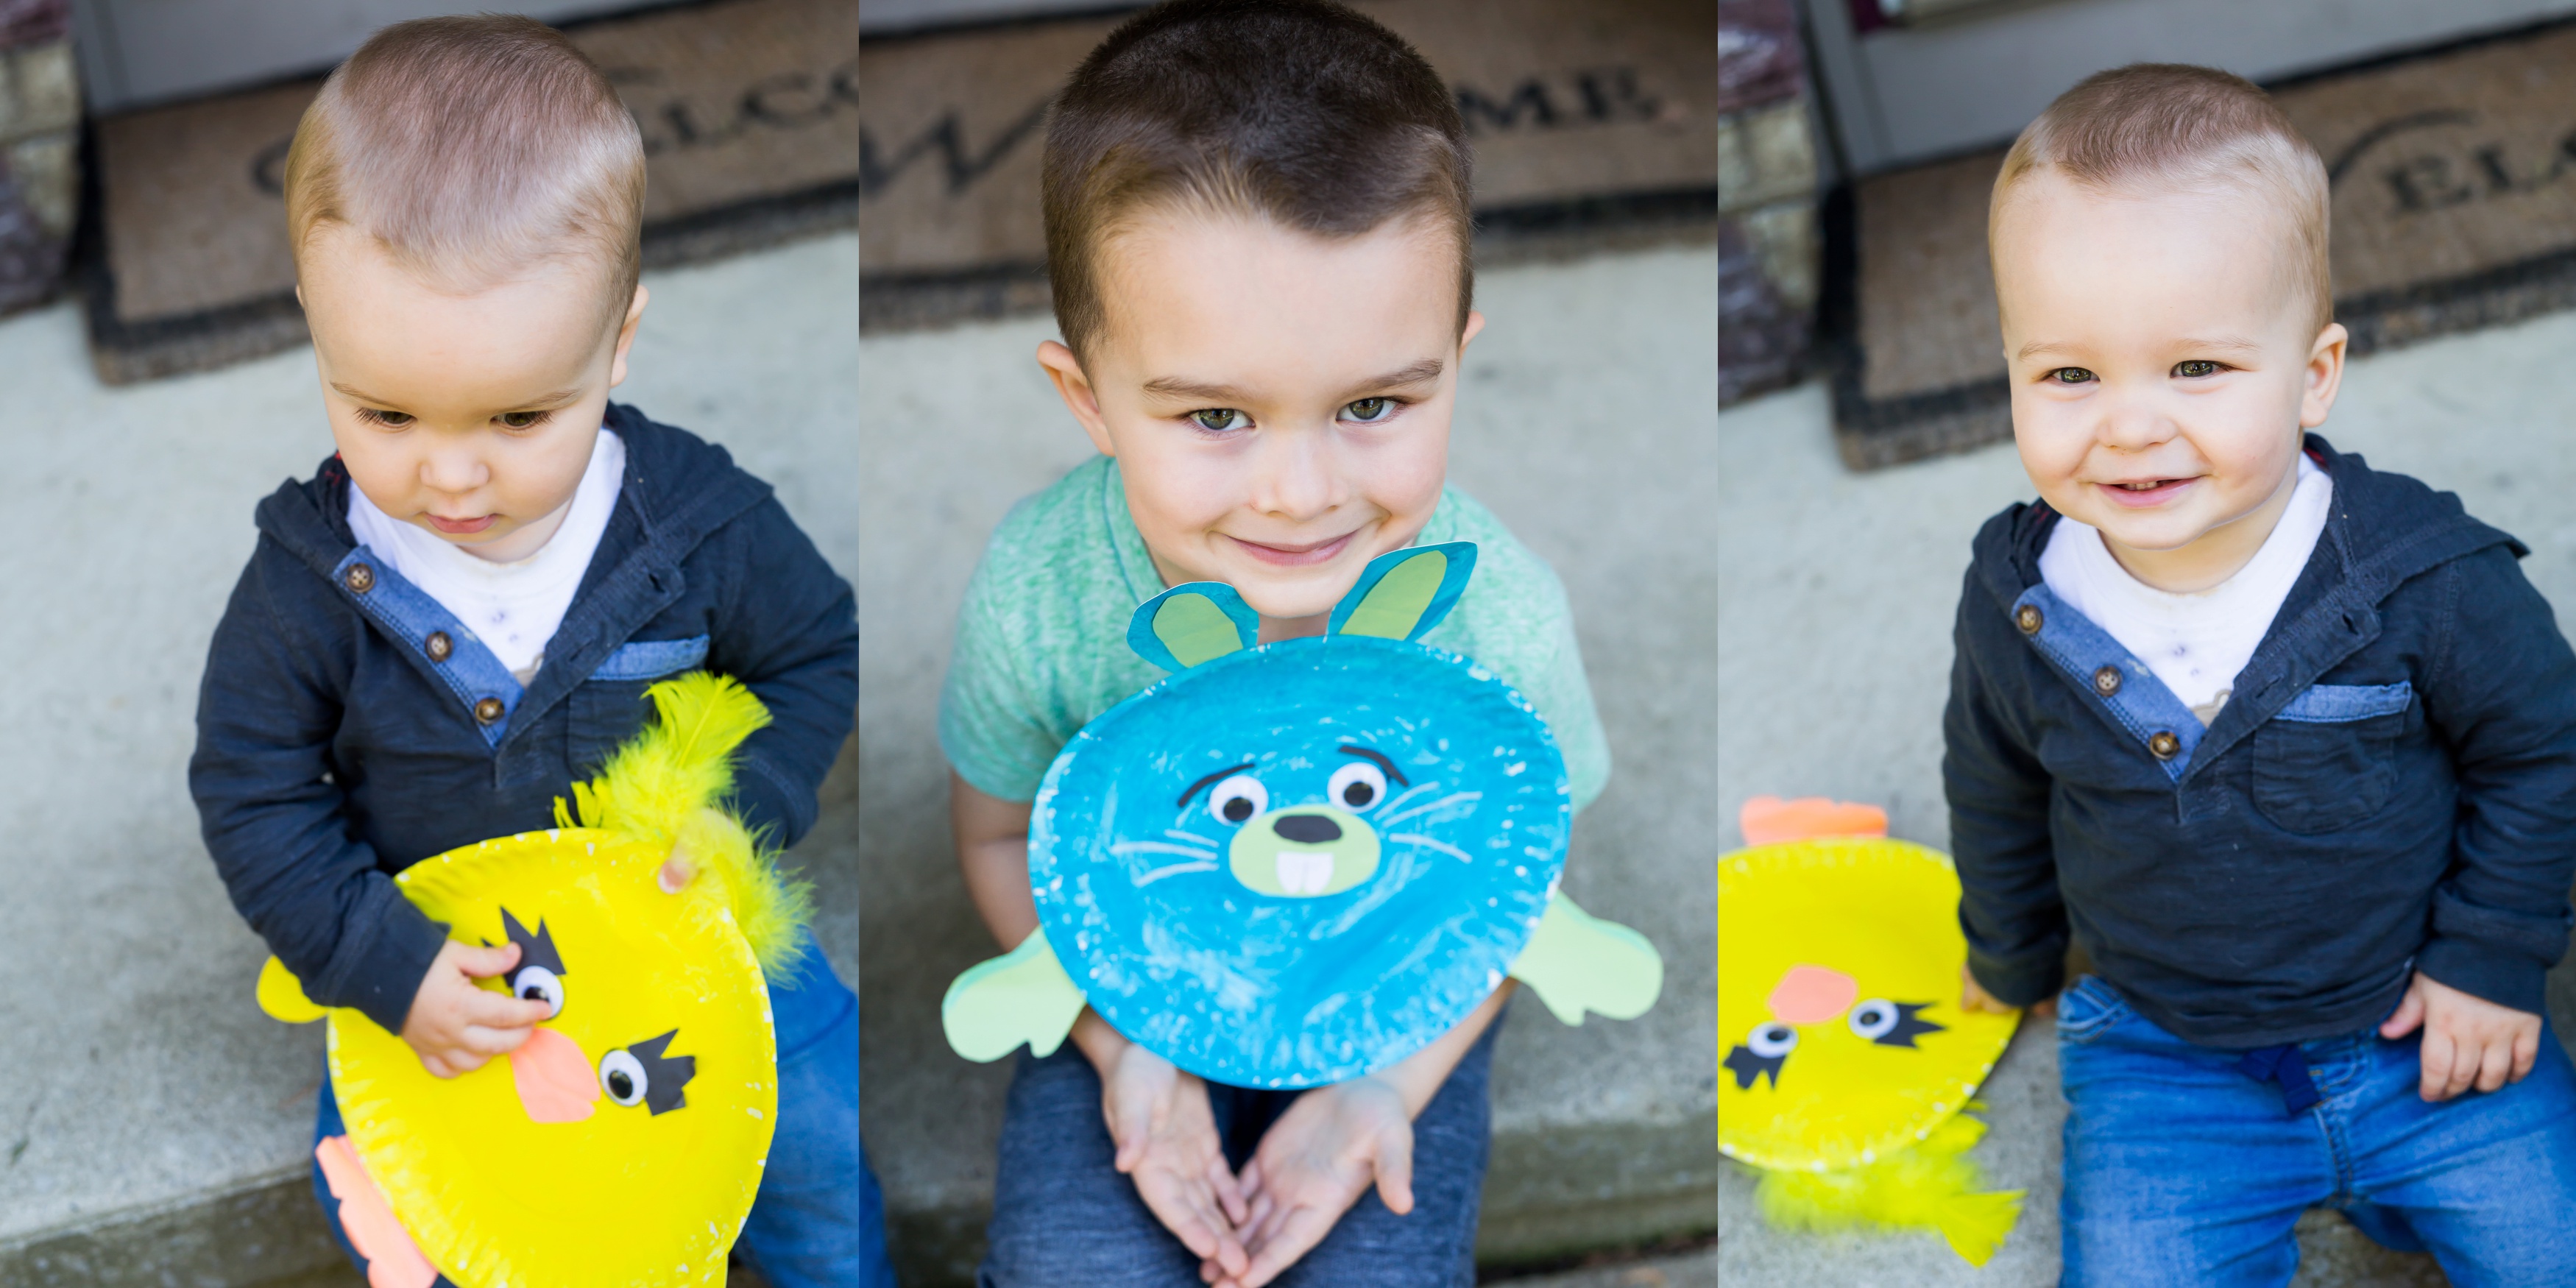
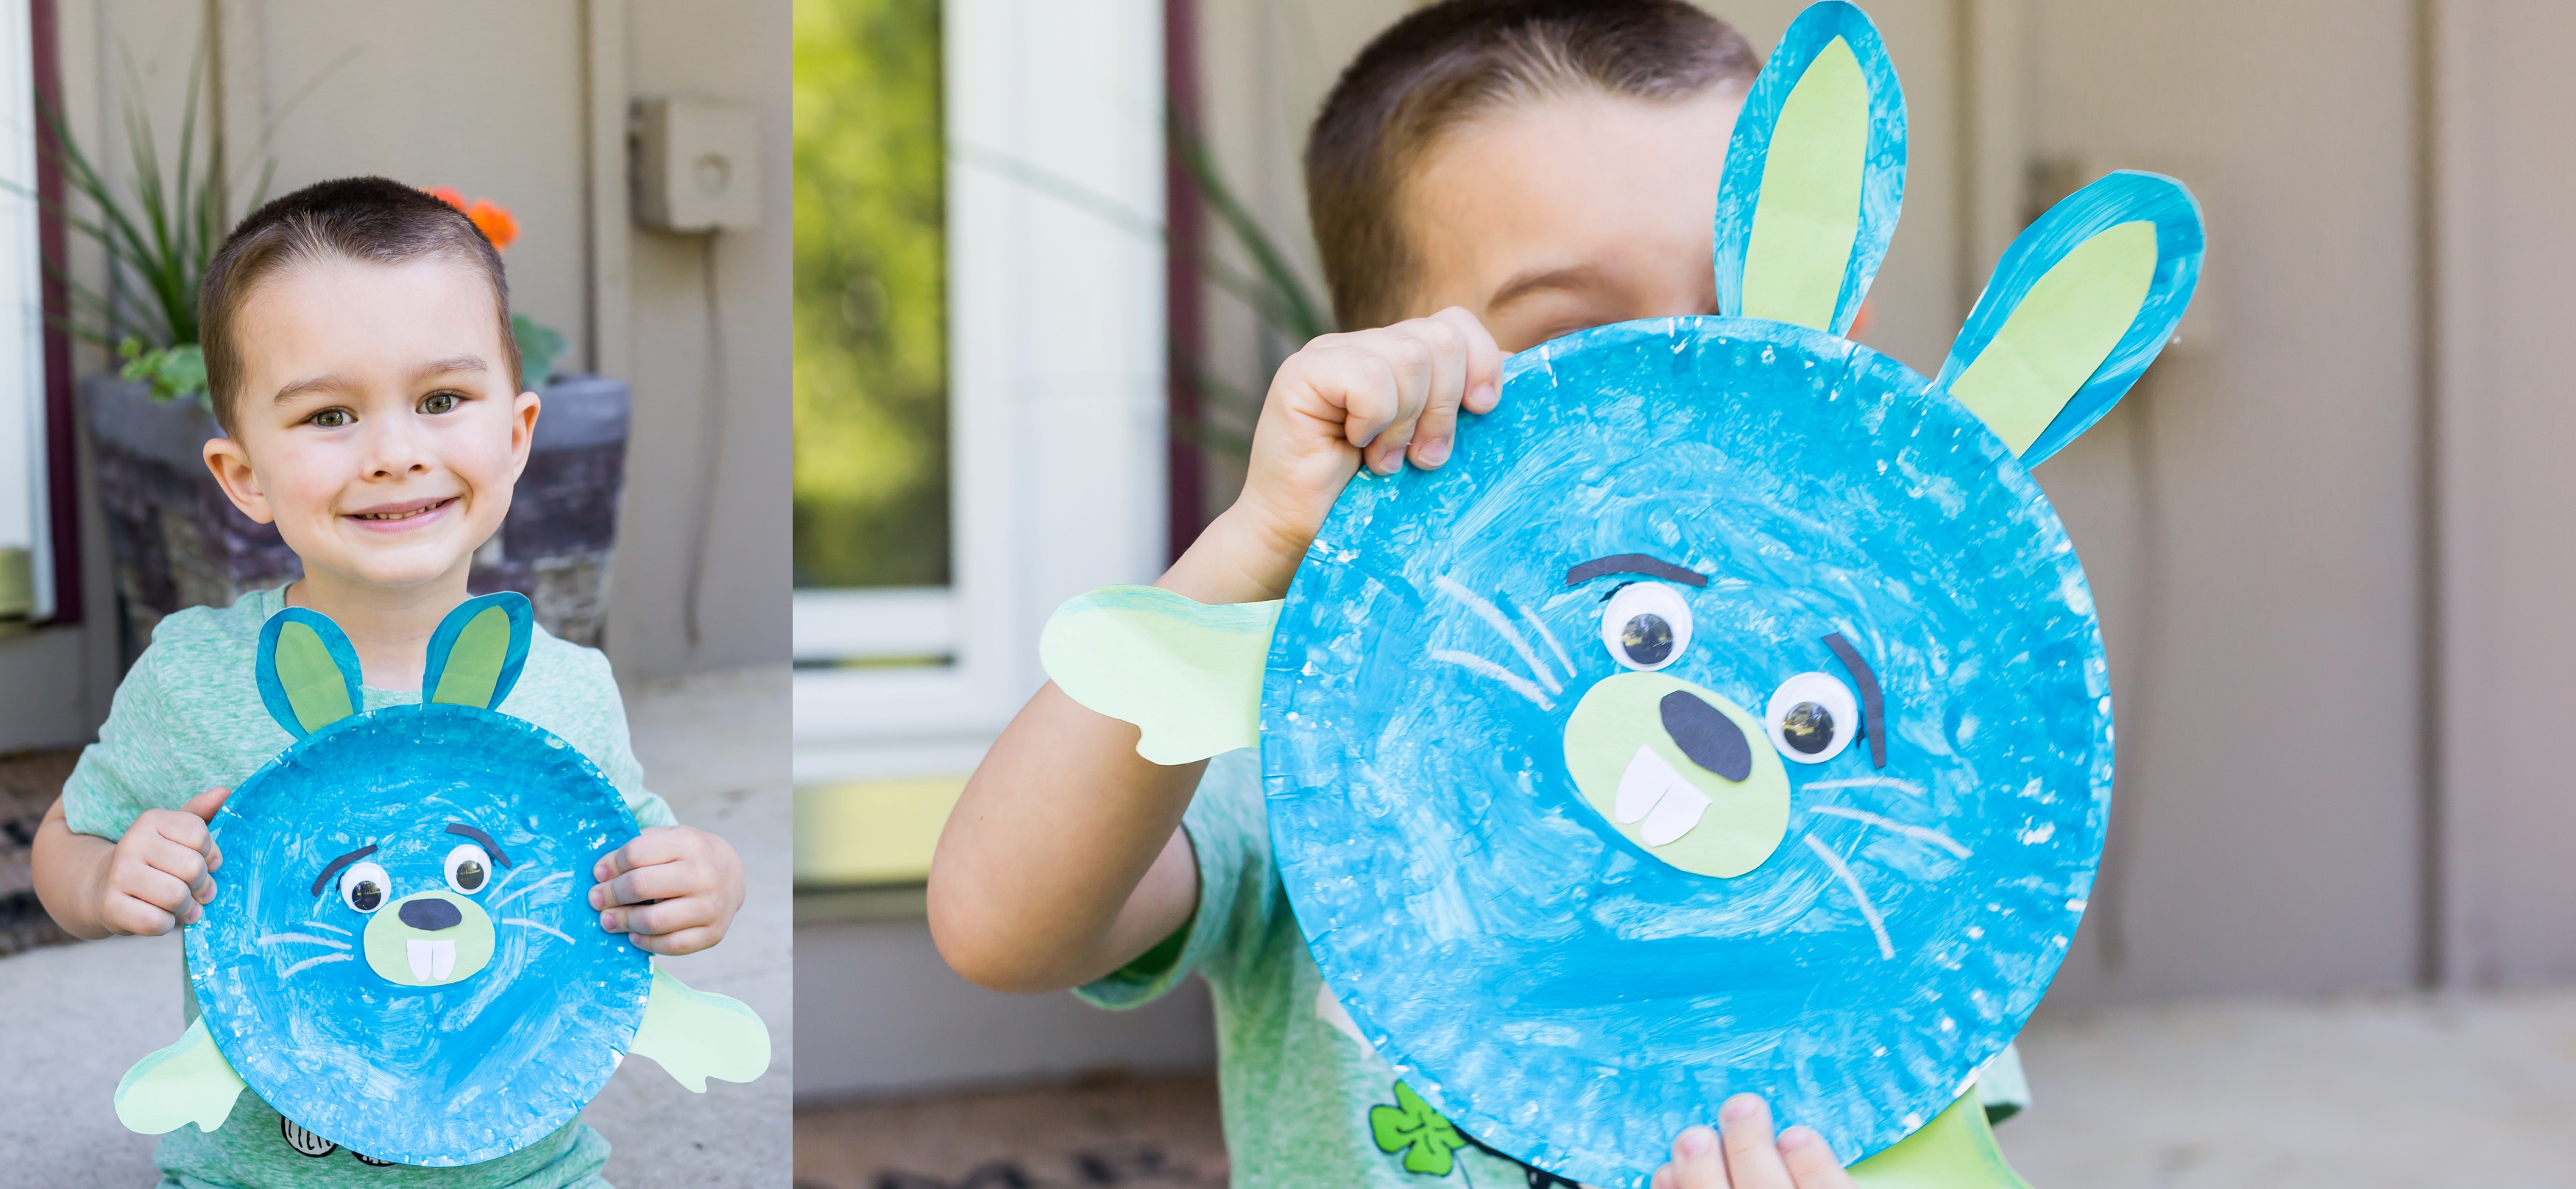
Show off the cute creation you and your little put together and get ready for Toy Story 4 to get come to theaters!!!
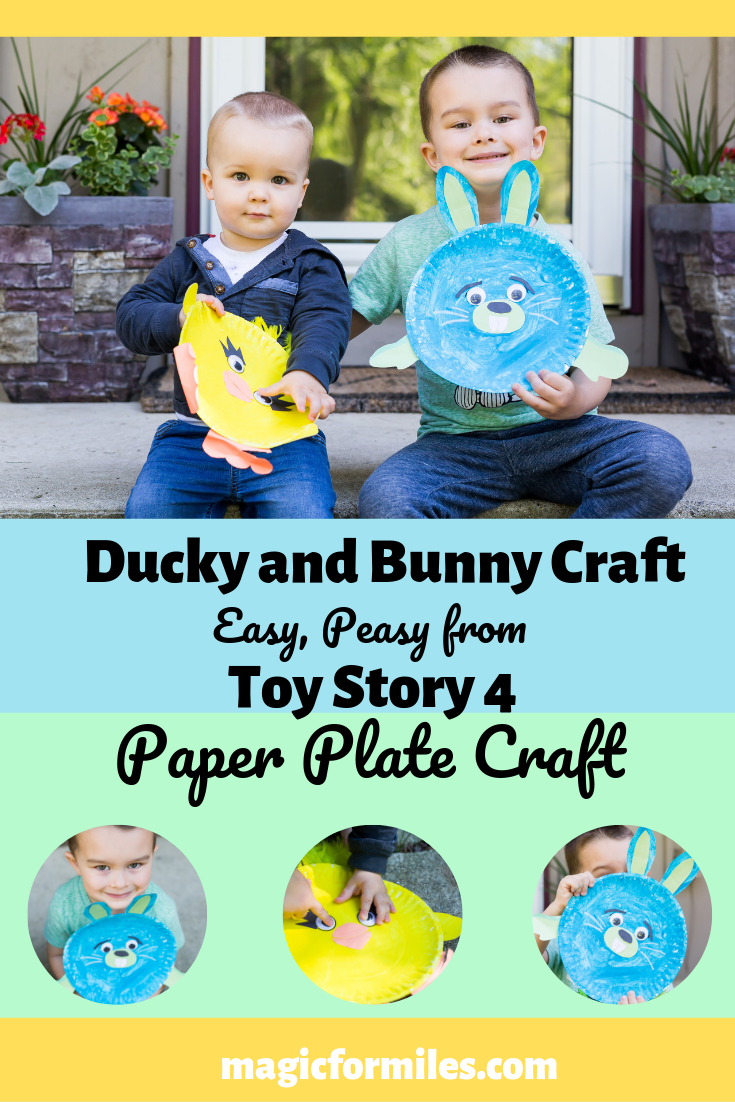
Be Sure to Pin the Above Image and Follow Me on Pinterest, Instagram and Facebook: @magic.for.miles

