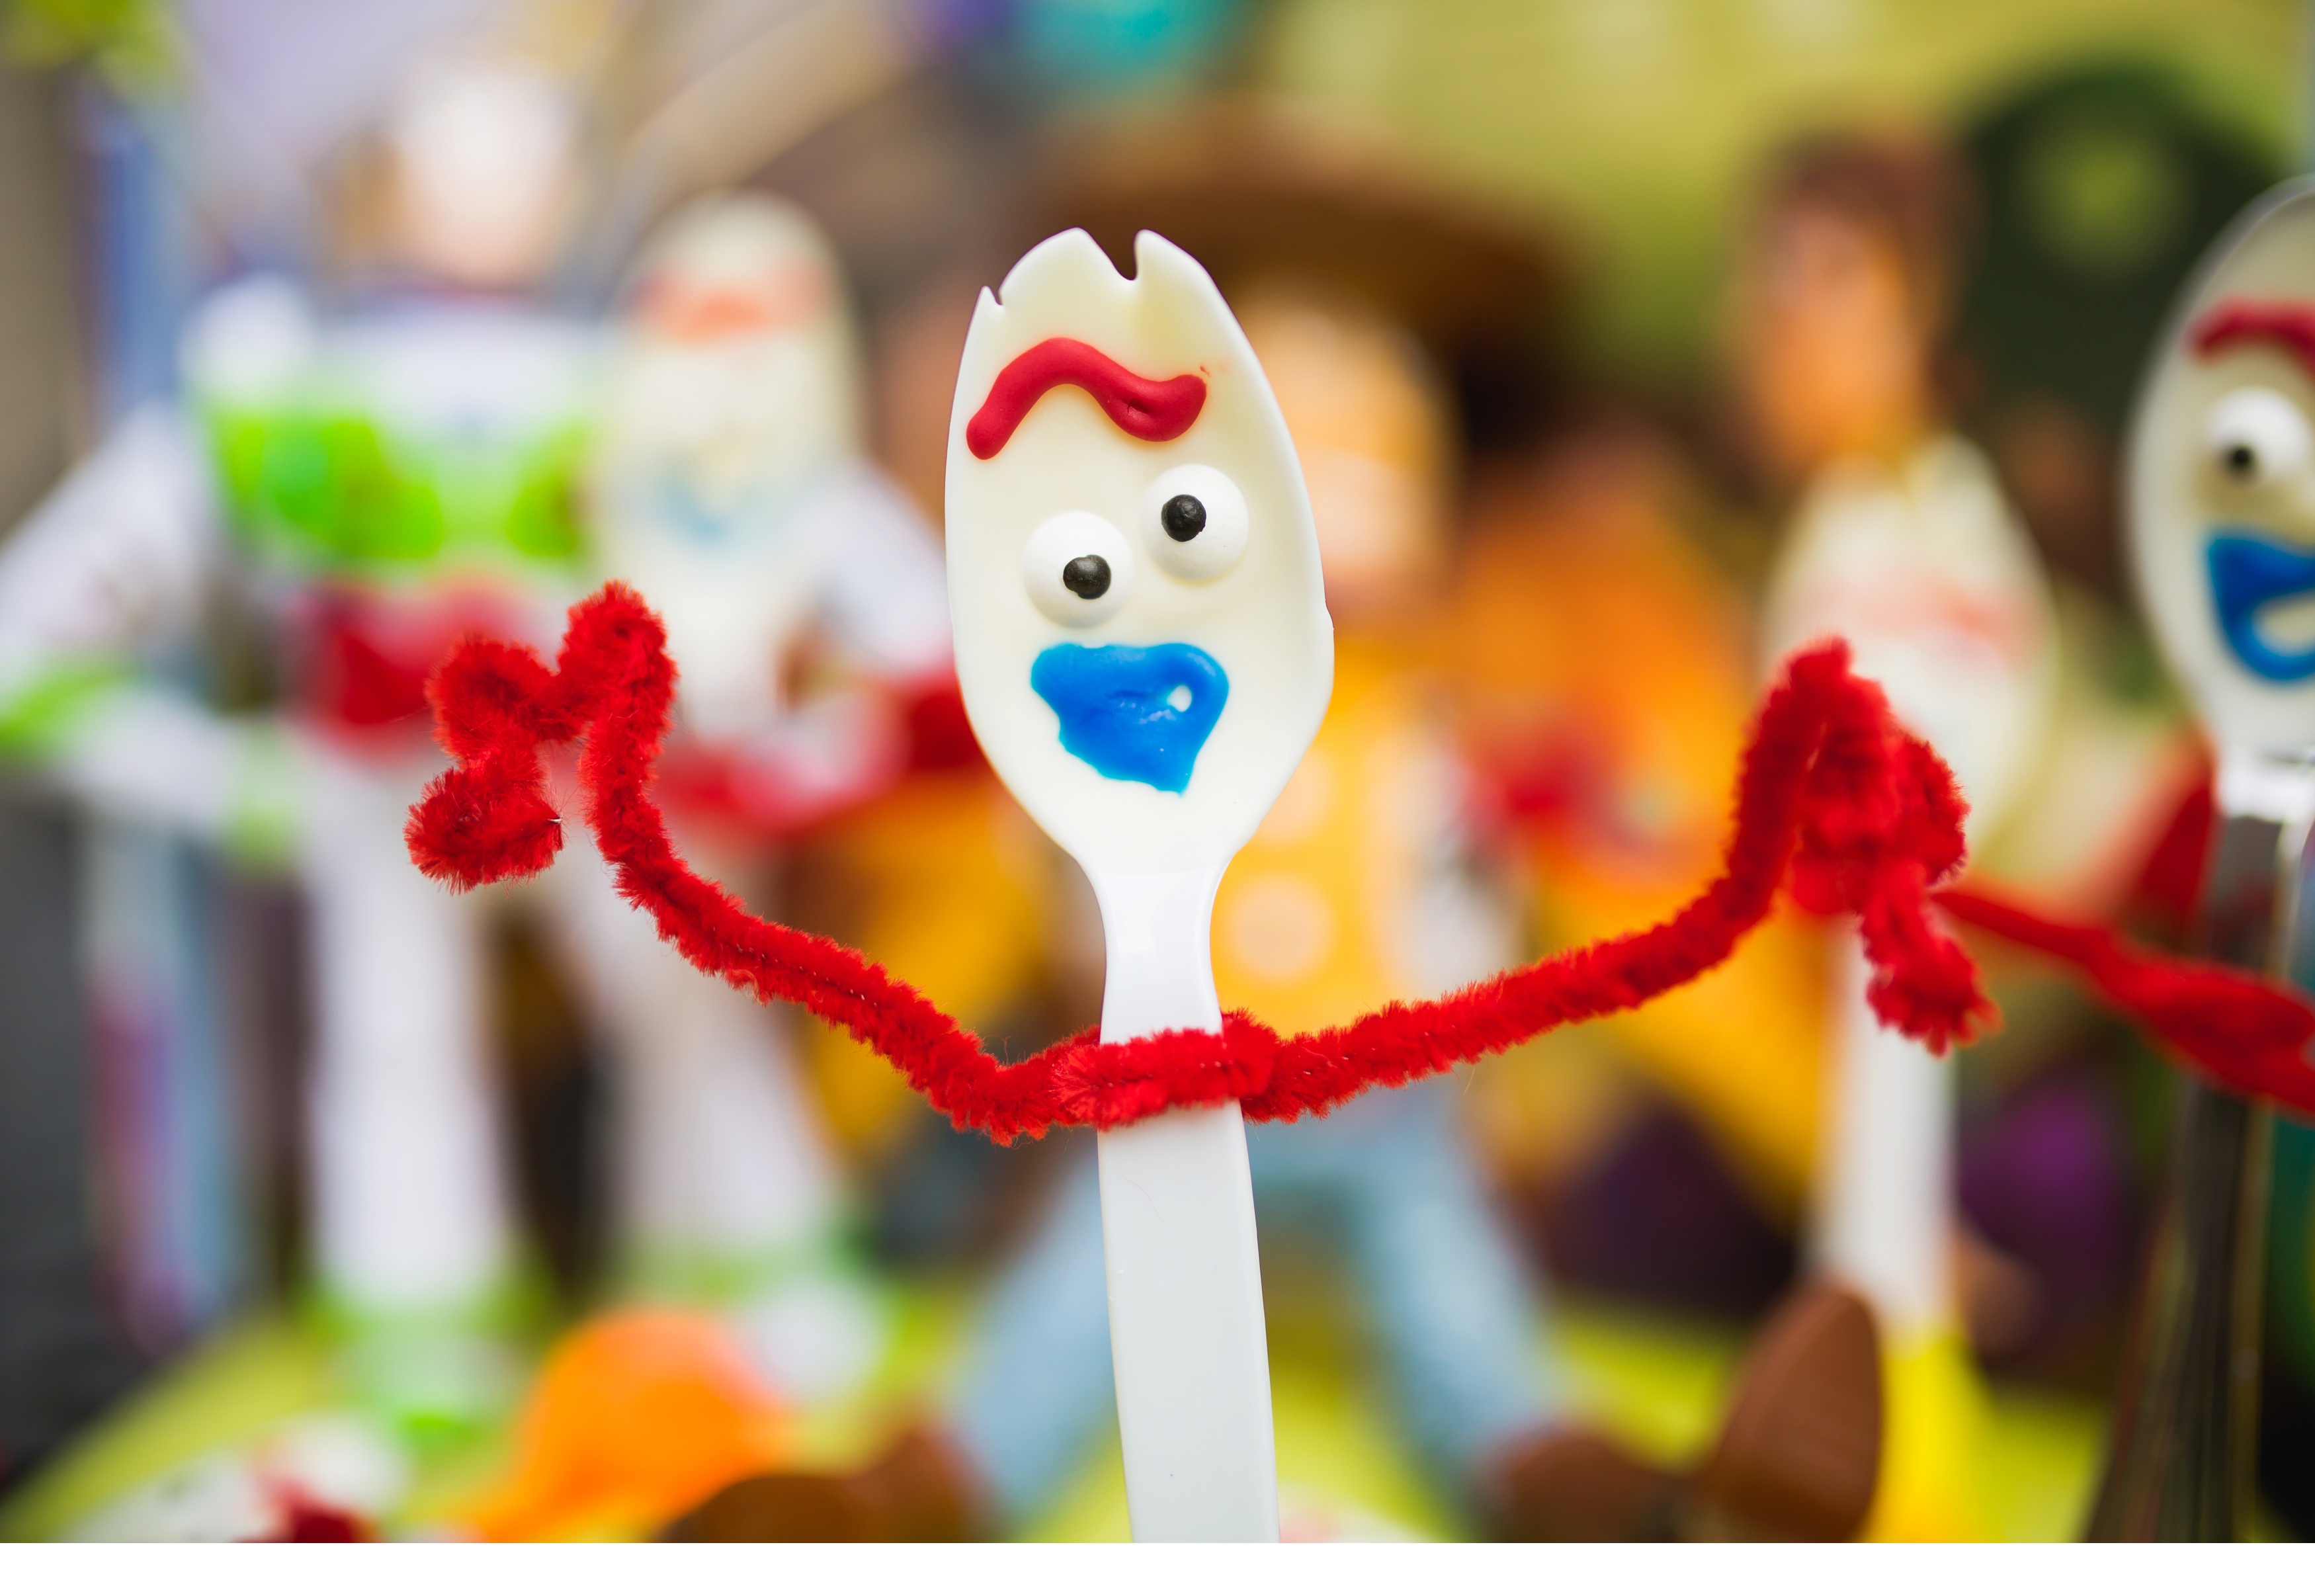
Possibly everyone who is a fan of Toy Story is already in love with Forky, one of the brand new characters of Toy Story 4.
What’s not to love about him? Deep down he’s probably like a toy that all of us ‘created’ at one point in our life.
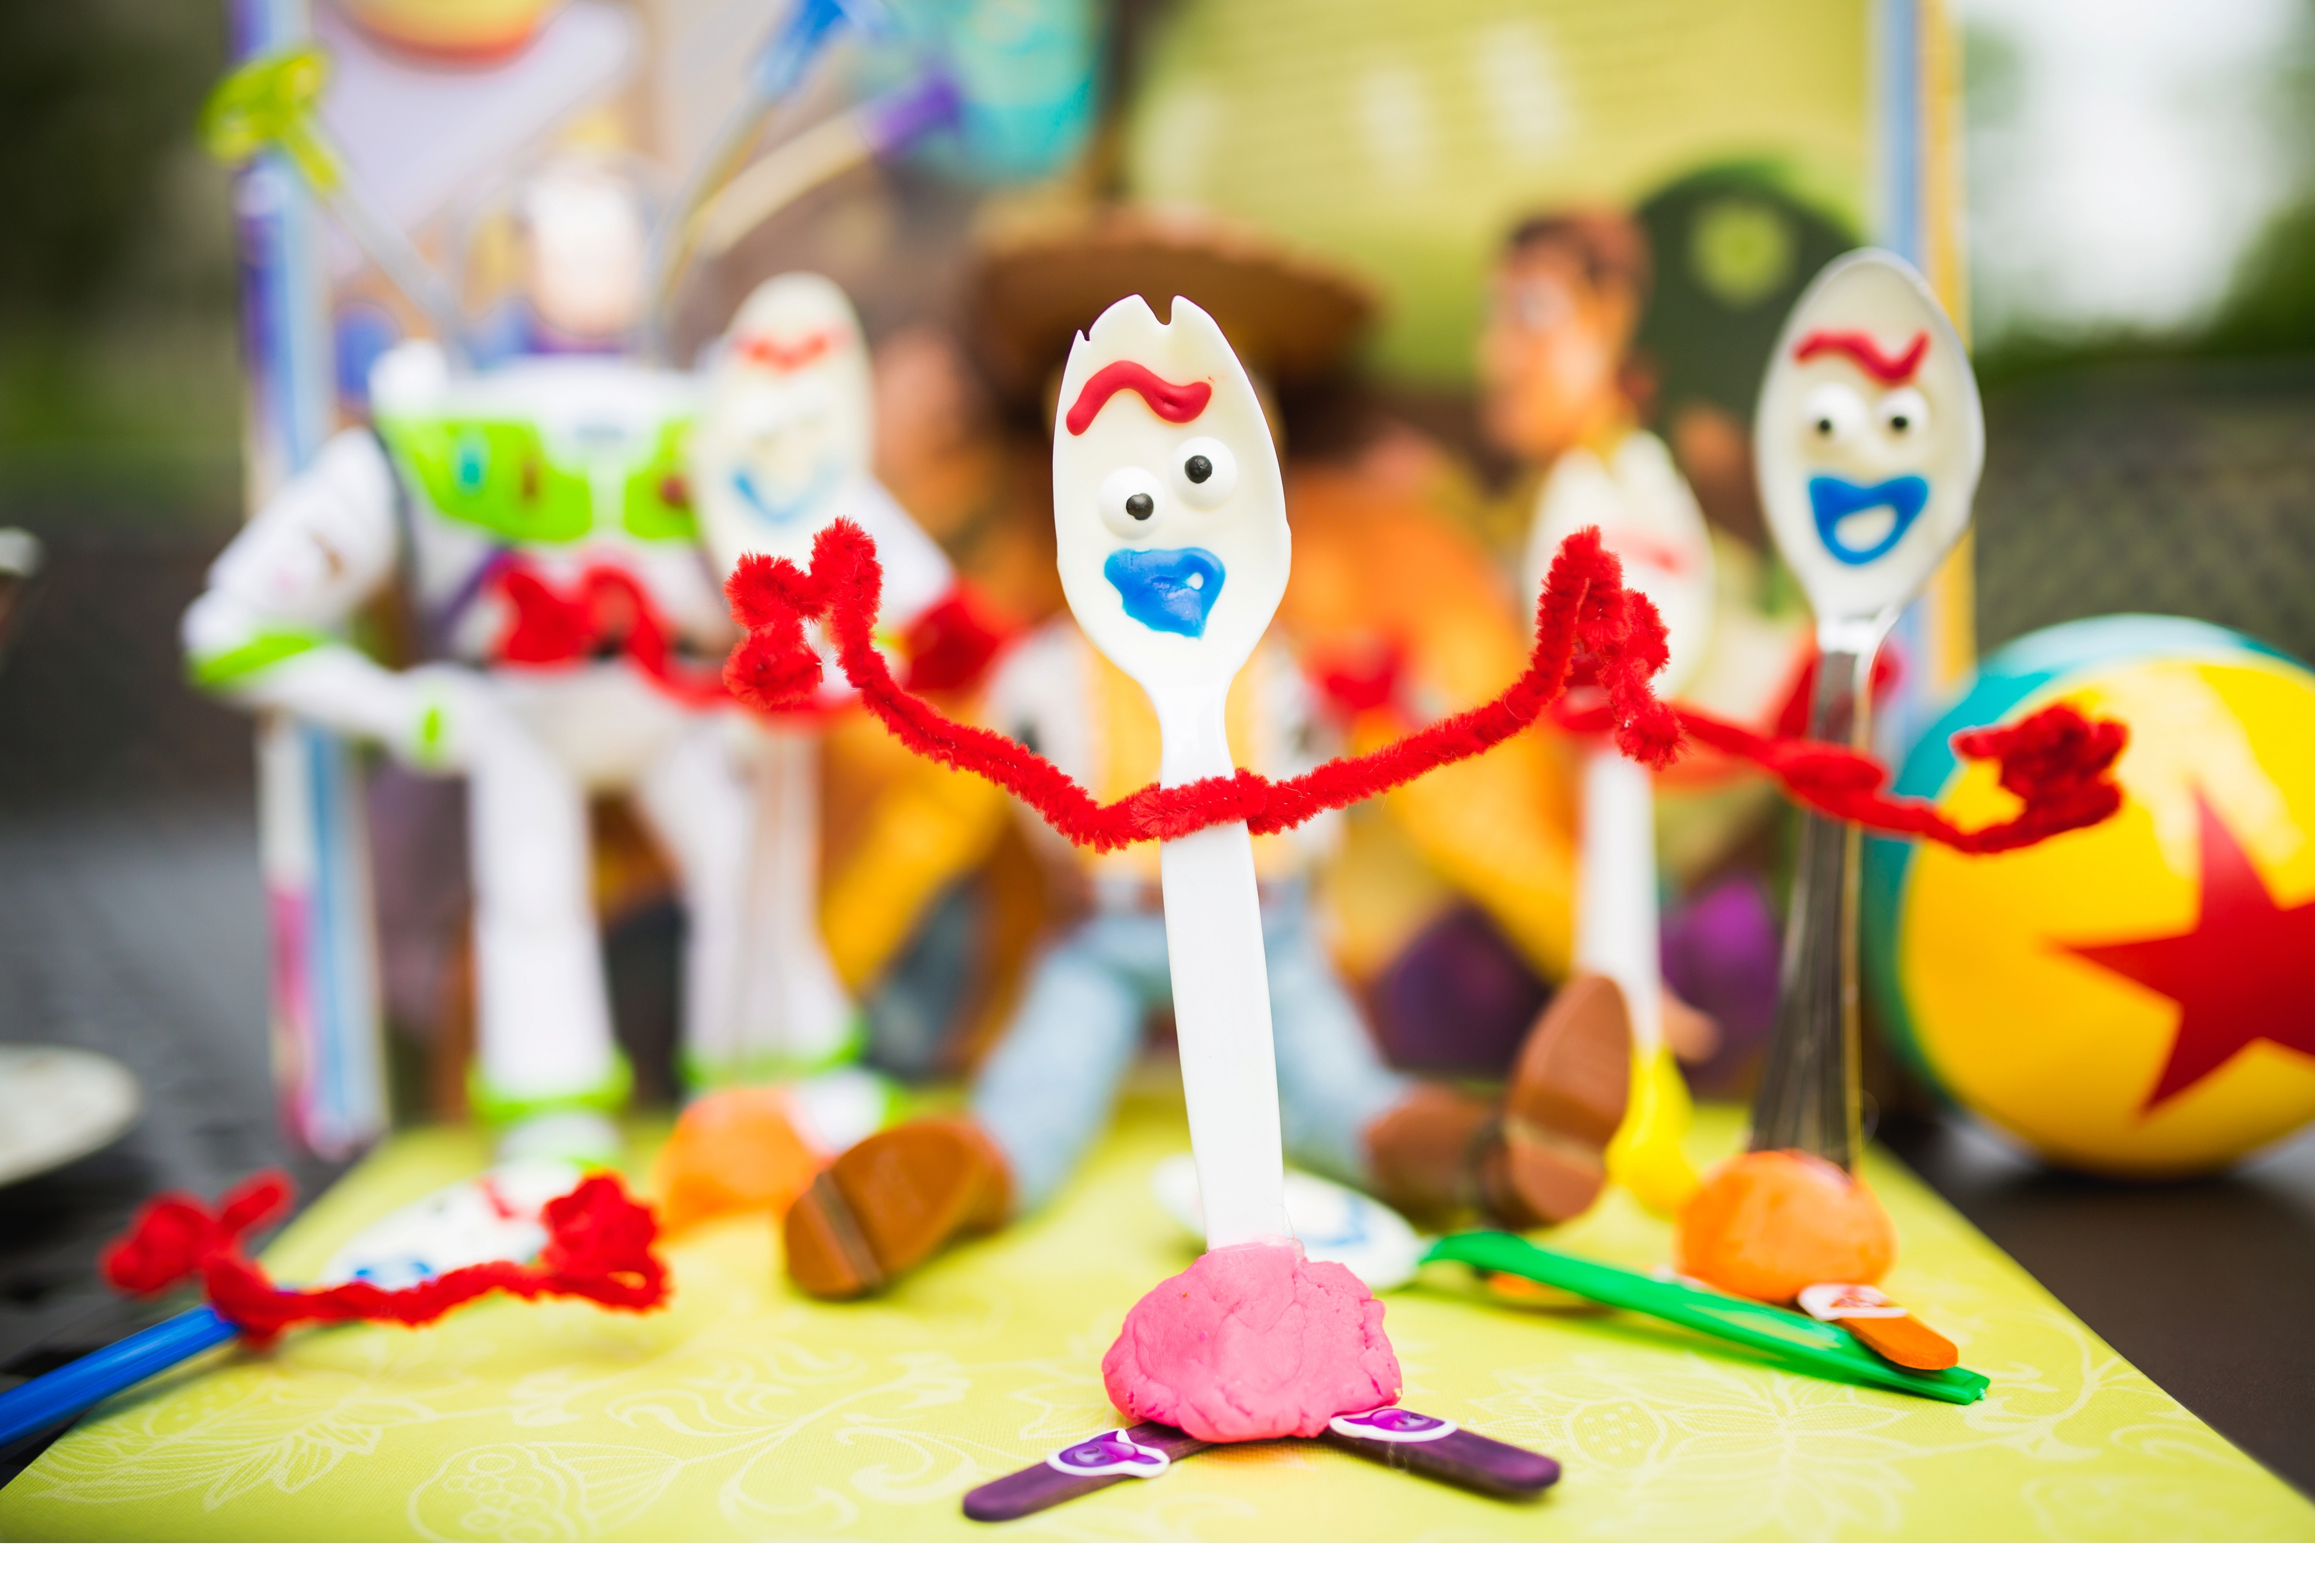
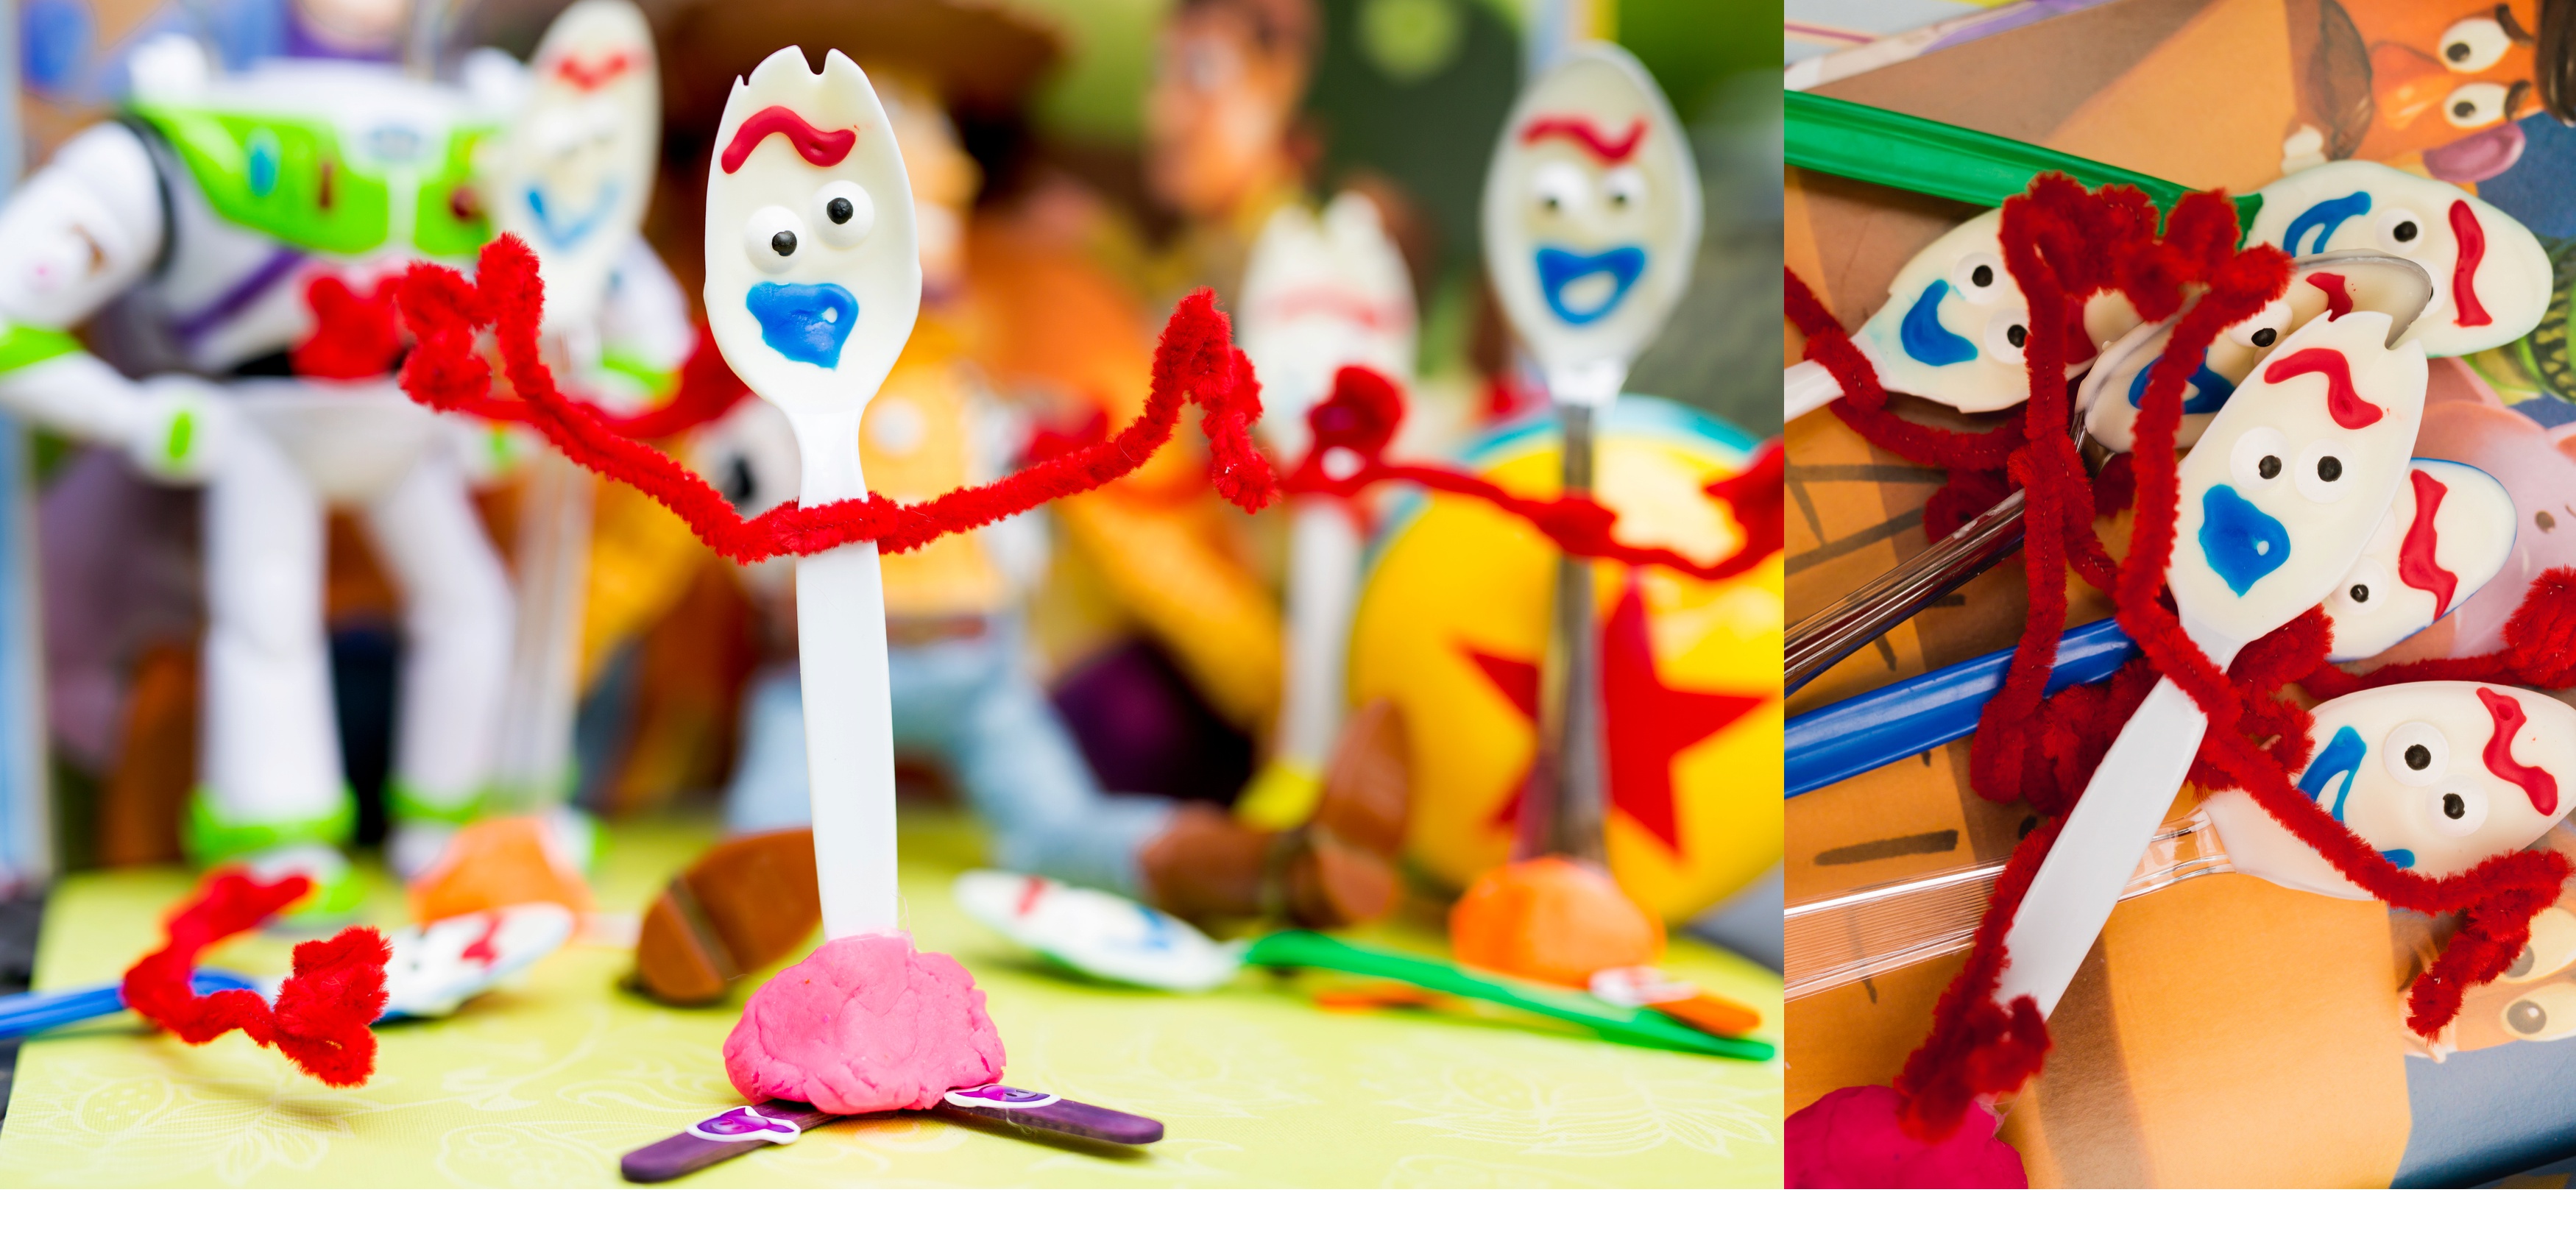
Really, his randomness, from his popsicle stick legs to his pipe cleaner arms and his googly eyes make us love him so much more.
The only thing that would make him better?
One thing. One thing can make him better.
If he was made of chocolate!!!!
And, that my friend, is how we have come to the creation of the DIY white chocolate dipped Forky. Perfect for use in hot chocolate or for just eating by itself.
Without further ado, let’s the most delicious new toy from Toy Story 4. A DIY White Chocolate Covered Forky!
DIY White Chocolate Covered Forky from Toy Story 4
Sporks (Or Spoons if you can’t find any sporks!) (We made 6)
White Chocolate Melting Chocolate
Blue and Red Icings Tubes(Premade or Make Your Own. Premade one’s can be found here)
Small Microwave Safe Bowl
Large Plate
Spoon
1. Step One
Gather up all your supplies!
Cut a large square of waxed paper out and place it on the plate.
Pour your white chocolate into a microwave safe bowl.
2. Step Two
Microwave the white chocolate for 30 seconds at a time. Stirring after each microwave session until the white chocolate has completely melted.
Dip your spork into the melted white chocolate!!
Using your spoon to make sure the spork is covered. The white chocolate might have some issues sticking the the plastic spork, so be sure to work quickly and keep the chocolate thick.
Lay the spork on the plate covered in wax paper and add the two candy eyeballs. Make sure to push one eyeball in farther than the other eyeball to create the illusion that one eye is bigger than the other.
Once eyeballs are secured and all sporks are covered, transfer the sporks on the plate covered in waxed paper into the fridge.
Let cool until completely white chocolate hardened. (Or most of the way there, because everyone knows it’s hard to be patient when you’re dealing with chocolate!)
3. Step Three
Add your details!
The pipe cleaner arms, the blue mouth and the red eyebrows all needed to be added to create a signature Forky look!
Want some words of advice?
Don’t touch Forky’s mouth too soon. Odds are it’s not dry yet. The blue and red icings seem to take a lot longer than the white chocolate to dry.
Needed to share that, just in case you had plans of smudging Forky’s mouth like I did!
4. Step Four
Once your Forky and Forky’s features have dried you’re ready to enjoy!
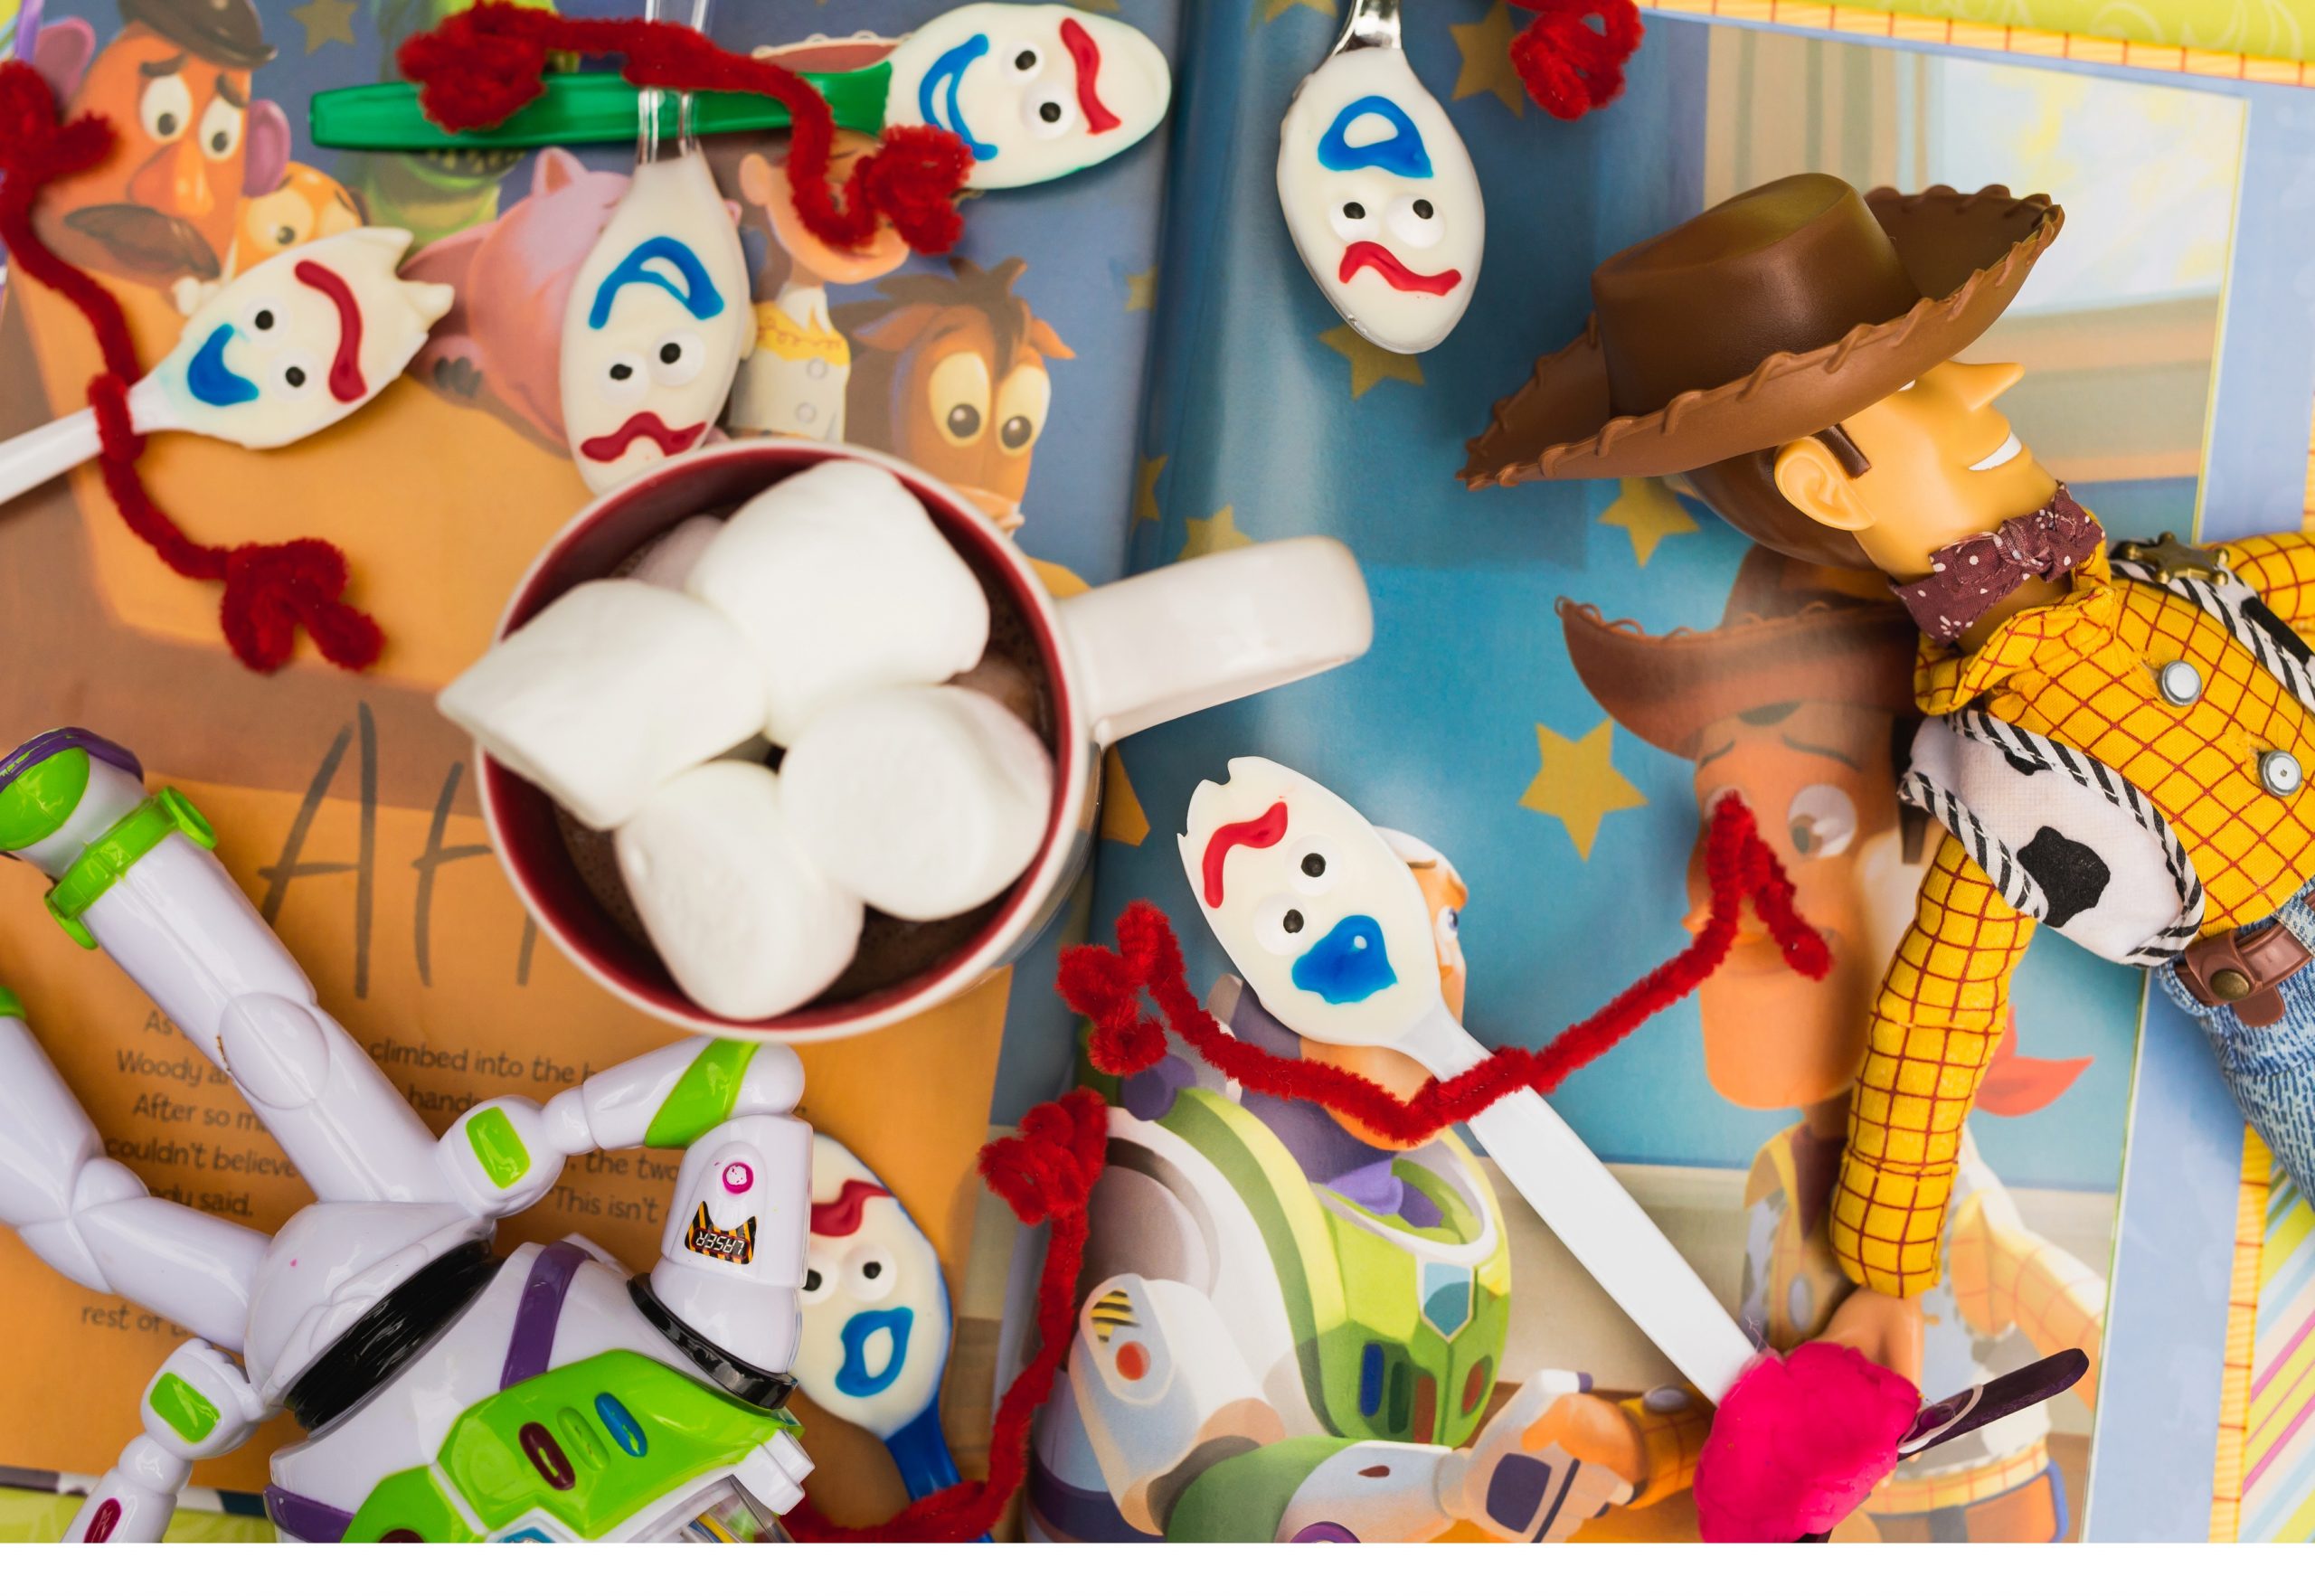
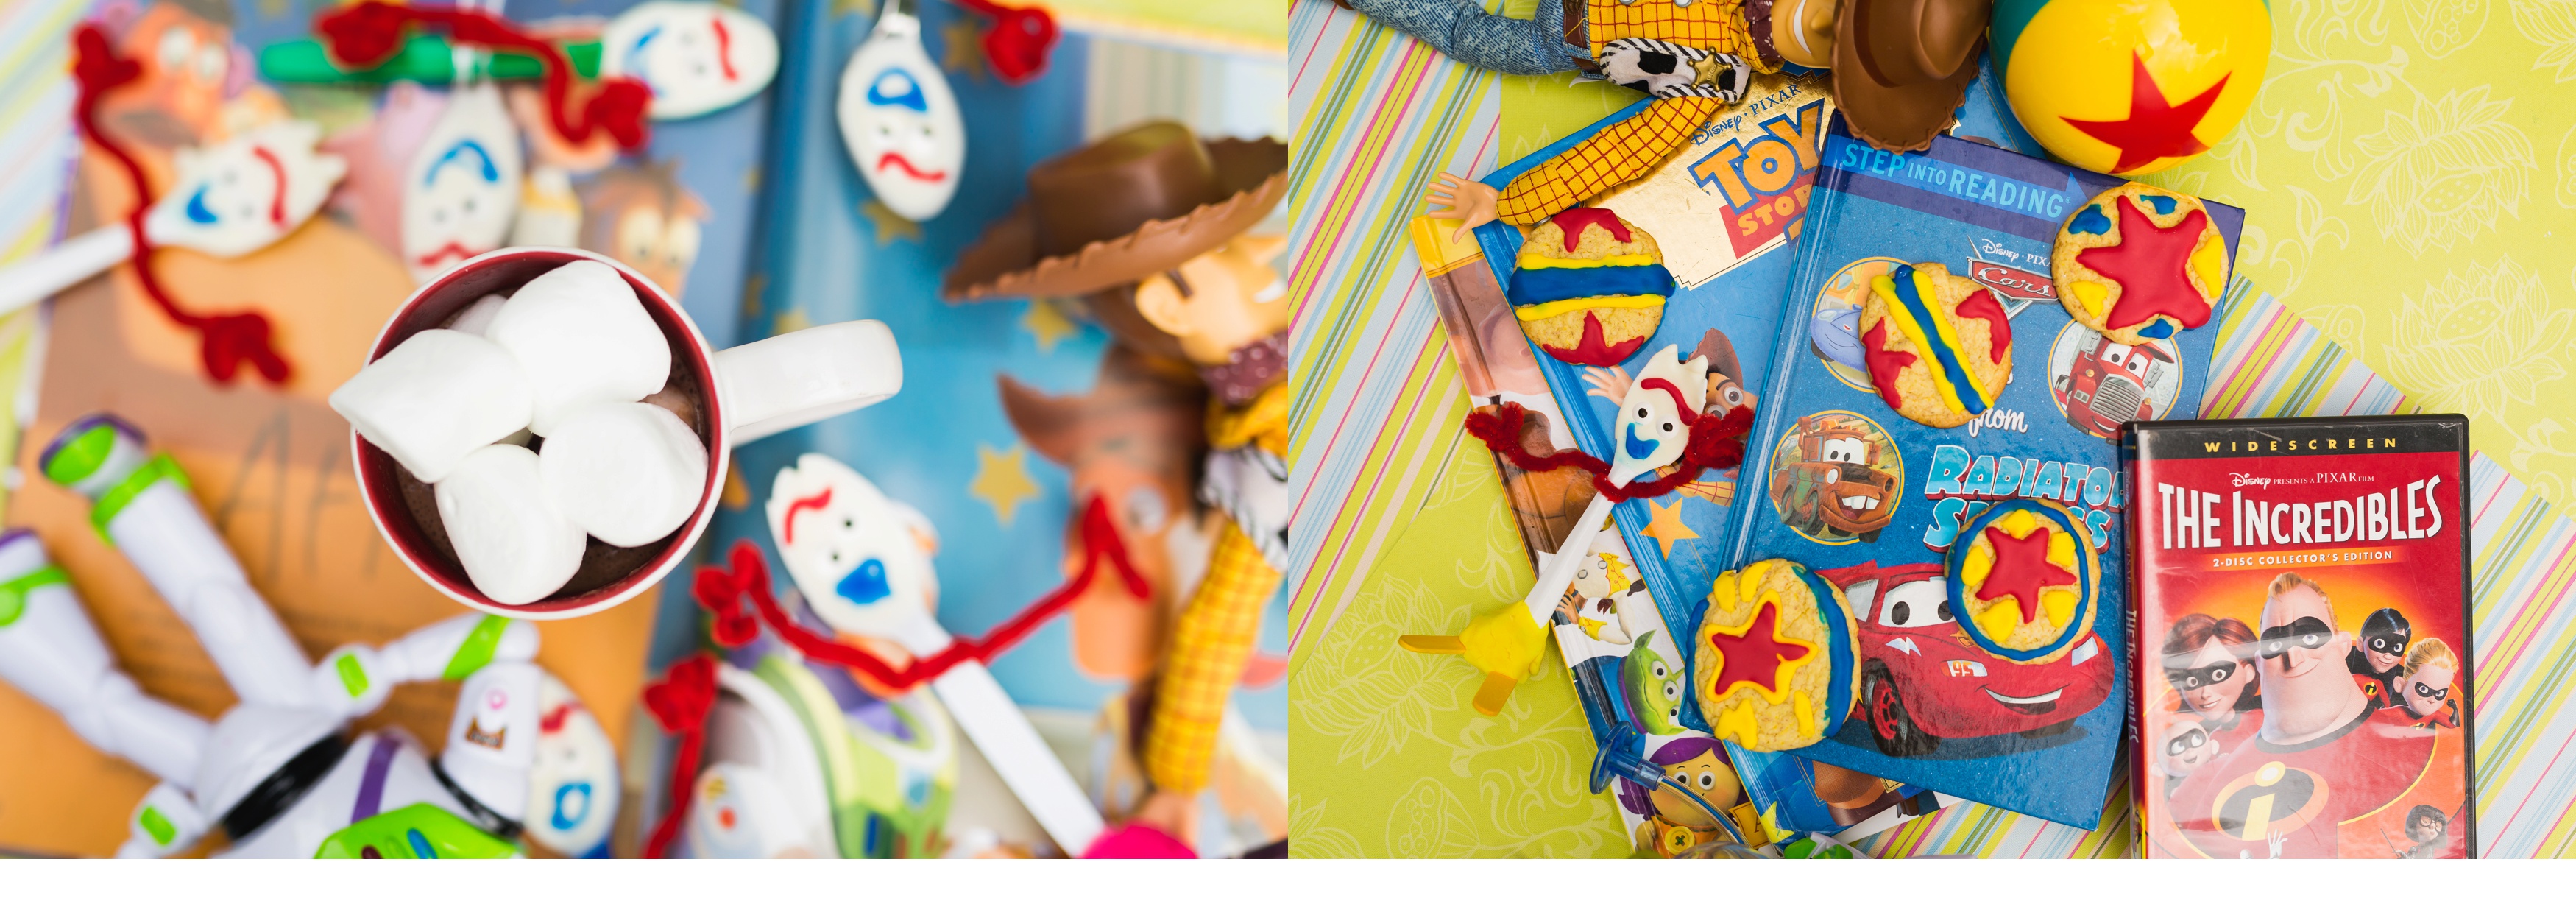
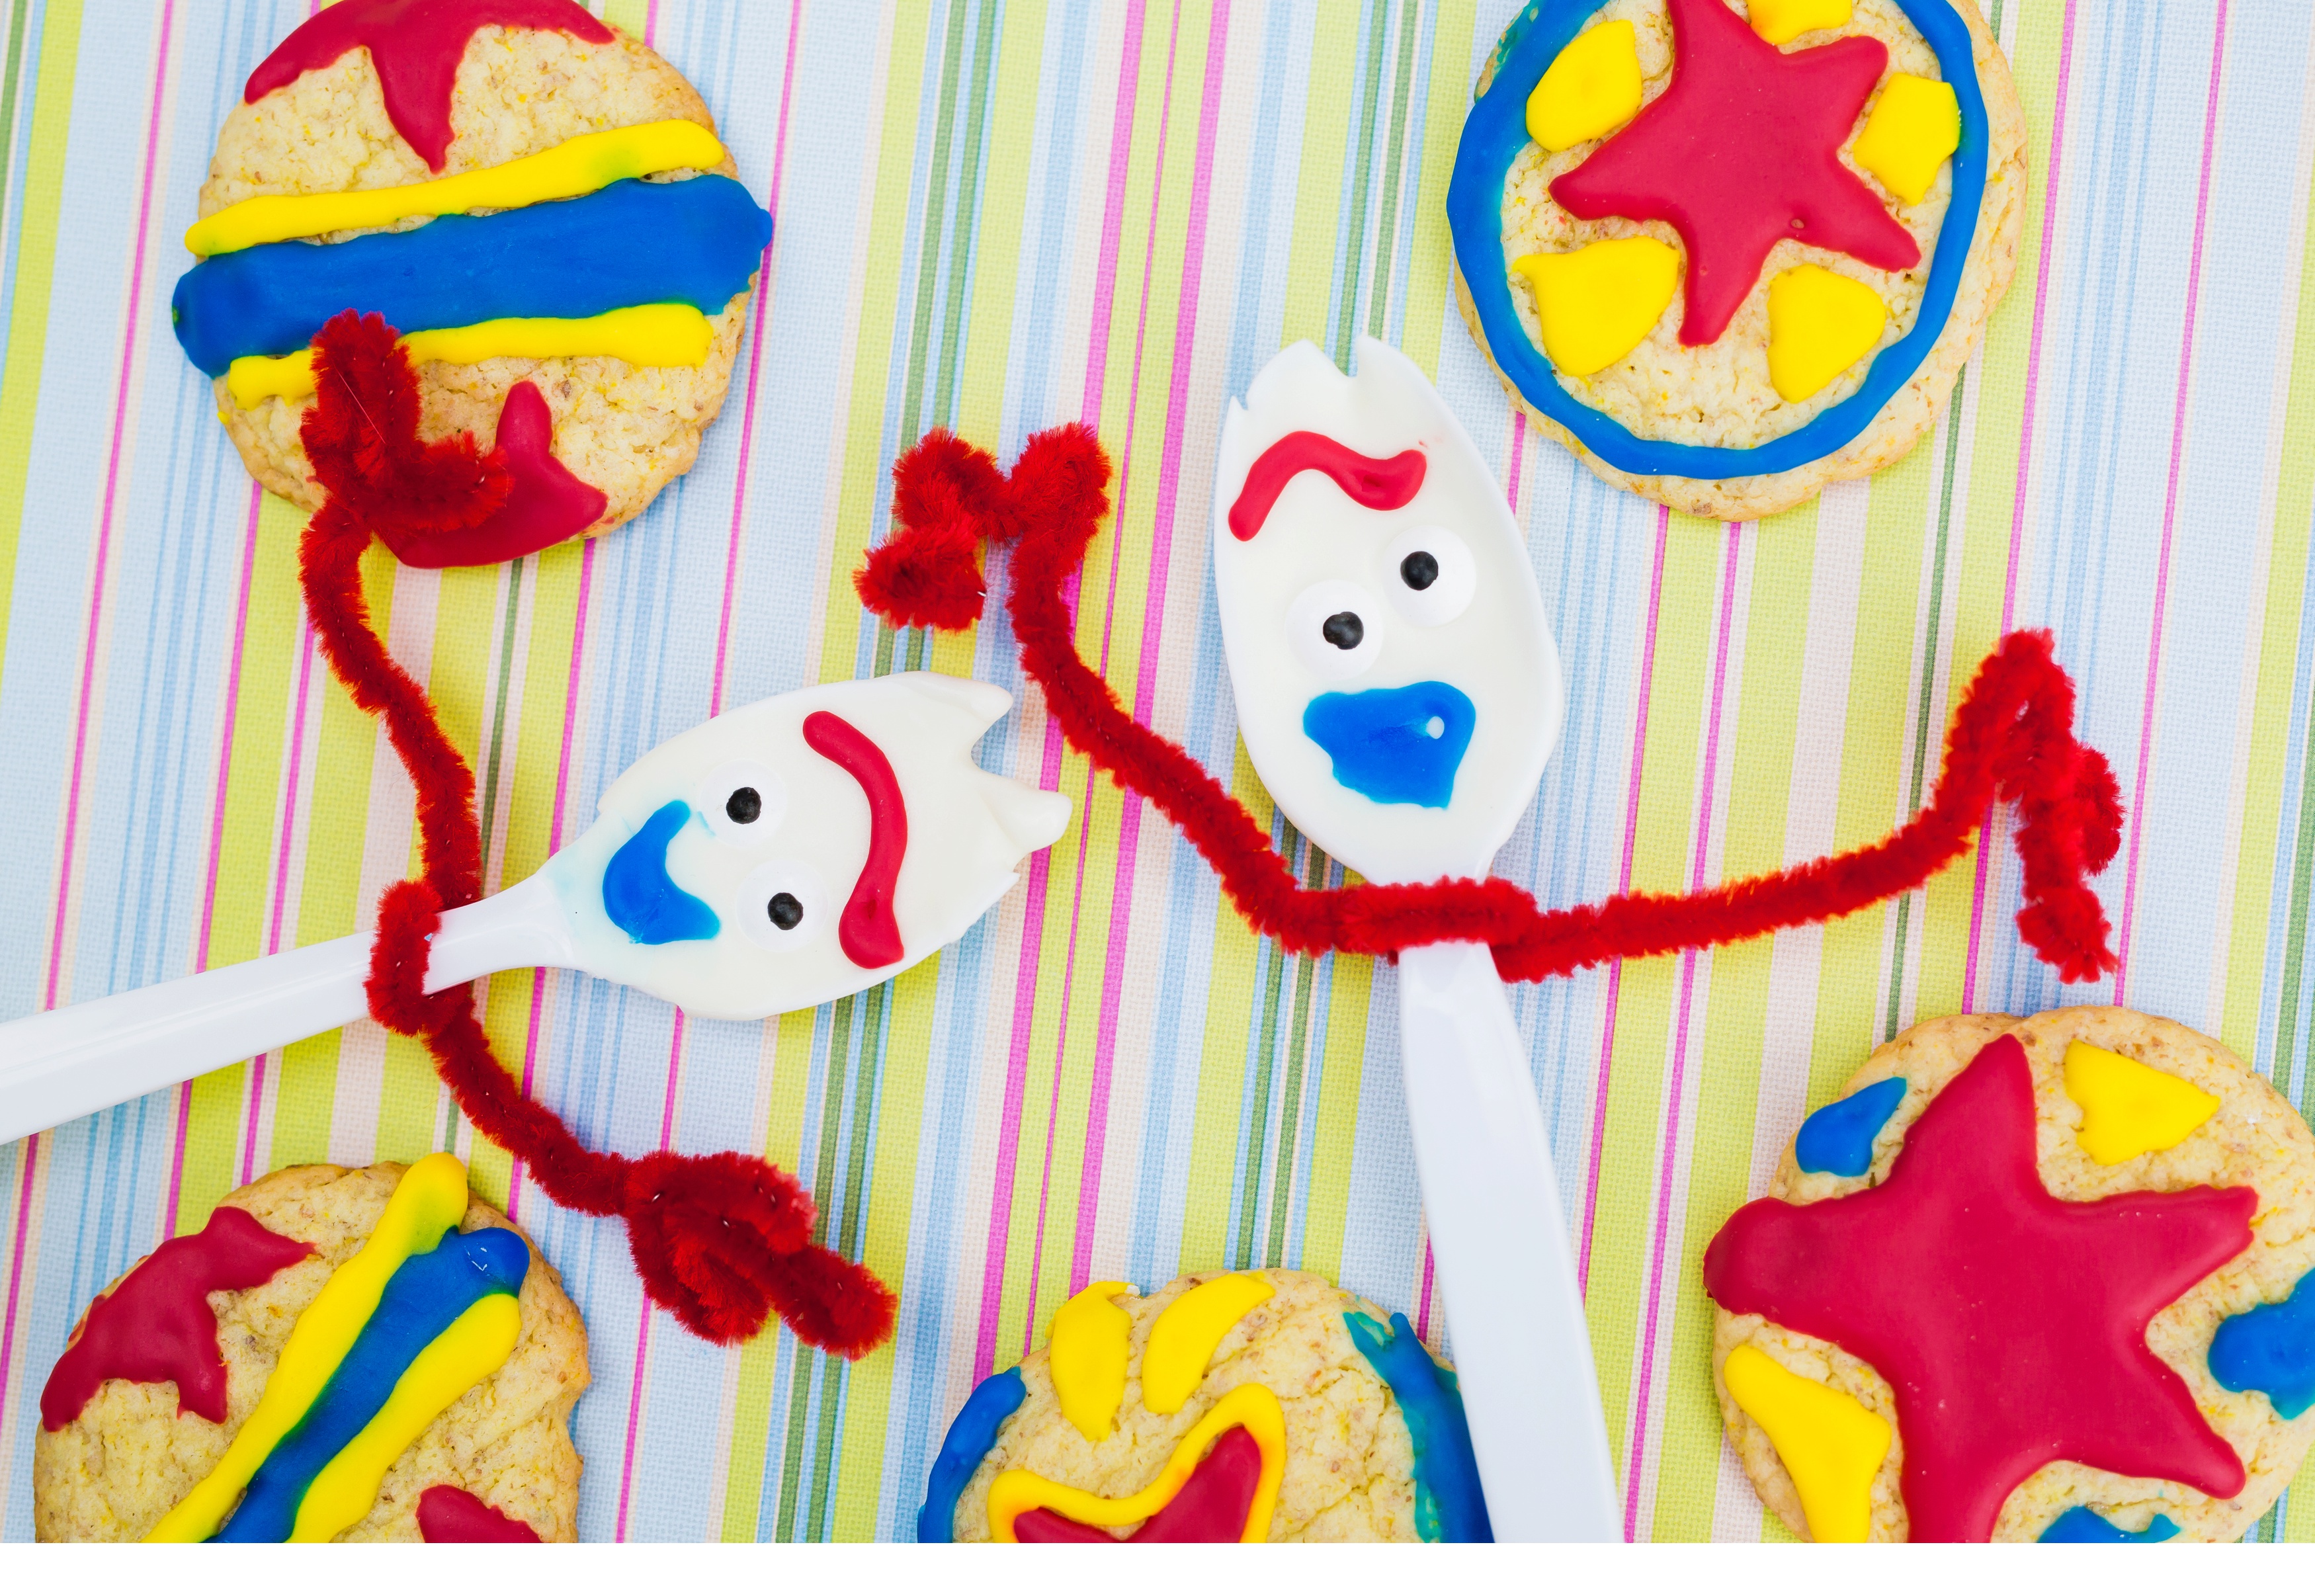
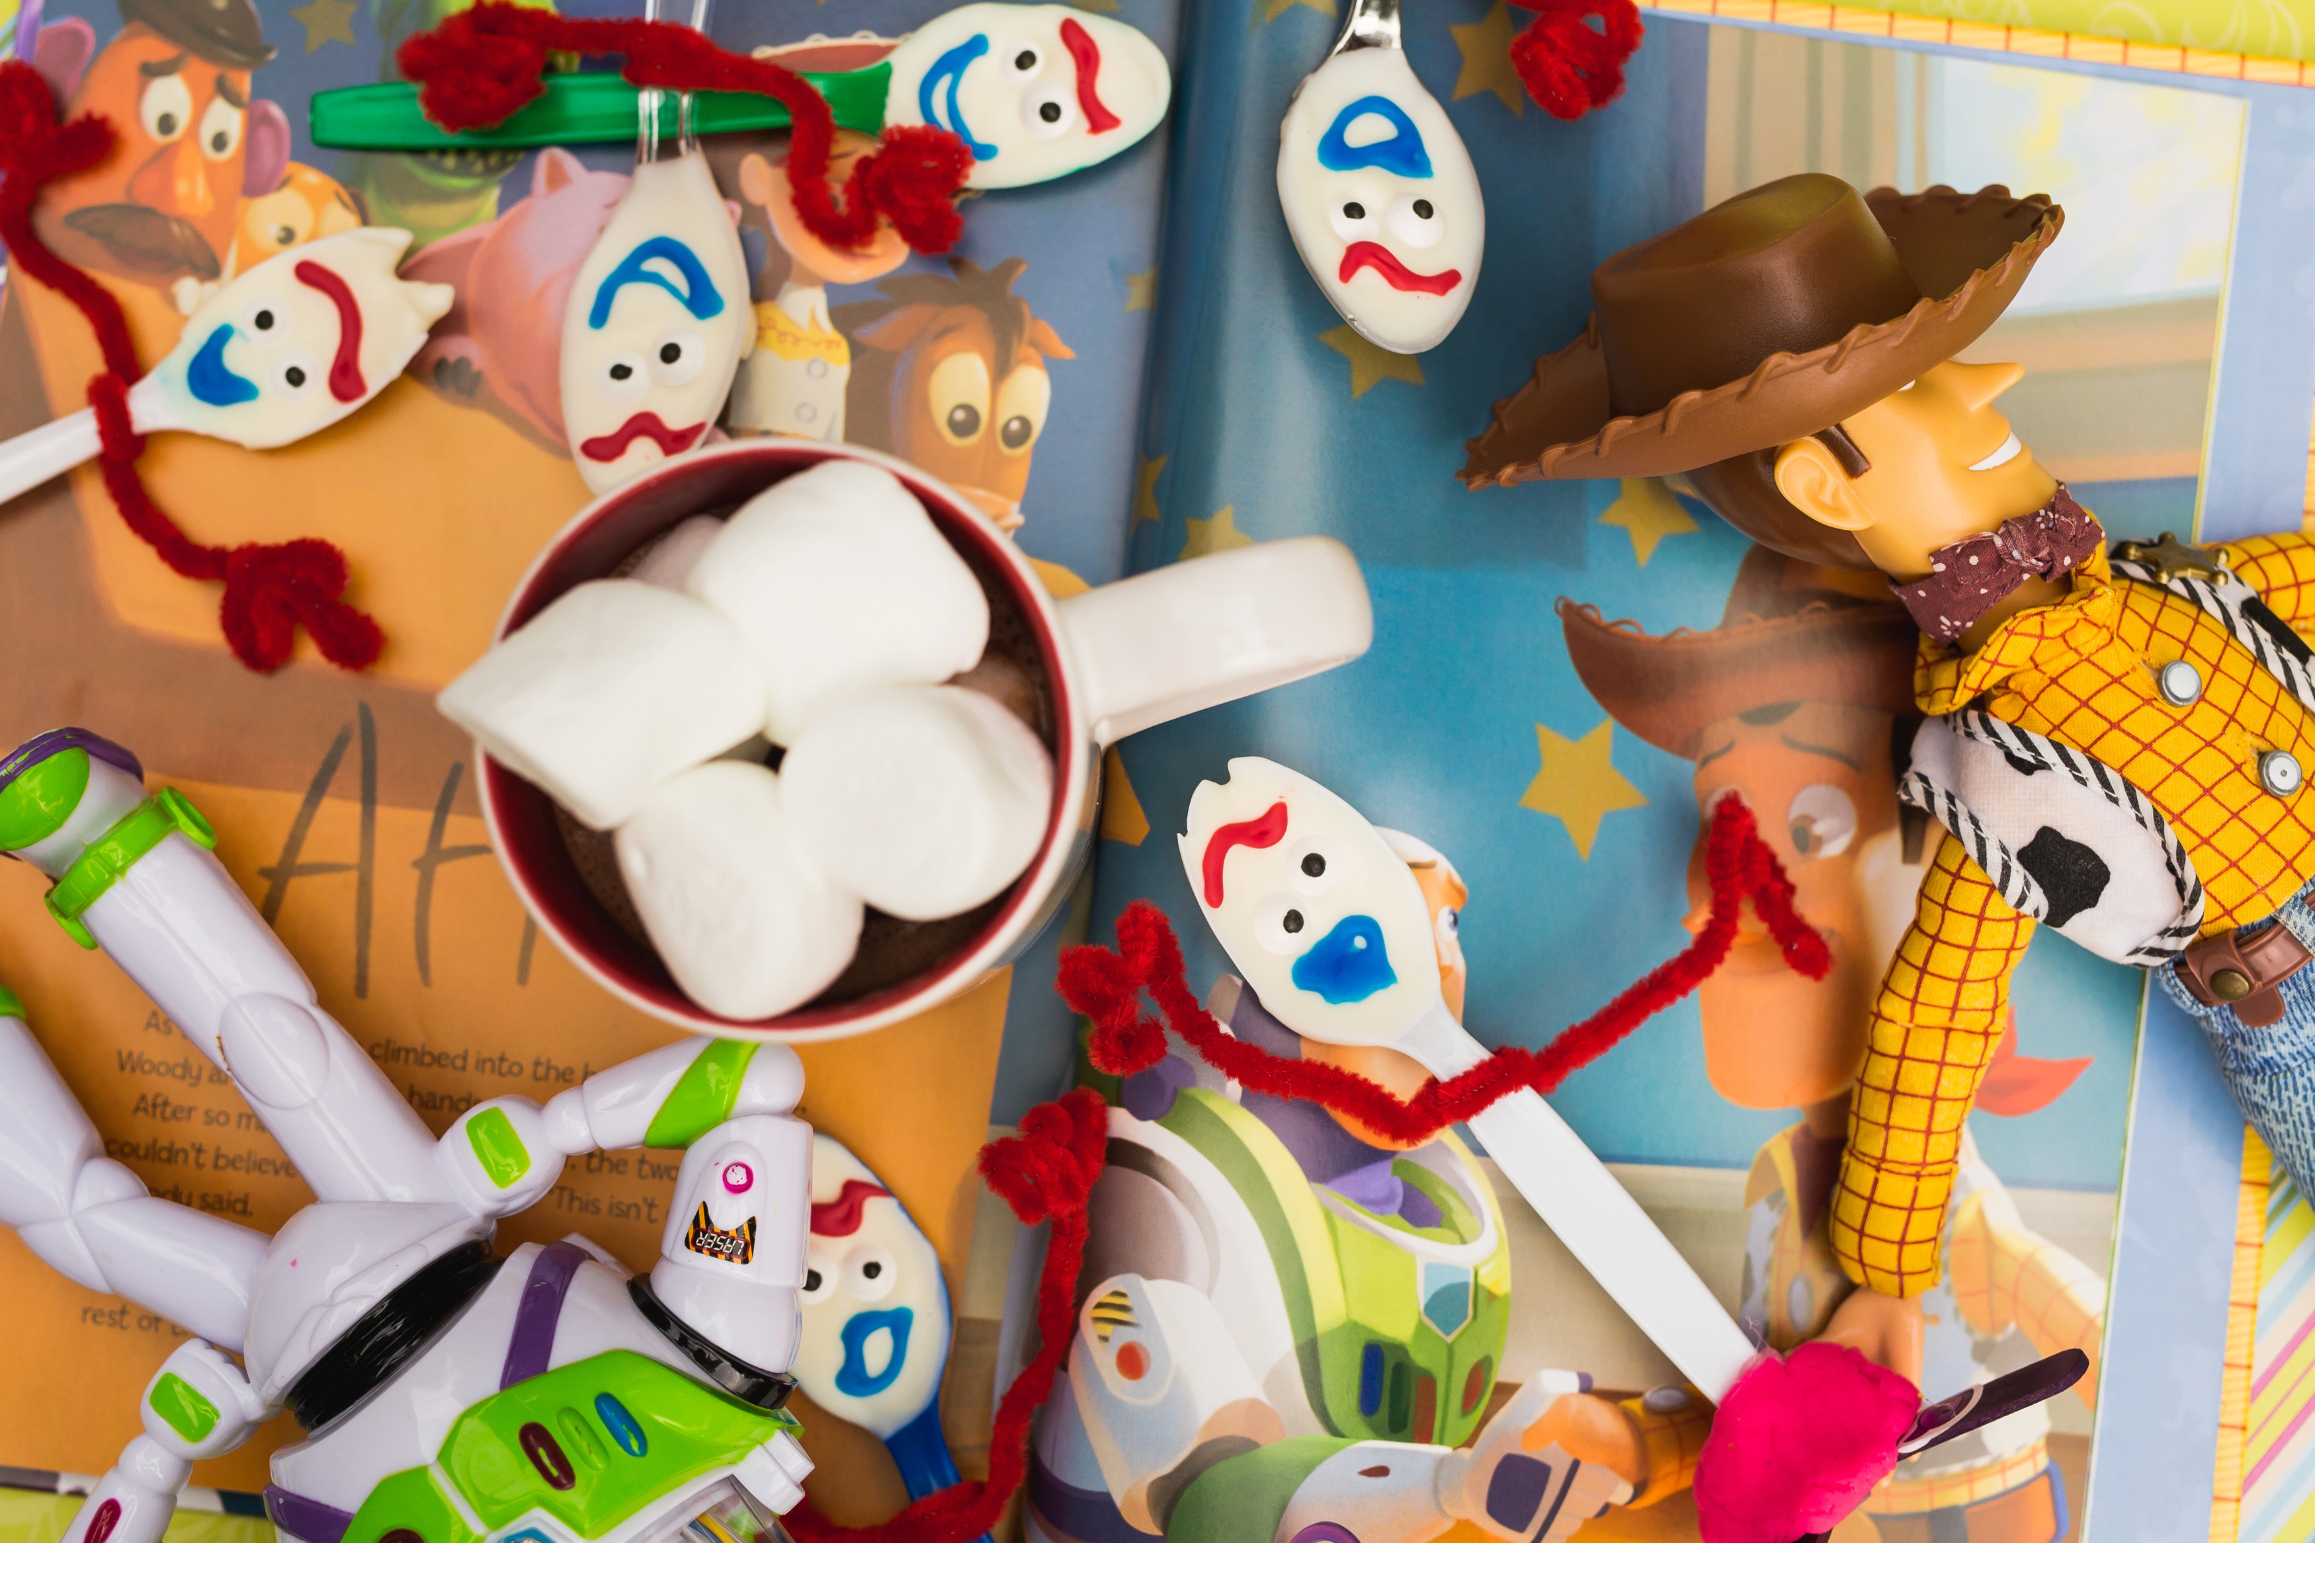
We liked to serve our’s with a mug of hot chocolate and marshmallows. Ooo, and some homemade pixar ball cookies. ‘Cause they are the coolest!
Be Sure to Pin the Image Below and Follow Me on Pinterest, Instagram and Facebook: @magicformiles
Heading to the parks soon? If you’re looking for ticket, hotel or car rental deals be sure to check out Undercover Tourist. We have used Undercover Tourist for several years and for numerous trips, both to Walt Disney and Disneyland. Every experience has been easy and resulted in a great deal. Be sure to click through the link below to see their current offers. If you purchase after clicking through banner, we will receive a small commission. Thanks in advance!

