Is it weird to have a crush on a cartoon character made for a theme park ride?
No? Okay, cool. I was just asking for a friend anyhow. I’ll let her know…
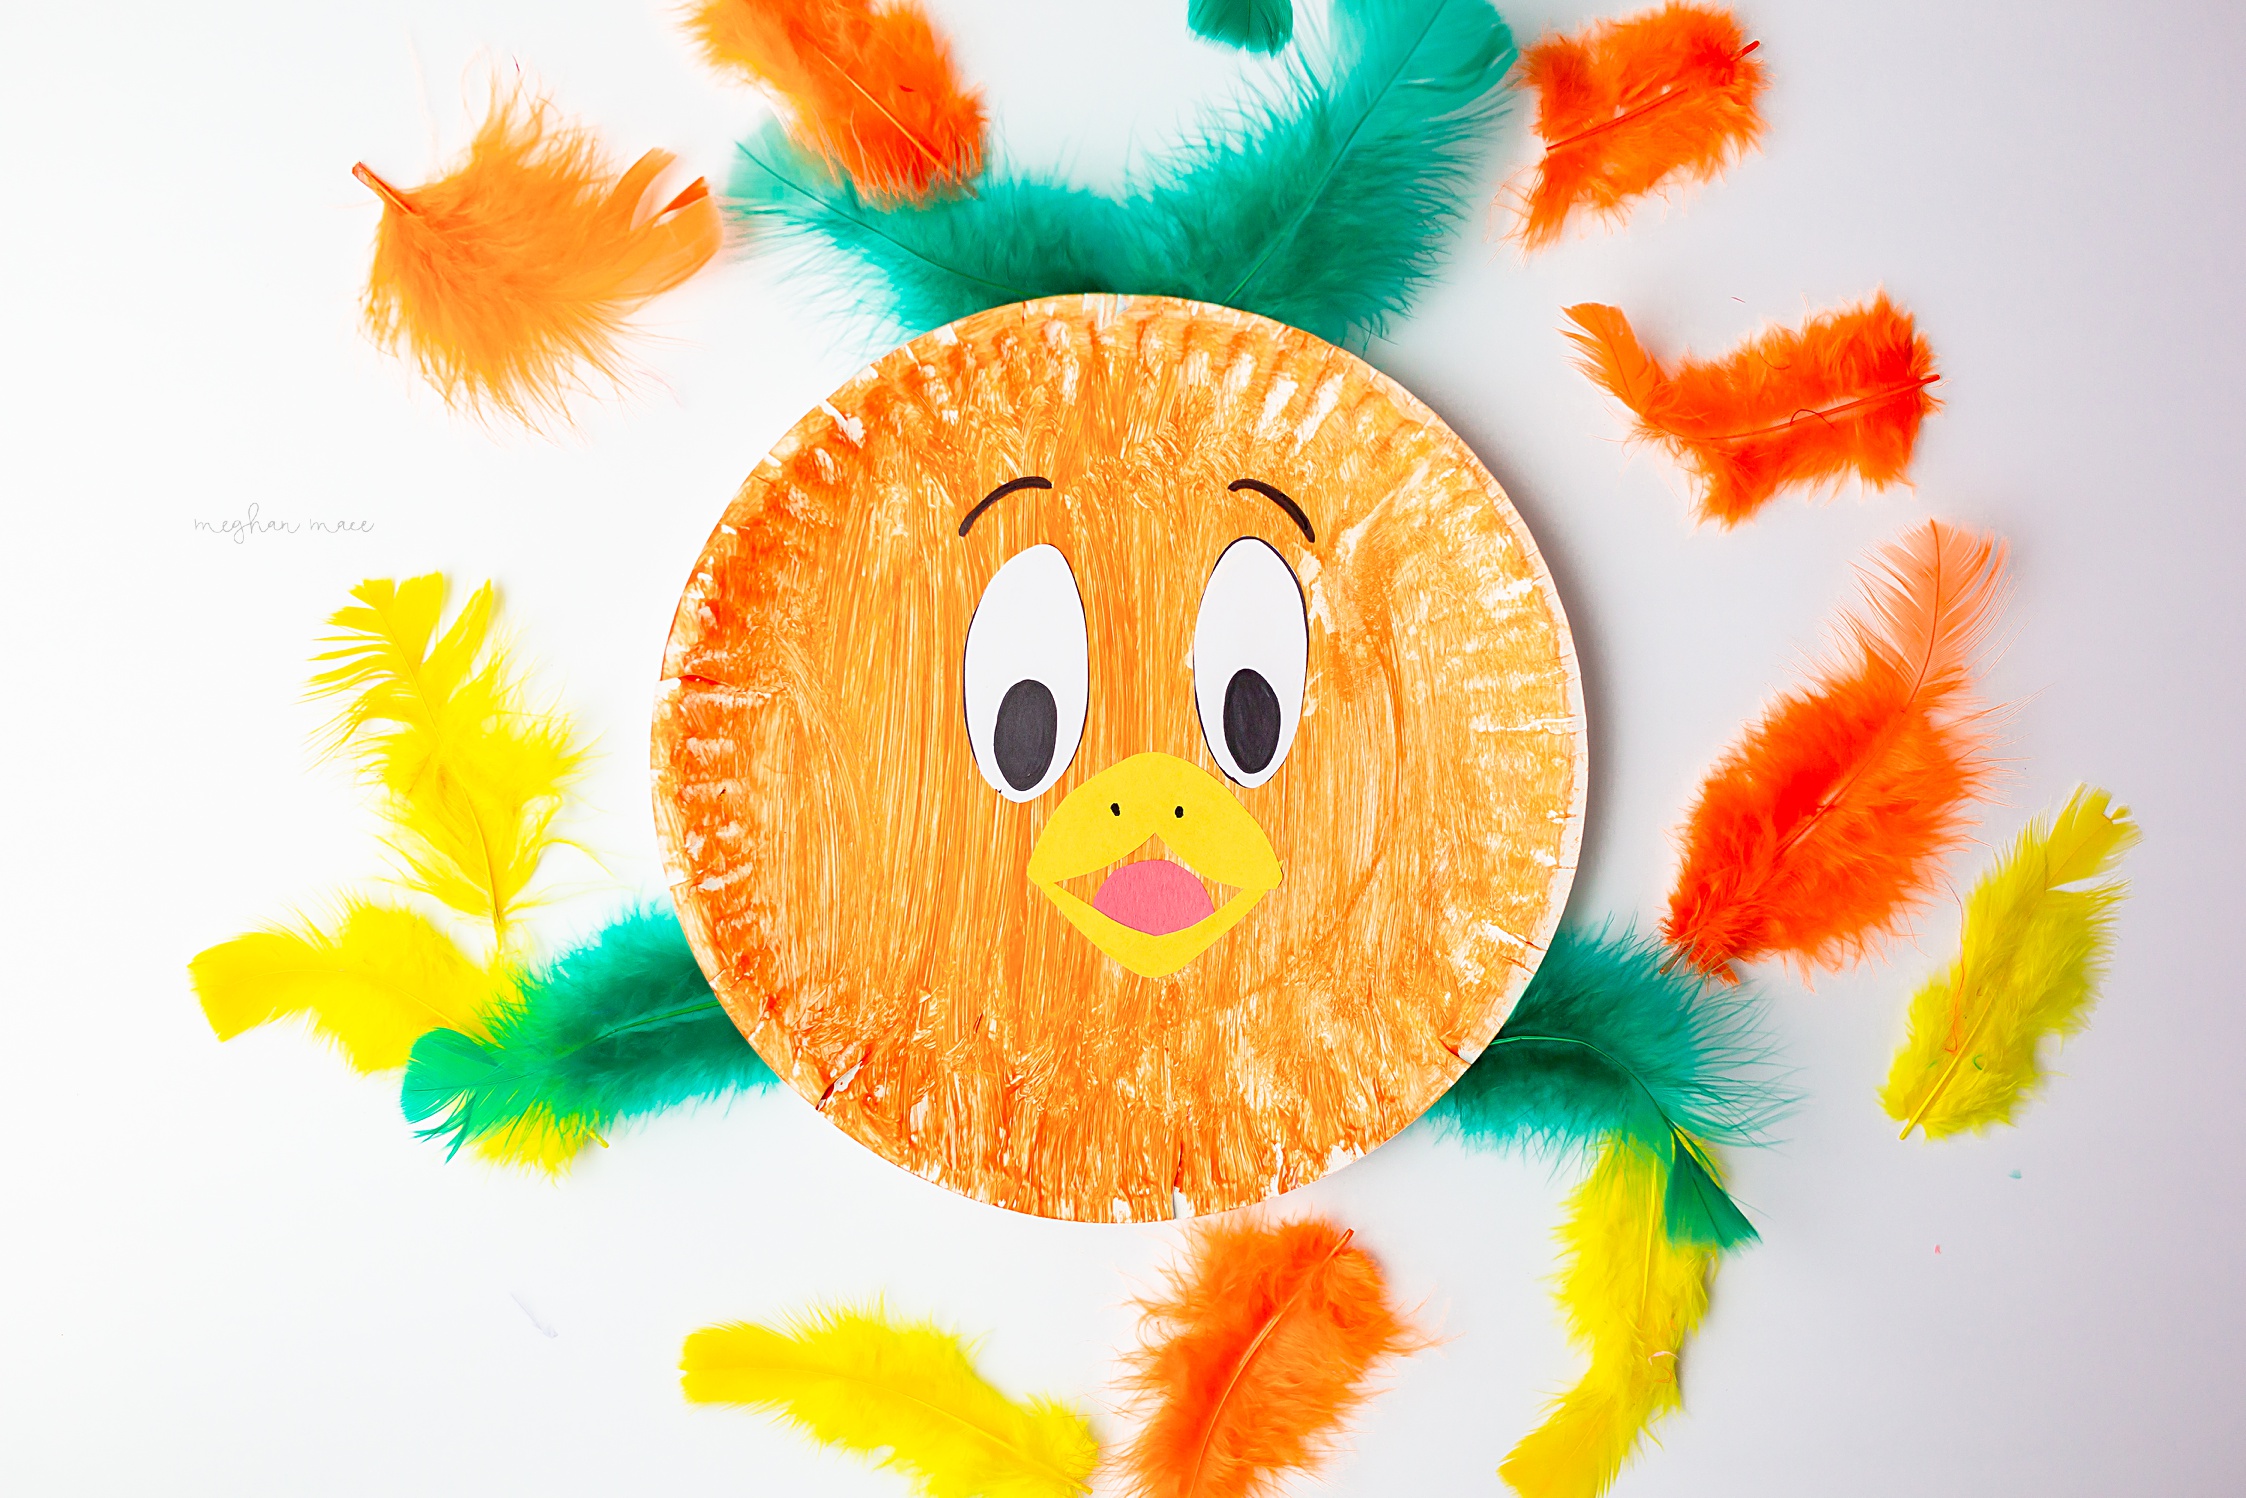
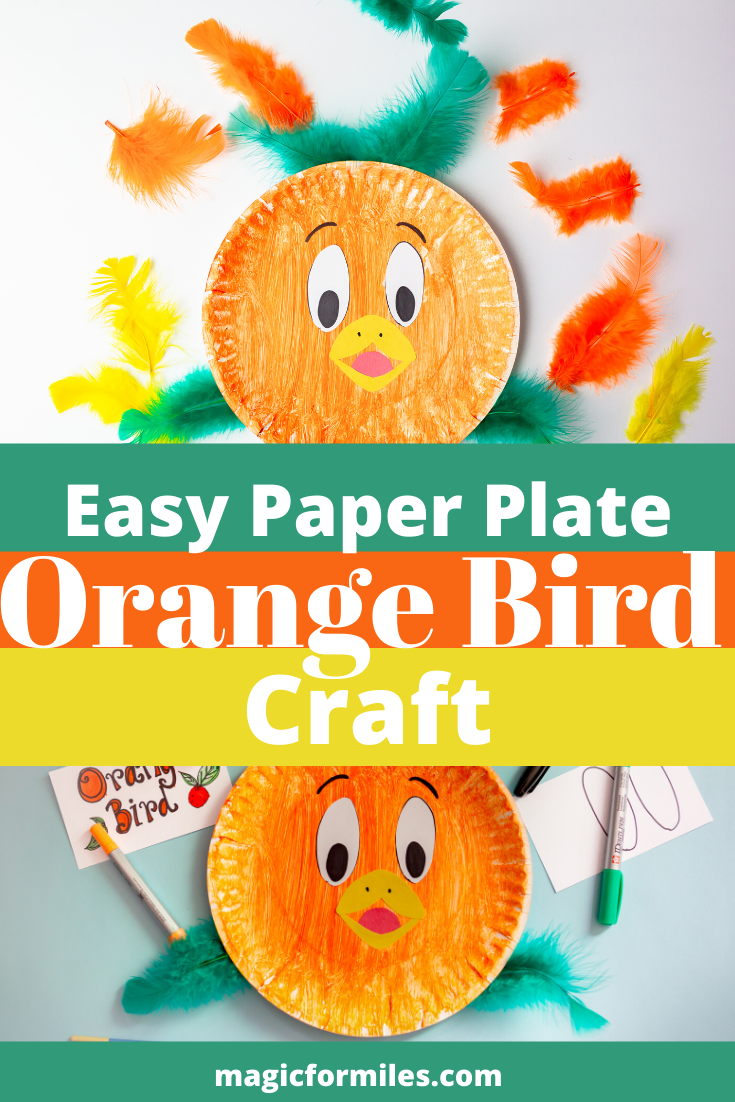
On a TOTALLY unrelated note, how cute is Orange Bird from Walt Disney World? Pretty much the cutest, right? Even though he’s been around since the 1970s he has definitely become cuter with age. So cute that it would be a shame if you and/or your little ones didn’t make the following Orange Bird Craft.
Since you don’t want there to be any shame, let’s dive right into this easy, peasy Orange Bird Craft!
Orange Bird Craft
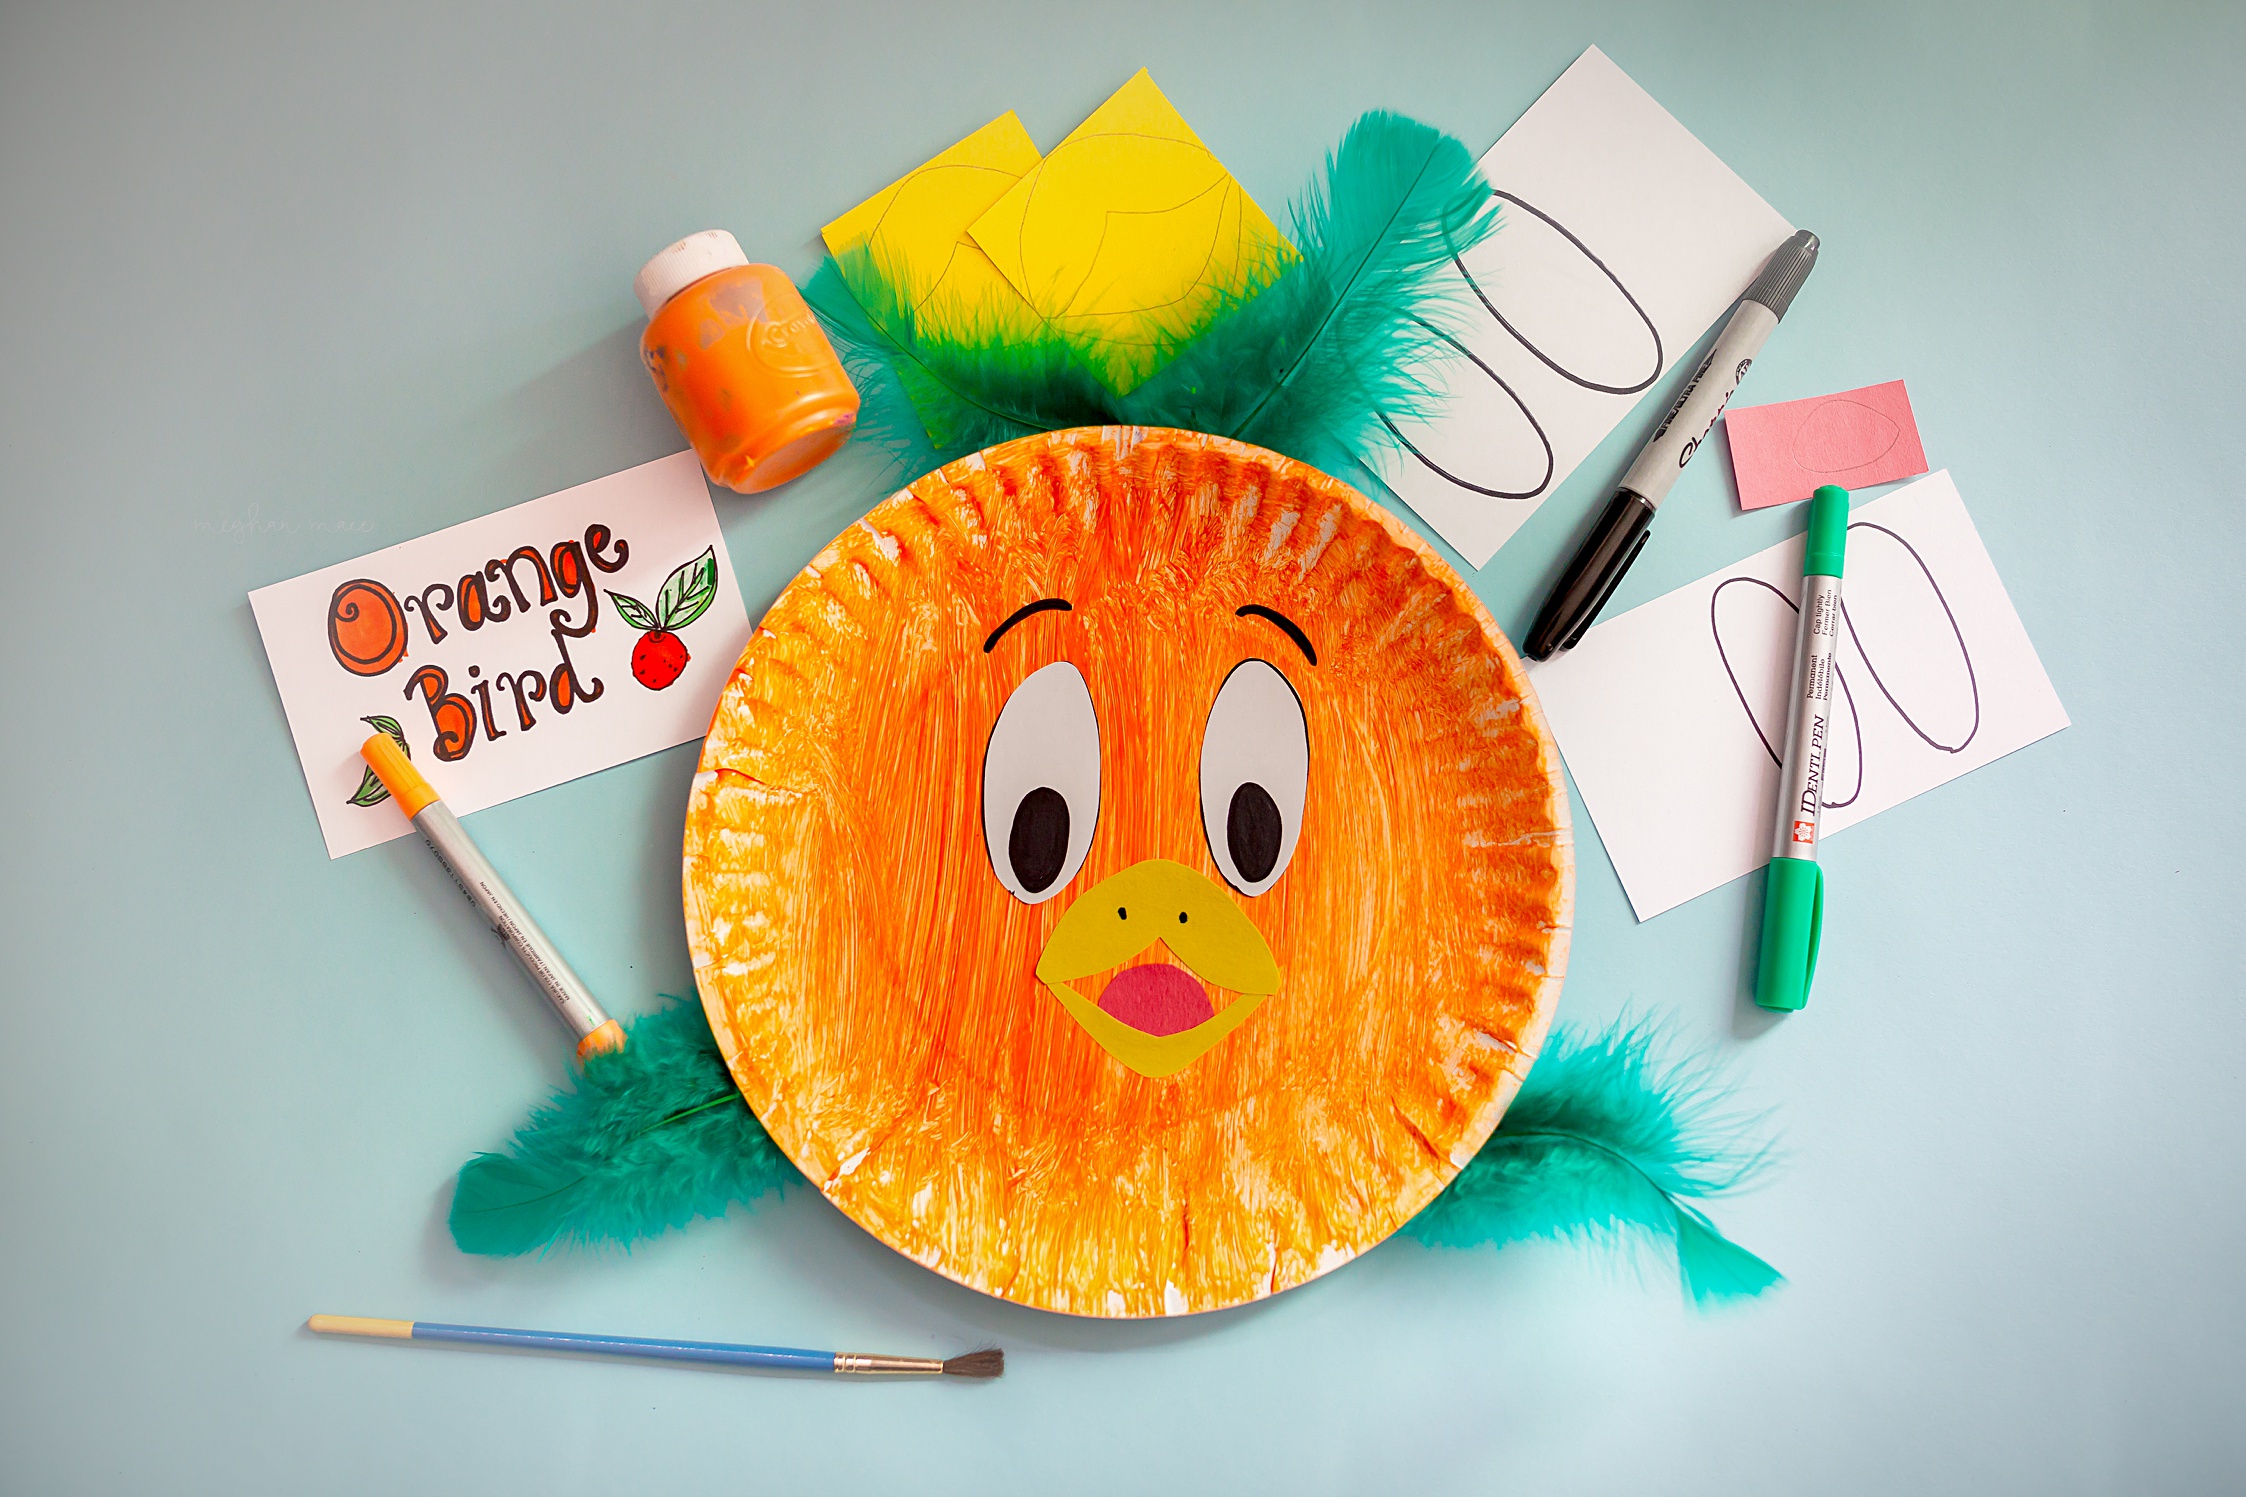
Supplies:
Paint Brush
White Construction Paper, Yellow Construction Paper
Red Crayon or Red Construction Paper
1. Step One: Prepping for Your Orange Bird Craft
Gather up all your supplies!
Having all of your crafts supplies within arms reach is going to help you create this craft quickly. Which is important when little hands are involved. Attention spans don’t last long, but if everything is ready you’ll fly through this craft in no time. (See what I did there? Fly? Get it. Ha!)
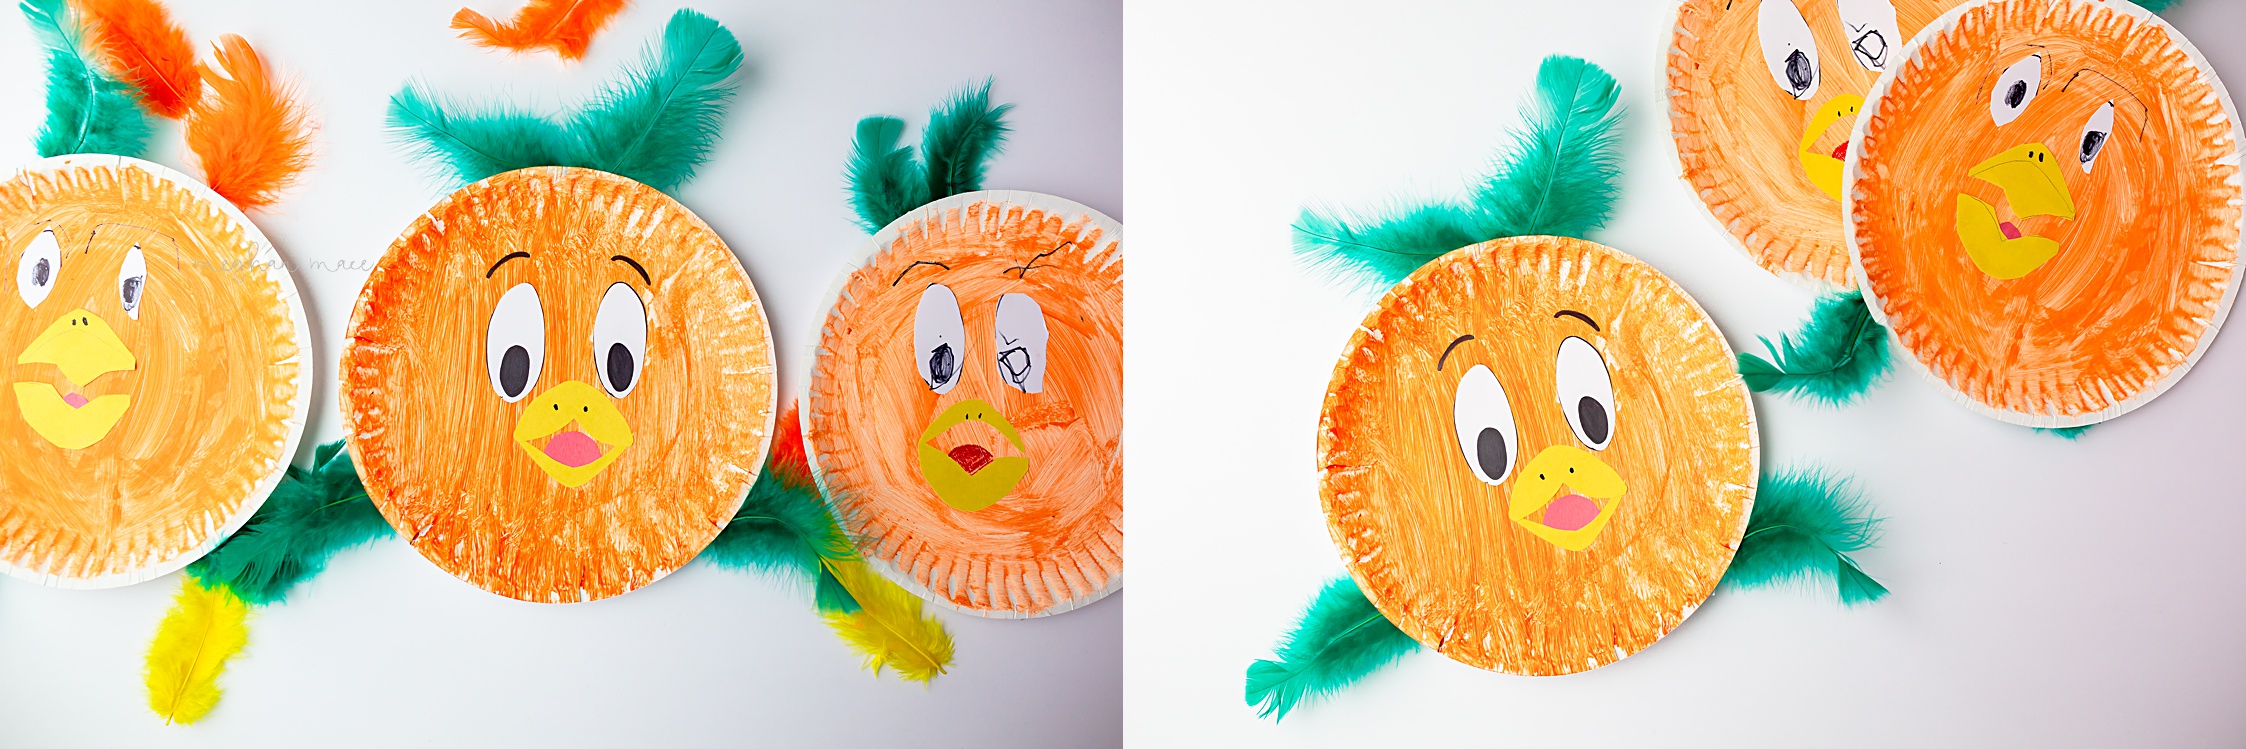
Depending on the age of your kiddo(s), you might want to do a little prep work for your session. I had a five-year-old and a two-year-old completing this craft. For the five-year-old, I wanted him to work on his drawing and cutting skills. For the two-year-old, we wanted to focus on coloring and some scissor snipping. Therefore, I cut most of the pieces of Orange Bird’s face out for him.
For both birds, I prepped two large eyeballs (without the iris of the eye) on white construction paper. Next, I made a beak on the yellow construction paper. Then, I drew a red tongue on a construction paper for my older son and set aside a red crayon for my youngest’s orange bird tongue creation.
2. Step Two: Getting Messy
Speaking of attention spans, it’s probably best to divide this craft into two days. Or at least divide it into a morning and nighttime session. For your first session, go ahead and have your little one paint a paper plate orange. Then, let the paper plate dry. A few hours should cover things if the coat of paint isn’t super thick.
3. Step Three: Getting Less Messy
Once your paper plate is dry it’s time to start assembling Orange Bird!
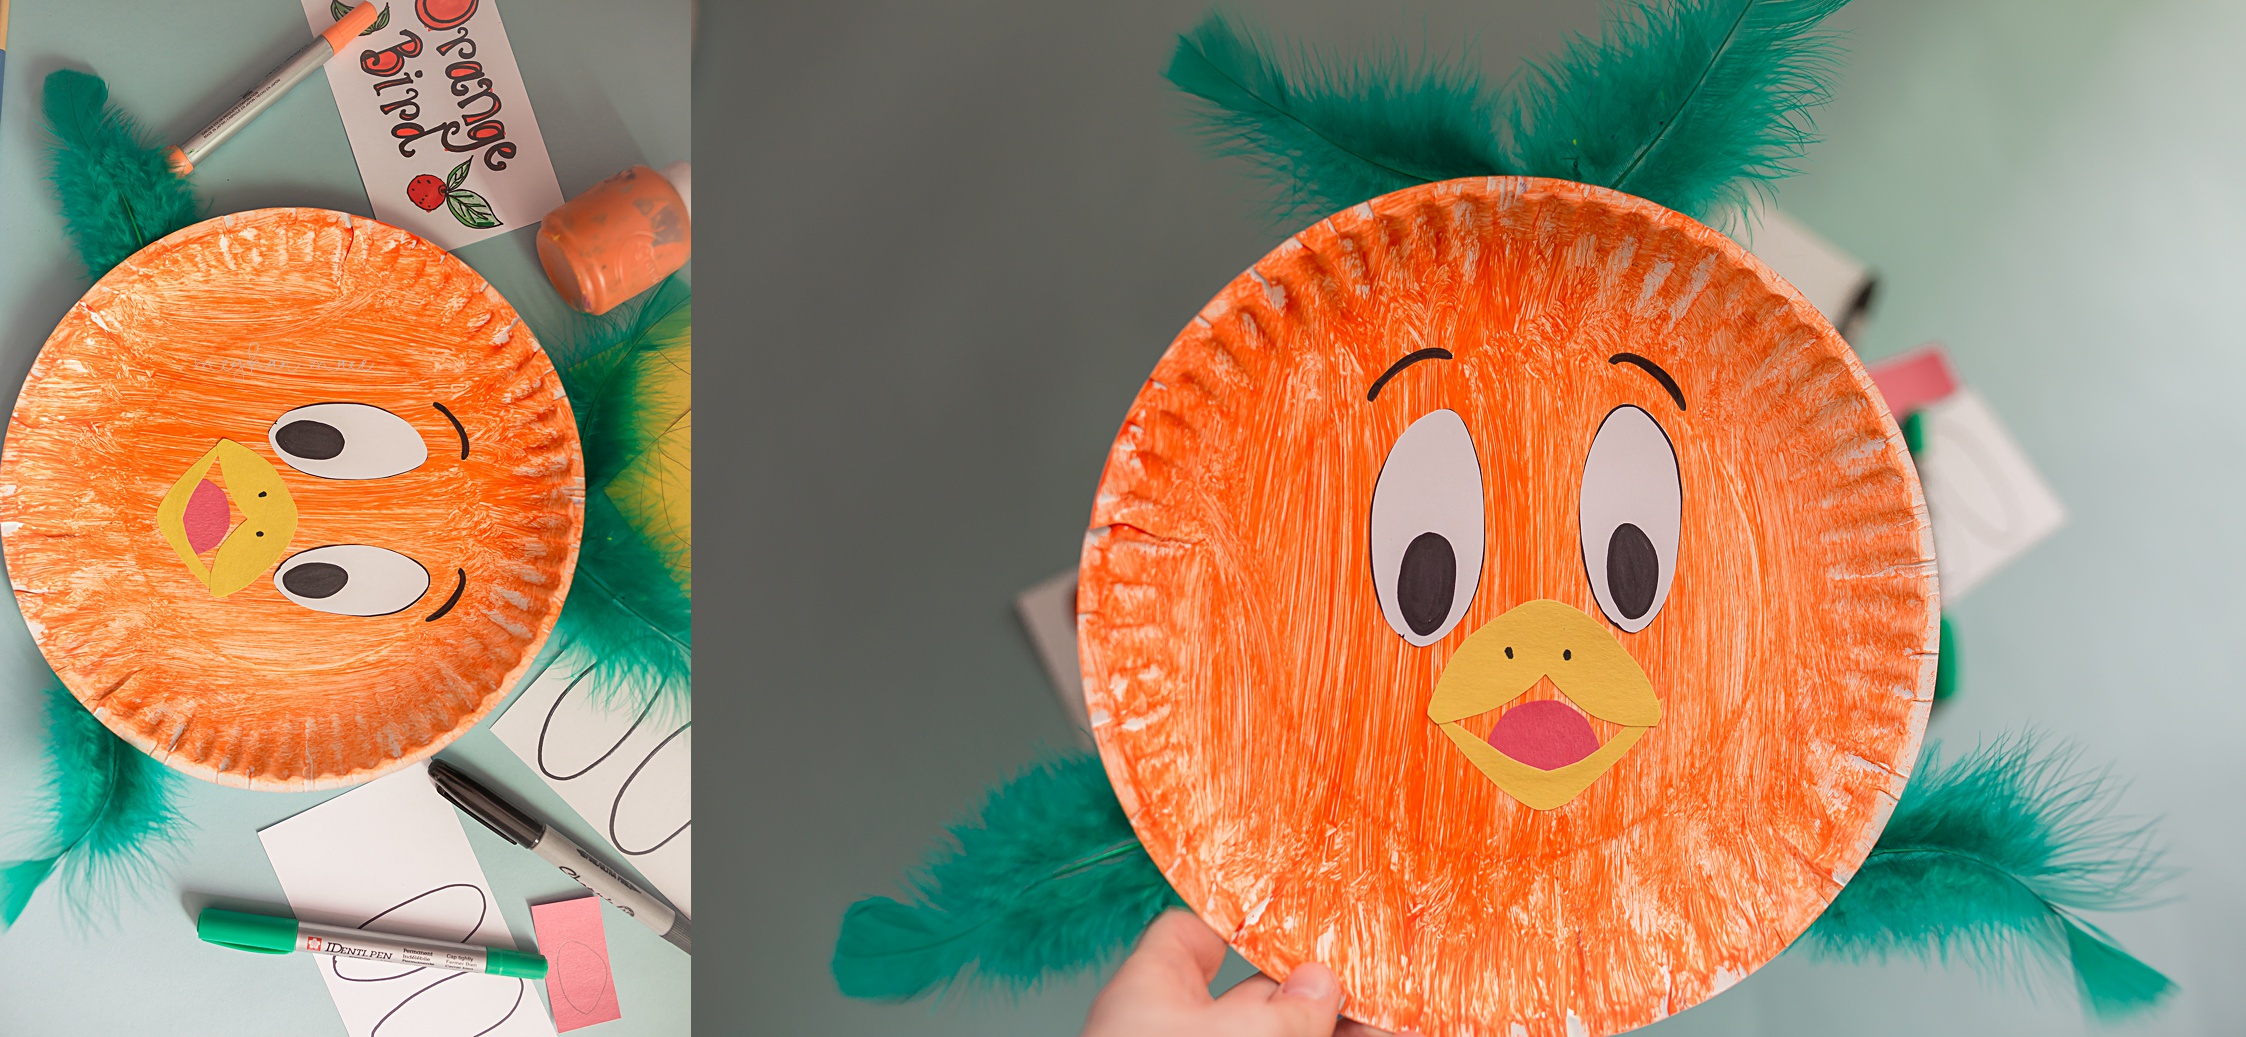
Hand over scissors to your crafter(s) and let them start cutting out the pieces of Orange Bird’s face. Grab your handy Elmer’s glue stick and let them plop down the pieces. Putting together a face is a great way to work on body awareness- even with a bird!
Next, once the face pieces are in place, add in the extra bird details, including the eyebrows and nostrils with your sharpie. If you opted to not use red construction paper for Orange Bird’s tongue, go ahead and let your crafter add in the red tongue.
4. Step Four: Adding Some ‘Hair’ to Your Orange Bird Craft
Once all Orange Bird’s face pieces are in place, it’s time to add hair! Orange Bird has two green ‘leaves’ or feathers, in this case, coming out of the top of his head.
To secure the feathers we cut strips of scotch tape and placed them over the feathers on the back of the paper plate. Orange bird also has two ‘leaves’ for wings. Therefore, add two more feathers for Orange Bird’s arms near the bottom of the paper plate and on opposite sides.
5. Step Five: You Did It! You Made Orange Bird
Next, have your kids pat themselves on their backs, their Orange Bird is complete!! You can pat yourself on the back if you made one too. Nice job! Plus, pat yourself on the back for walking your little crafters through this painting and gluing project!
6. Step Six: Hang Up Your Orange Bird Craft
Finally, hang your Orange Bird creations on the fridge. Trust me, they are going to look really good up there. Plus, they are going to make you smile SOOO big. I mean, he is the cutest.
Thoughts from an Occupational Therapist on the Orange Bird Craft
As you probably guessed, Orange Bird is one of my favorite Disney characters. Maybe it’s his big eyes or his cute little green leaf/feathers. Whatever it is, he is just the cutest.
Therefore, being inspired to turn a paper plate into an Orange Bird craft was a no brainer. I mean, he has a pretty round head, for starters. One might even say it is inspired by an orange.
How Can the Orange Bird Craft Help Your Kiddo?
Aside from the obvious of encouraging your kids to eat oranges, the above craft has lots of benefits! Let’s explore a few of them below.
As with many of the crafts and projects listed on magicformiles.com things tend to get a little messy. However, that mess is with good reason!
The paint and glue might get on your little one’s hand. If they have a sensory sensitivity this might be ‘scary’ for them. However, the use of a paintbrush can act as a welcomed buffer to sensory exploration. Plus, using a glue stick can act as a buffer for touching sticky glue as well.
Additionally, by having your kiddos cut out their own Orange Bird face pieces, they will be working on their scissor and fine motor skills. Cutting is a great skill to start building early! Even if things are a little choppy, encourage your kiddos to keep cutting. The more they cut the more they can build-up hand strength! This means improved fine motor skills such as handwriting…and cutting!
Plus, when your kiddo rips a piece of tape, which is also needed in this craft, they will be working on their hand strength as well. Additionally, through both cutting and ripping tape, bilateral coordination skills are improving!
The Orange Bird craft has a bunch of simple benefits that will help build essential educationally-based skills.
Review: What Did the Kids Think?
I thought the outcome of this craft is super cute. However, I already gushed about it above. Let’s dive into what my kids thought after completing the project.
They tend to be pretty darn honest. If you’ve ever followed me on Instagram, you’ve probably seen them in my stories from time to time. (Not following me yet? Let’s be friends! I can be found here @magic.for.miles.) Let’s see what they thought.
Honest Kid Reviews of Operation Excavation Dinosaur:
5-Year Old Review: He said, ‘It was pretty challenging, but I liked how Orange Bird looked at the end.” He also said that he probably doesn’t want to do it again because it’s challenging.
2-Year Old Review: “I liked it!.’ When asked his favorite part, he said, “Orange Bird.” It sounds pretty official to me!
I’m gonna take those both as wins!
Can’t Get Enough Orange Bird?
Yah, me either!
If you want to add a little more Orange Bird to your life, be sure to check out this Alex and Ani bracelet here and this Loungefly Orange Bird wallet right here. At home, we have an Orange Bird sipper from Disney Parks. He’s got a fan club around these parts.
Conclusion to Orange Bird Craft
If you or your family (or anyone you know!) are Orange Bird fans, this craft is a must-do. Especially, because it’s pretty easy and hopefully you have most of the supplies on hand.
As a matter of fact, if you have more paper plates on hand, here are a few more Disney inspired paper plate crafts. Check out Bunny and Ducky from Toy Story 4 or these Lion King’s Mufasa masks here.
Be Sure to Pin the Above Image and Follow Me on Pinterest, Instagram and Facebook: @magic.for.miles

Very cute! I’m glad Orange Bird has been making a comeback in the last few years