Hakuna Matata! It means no worries, for the rest of your days. Which, of course, is perfectly summed up in the delicious Bugs ‘n’ Grubs Waffle Cone from Walt Disney World.
Don’t have any clue what I am talking about?
That’s okay, but I am happy to be spreading the knowledge of a fun mystical treat that existed once at a time at Disney’s Animal Kingdom. The once present treat is now gone, but we can hope that it will make a return once again in the near future.
Until then, let’s learn more about this visually unique ice cream treat.
What Was on the Bugs ‘n’ Grubs Cone at Disney’s Animal Kingdom?
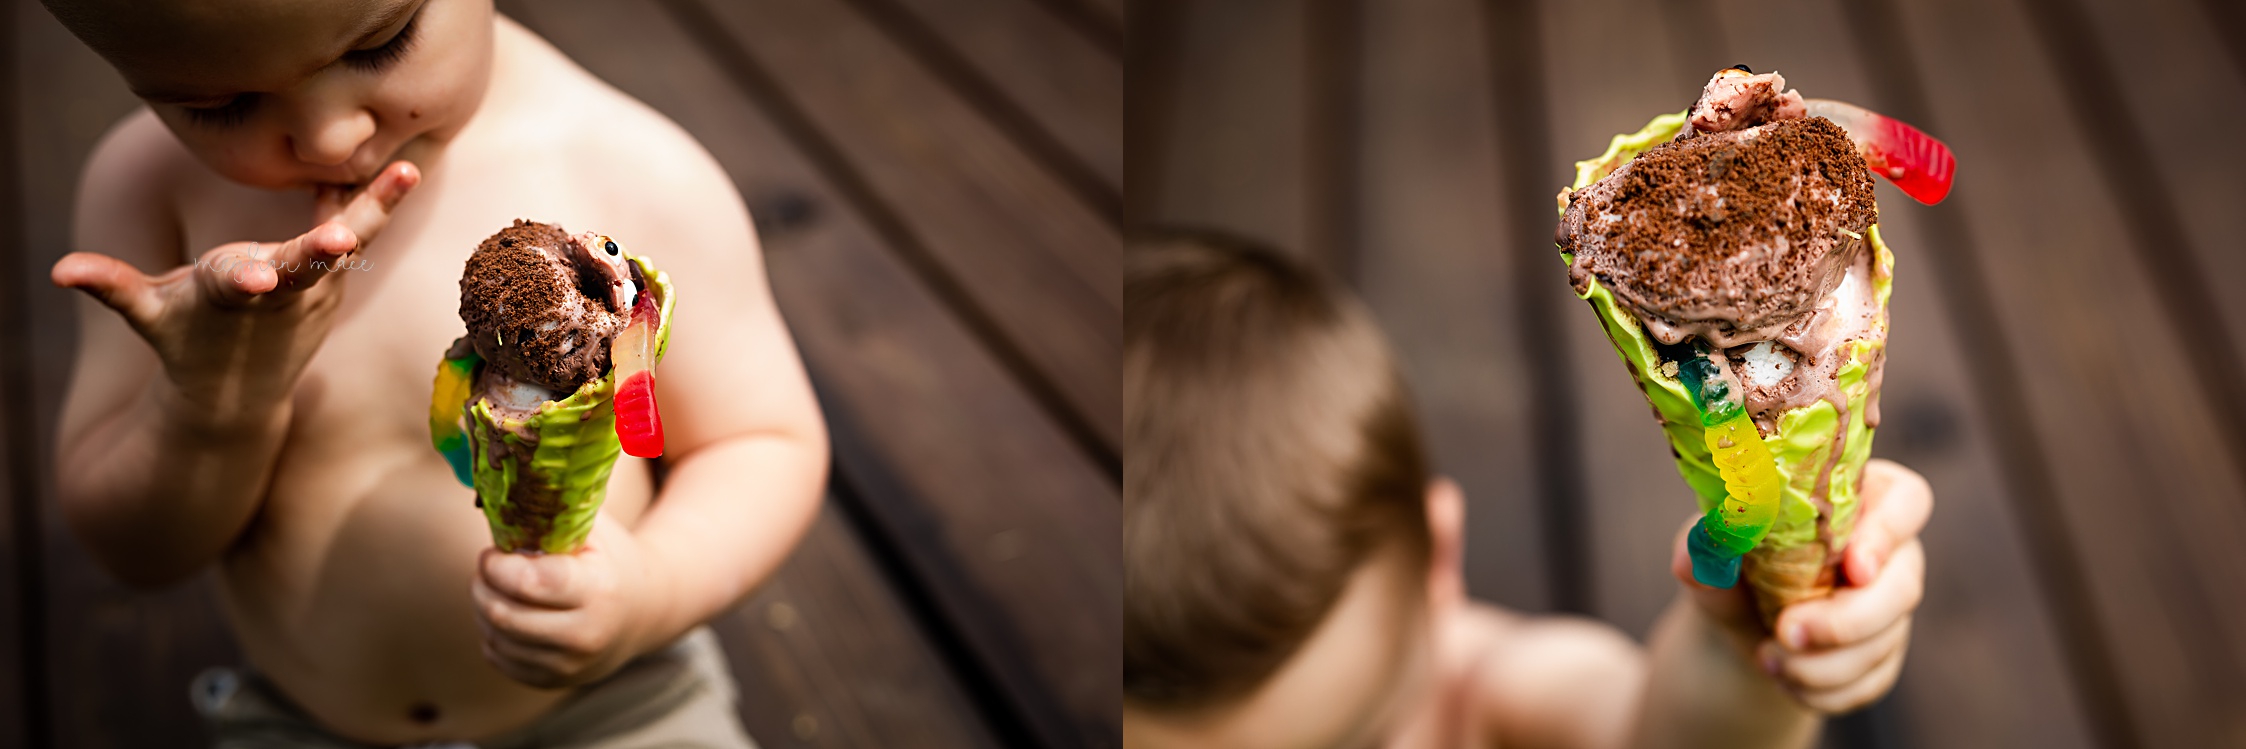
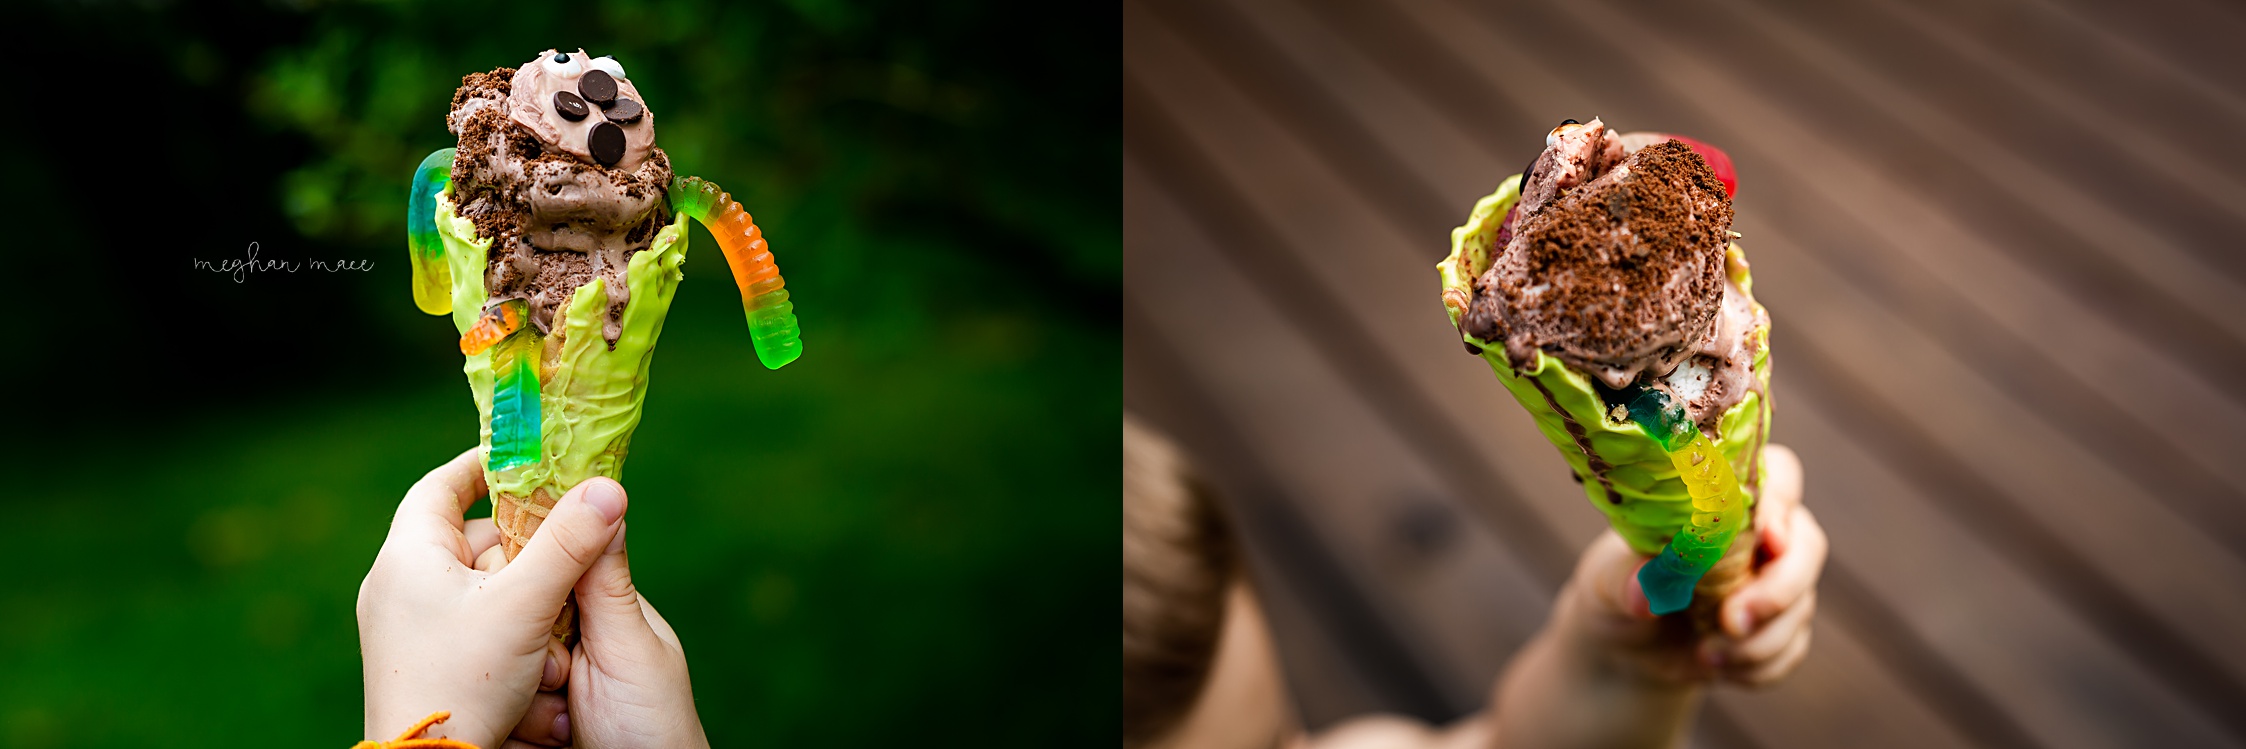
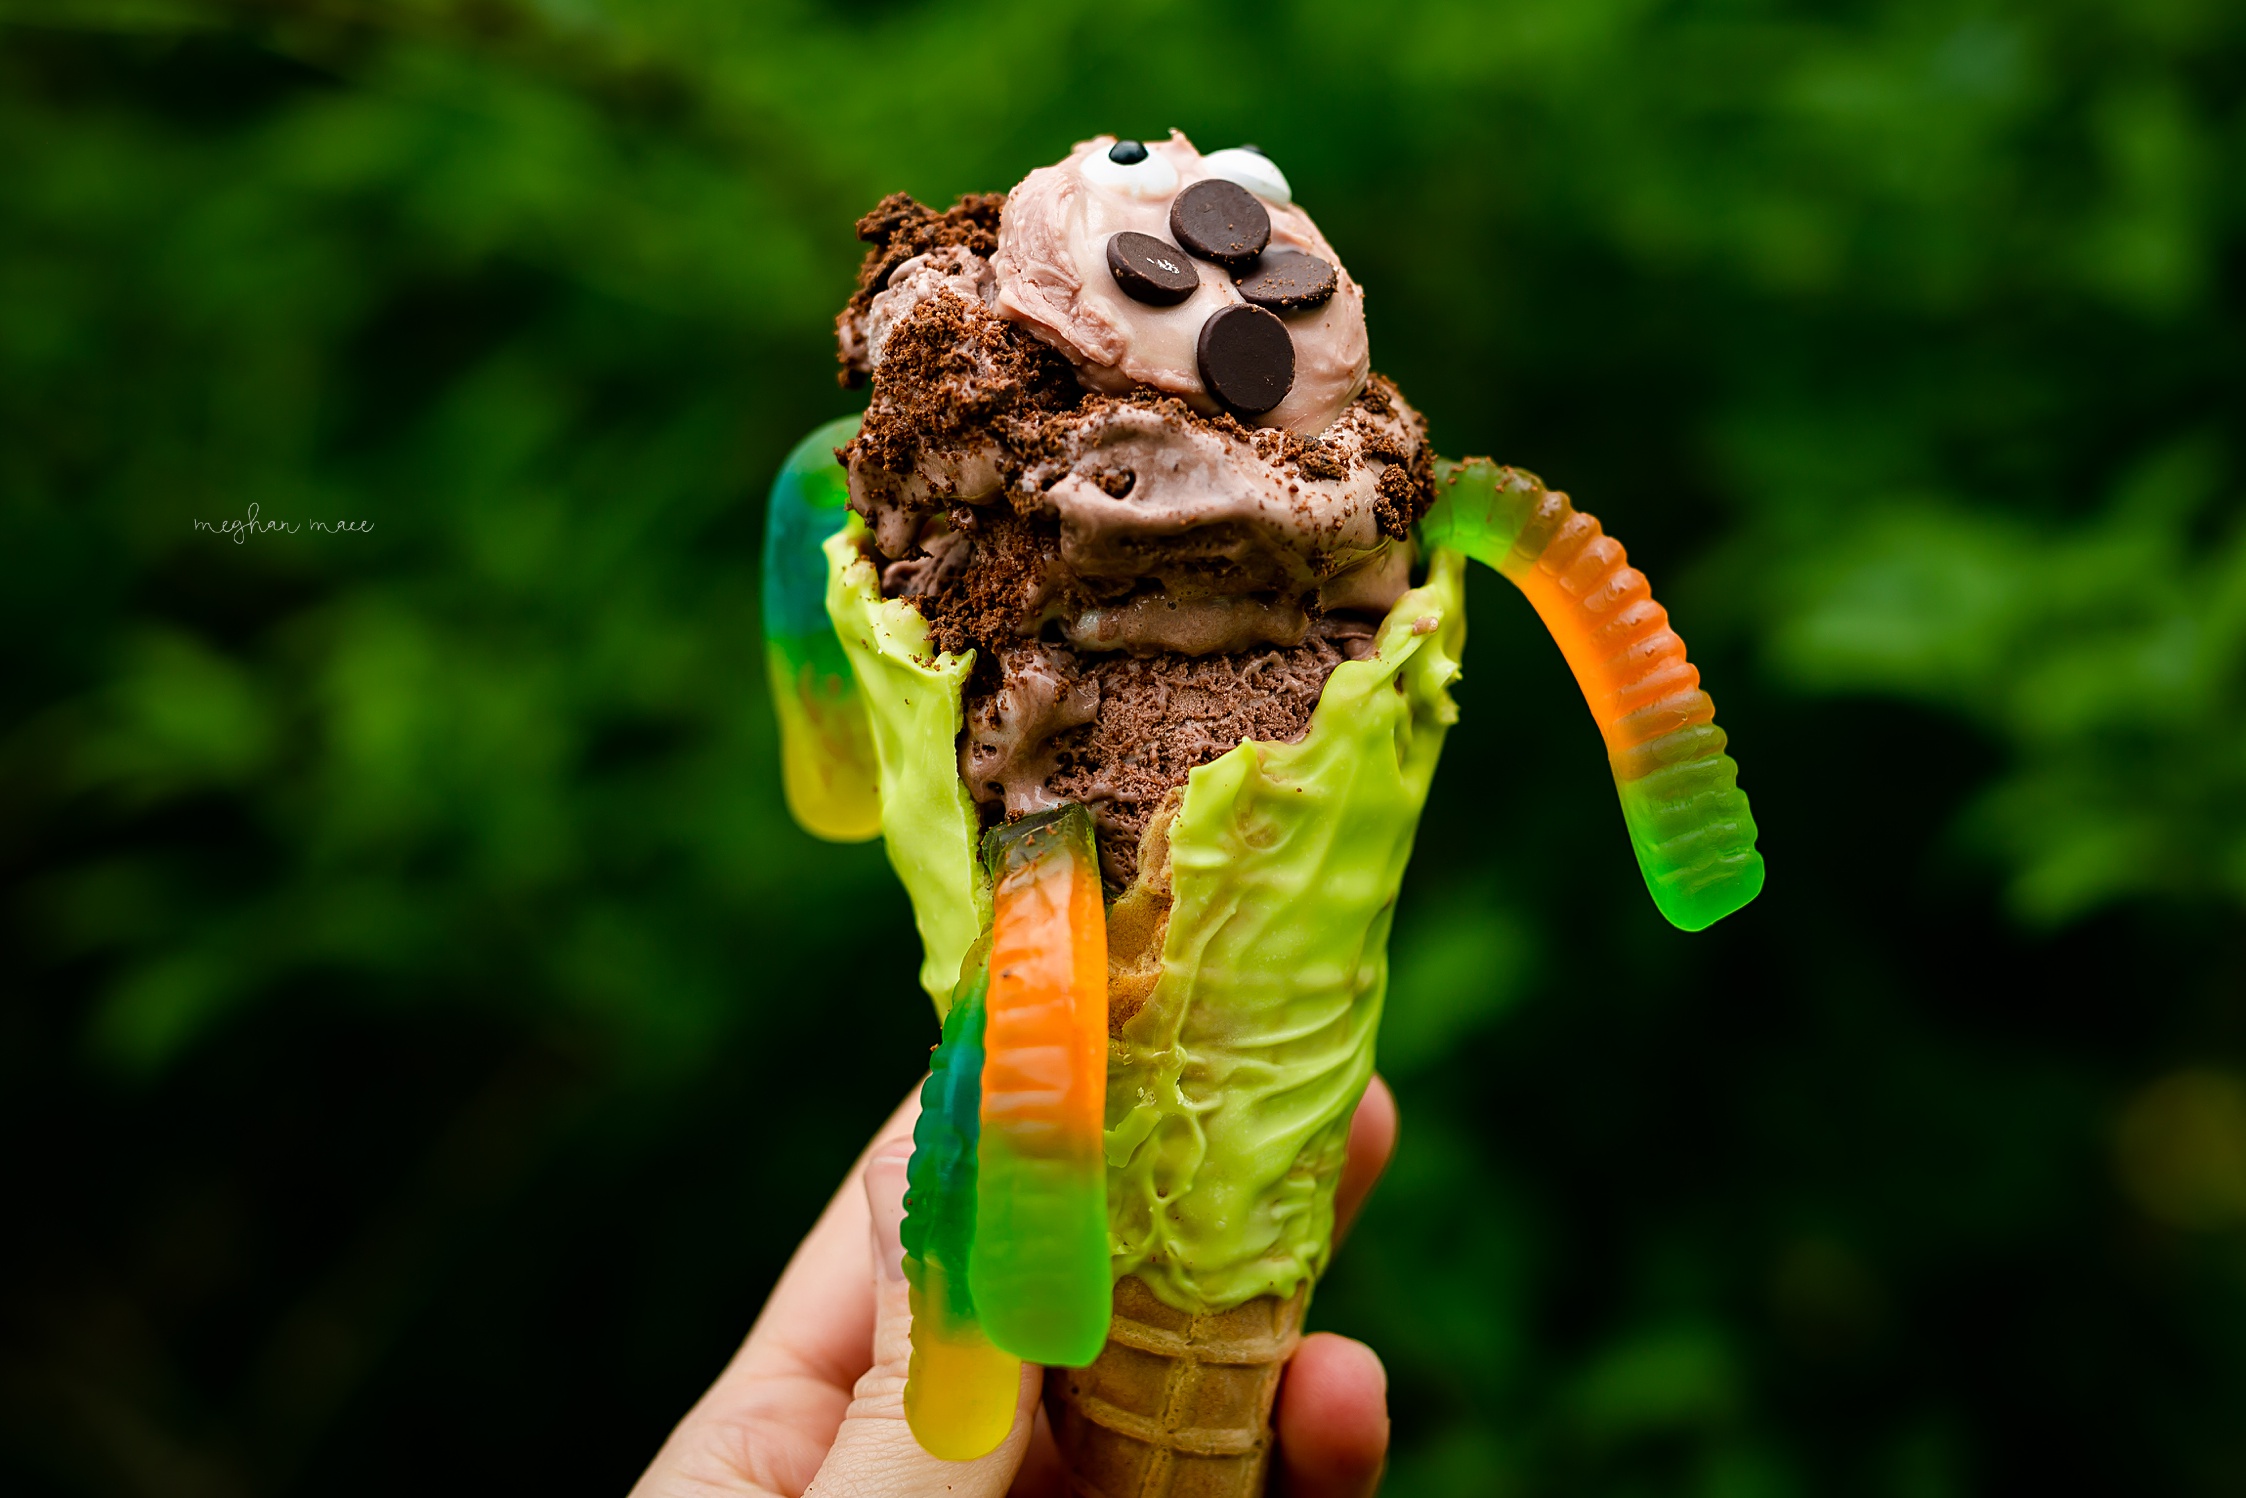
The Bugs ‘n’ Grubs cone consisted of chocolate ice cream, cookie crumbles, gummy worms, a green waffle cone, and a chocolate ladybug.
The cone was usually piled way high with chocolate ice cream. Worms were strategically placed at the top of the cone and poking out from the ice cream. Cookie crumbles were sprinkled on top and the chocolate bug was placed above the tower of ice cream. It was definitely a pretty cone to look at with all of it’s sugary glory.
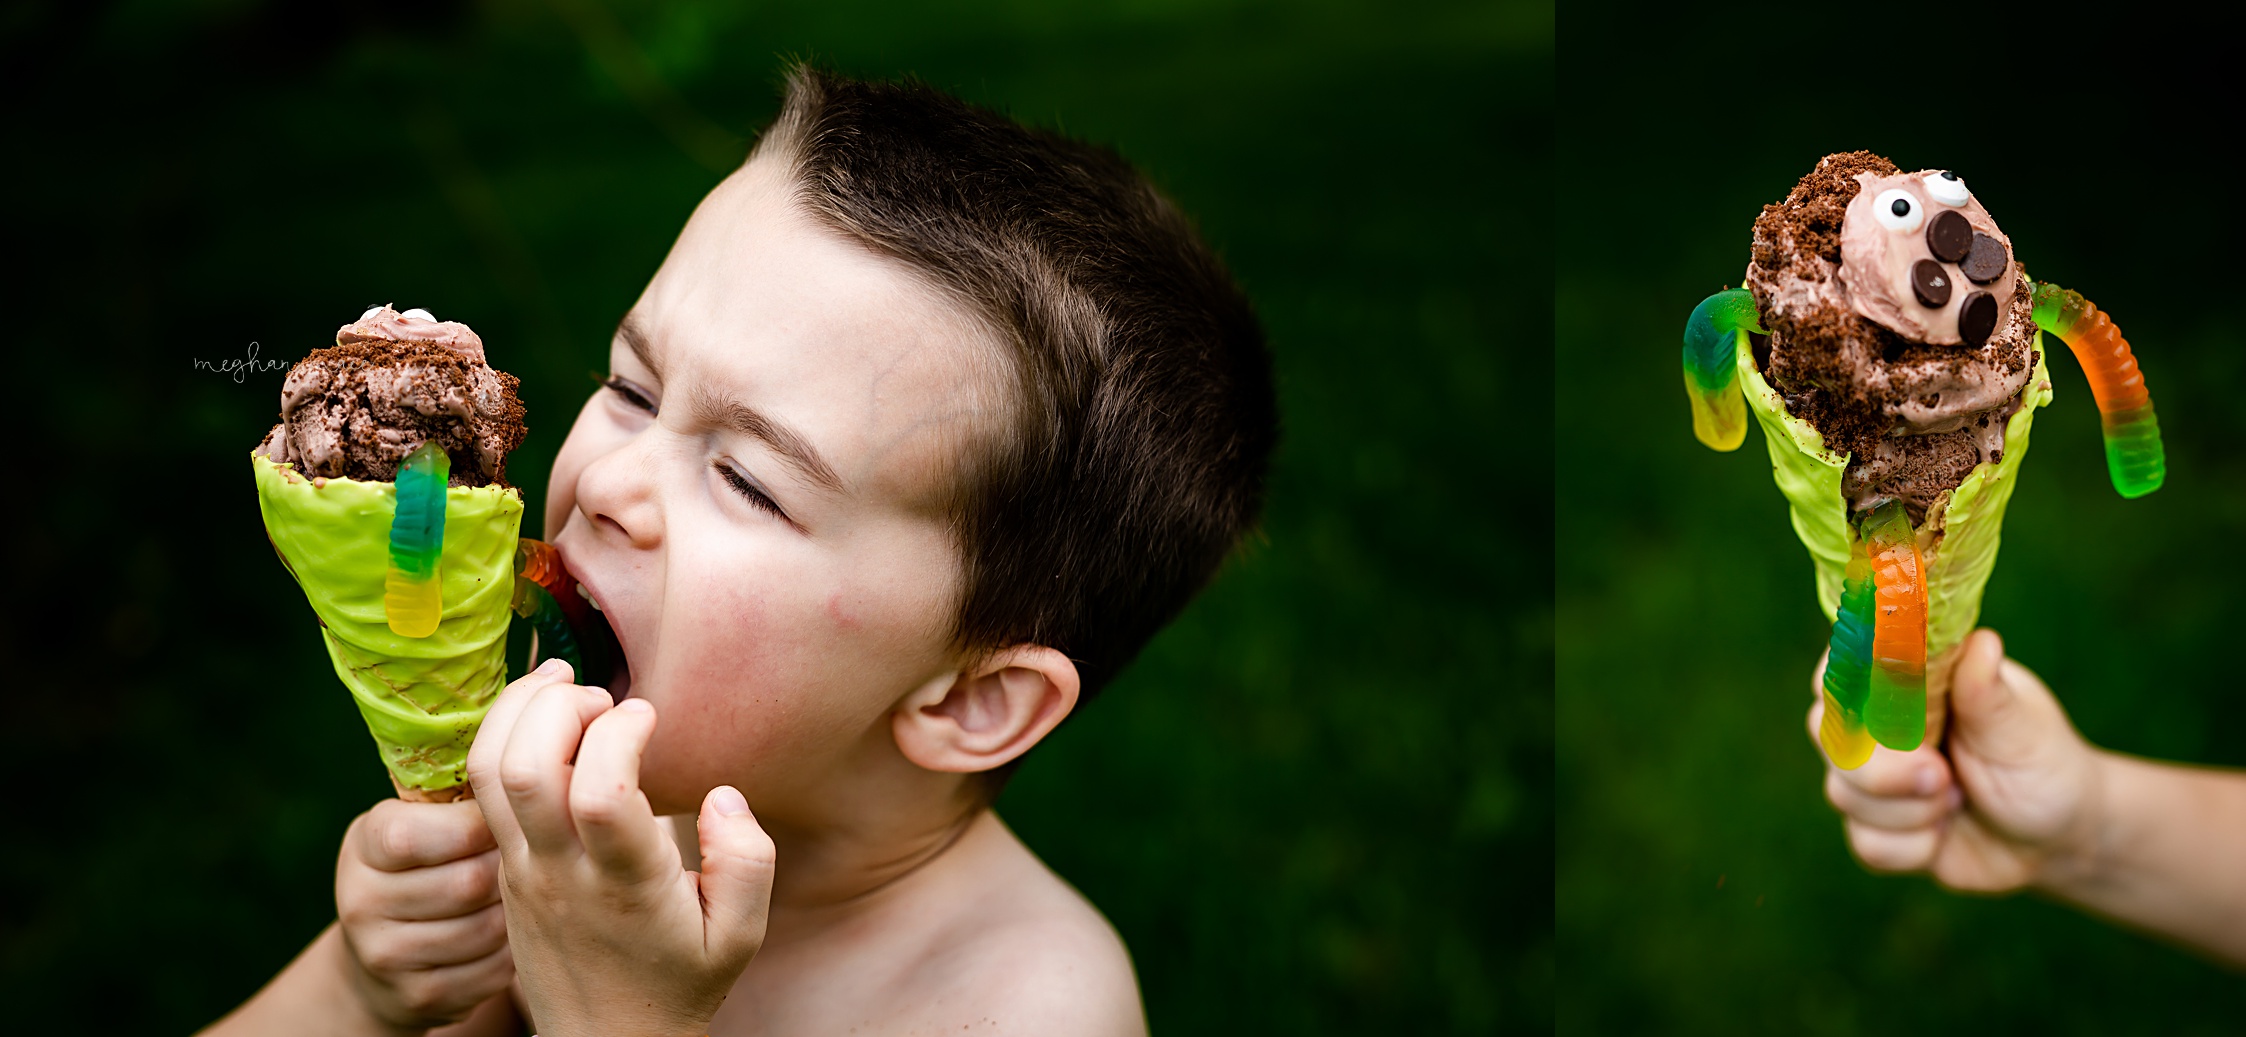
The trick, of course, was consuming this monstrosity of an ice cream cone before it melted in the summer heat. A challenge any parkgoer was up for!
Where Was the Bugs ‘n’ Grubs Cone at Walt Disney World?
The Bugs ‘n’ Grubs cone was featured at Disney’s Animal Kingdom. The park featured a variety of Lion King-themed snacks surround the release of the live-action version of the Lion King in 2019. In my personal opinion, the Bugs ‘n’ Grubs cone was the best. Both from aesthetics and because it consisted mostly of ice cream.
Let’s be honest, I was probably drawn in because it’s the main component is ice cream. On any given day, odds are I most likely want ice cream. Especially in the Florida heat.
Add in a few gummy worms, a chocolate bug, and some crushed cookie, all in a green waffle cone. I tell ya know, I was sold. SOLD!
The ice cream was featured at the Anandapur Ice Cream truck in Asia. If you’ve never seen the Anandapur Ice Cream truck, you’ll spot it on your way to Expedition Everest if you are coming from Africa. The cone was also featured at Trilo-Bites in Dinoland.
How Do You Make a DIY Bugs ‘n’ Grubs Waffle Cone?
Considering that you can no longer get the Bugs ‘n’ Grubs waffle cone at Walt Disney World (currently), the only way to have one is by making it at home!
Fortunately, it isn’t too complicated to recreate the Bugs ‘n’ Grubs Waffle Cone. Just a few basic ingredients put together to form the frozen treat. Plus, the original cone is green, but you don’t have to recreate this step. If you don’t want a green cone, you can skip the first step.
You can be enjoying a Bugs ‘n’ Grubs cone in about 10 minutes or less if you chose no green cone! Or about 15-20 if you want a green cone (this includes drying time for the chocolate).
Let’s get creating!
Ingredients for DIY Bugs ‘n’ Grubs Waffle Cone
Waffle Cones (Store Bought Ones Work Great)
Green Food Coloring
Red Food Coloring
Gummy Worms
Crushed Chocolate Cookies
Chocolate Ice Cream
Waxed Paper (about a 12″ strip)
Chocolate Chips
Instructions for DIY Bugs ‘n’ Grubs Waffle Cone
Step 1
First, step one is optional, but if you want to have a green cone, like the one featured at Walt Disney World, start here. If you’re cool with the tan-colored cone, go ahead and skip ahead.
To create a green cone, just short of making your own waffle cone and dying the batter green, we are going to coat one in green colored candy. (If you’d rather make your own waffle cone, here’s a link to purchasing a waffle cone maker. They are actually rather easy to make and delicious.)
Next, take your melting wafers and pour about half in a bowl (give or take, depending on how many cones you are making). Melt them down by popping them in the microwave and stirring every 20-30 seconds. Then,once melted add in a few drops of food coloring, until the mixture is a nice green color.
Finally, dip your cone into the colored mixture, using a spoon to coat a large majority of the cone. Once the cone is coated, let it dry ‘mouth’ side down on waxed paper.
Step 2
While your cone is drying, take the crushed cookies and place them in a bowl. Set a spoon next to the bowl as well so you are ready for spooning the mixture onto your ice cream.
Also, get your gummy worms ready in a bowl as well. These need to be accessible for a quick grab.

Step 3
Next, take the remaining wafers and melt them down in a separate bowl. Once melted add red food coloring and mix well. Next, take the melted mixture by the spoonful and shape into ovals. We used a large spoon and formed the shape around the body of the spoon. While the mixture is still warm, pop on a few chocolate chips for spots and two candy eyes.
Violà! You made a bug! Let the (creepy) looking creature fully cool and harden.
Step 4
Finally, once your cones are cool, it is time to act fast. Chocolate ice cream seems to like to melt quickly. Especially on a hot day, as does all ice cream!
First, place two gummy worms on the top of the cone (the wide opening). Next, add a scoop of chocolate ice cream. Next, add one more grub, er gummy worm, followed by another scoop of chocolate ice cream. Top with your red bug and crushed cookies.
Step 5
Enjoy your brand delicious DIY Bugs ‘n’ Grubs Waffle Cone inspired by the Disney parks.
In conclusion, you’ve probably already guessed this, but, ‘It’s slimy, yet satisfying.’ Don’t take our word for it though, give it a try yourself!
Conclusion to DIY Bugs ‘n’ Grubs Waffle Cone
There ya go!
How to recreate a simple, yet magical Disney World treats at your home!
When you’re done with your DIY Bugs ‘n’ Grubs Waffle Cone, be sure to create this delicious Peter Pan’s Float copy-cat recipe, these Mickey Mouse inspired homemade chocolate, chocolate-chip pretzels, and this Frozen Apple Cider Mocktail, inspired by the Food and Wine Festival at Epcot. You can find the recipes here, here, and here.
Alternatively, if you just want to stick with the one recipe, but want to have an entire Lion King-themed day, check out these posts. You can make a Mufasa inspired mask with instructions right here. Then, make a Rafiki walking stick right with the instructions found here.
Hakuna Matata!

Be Sure to Pin the Above Image and Follow Me on Facebook, Instagram and Pinterest: @magic.for.miles