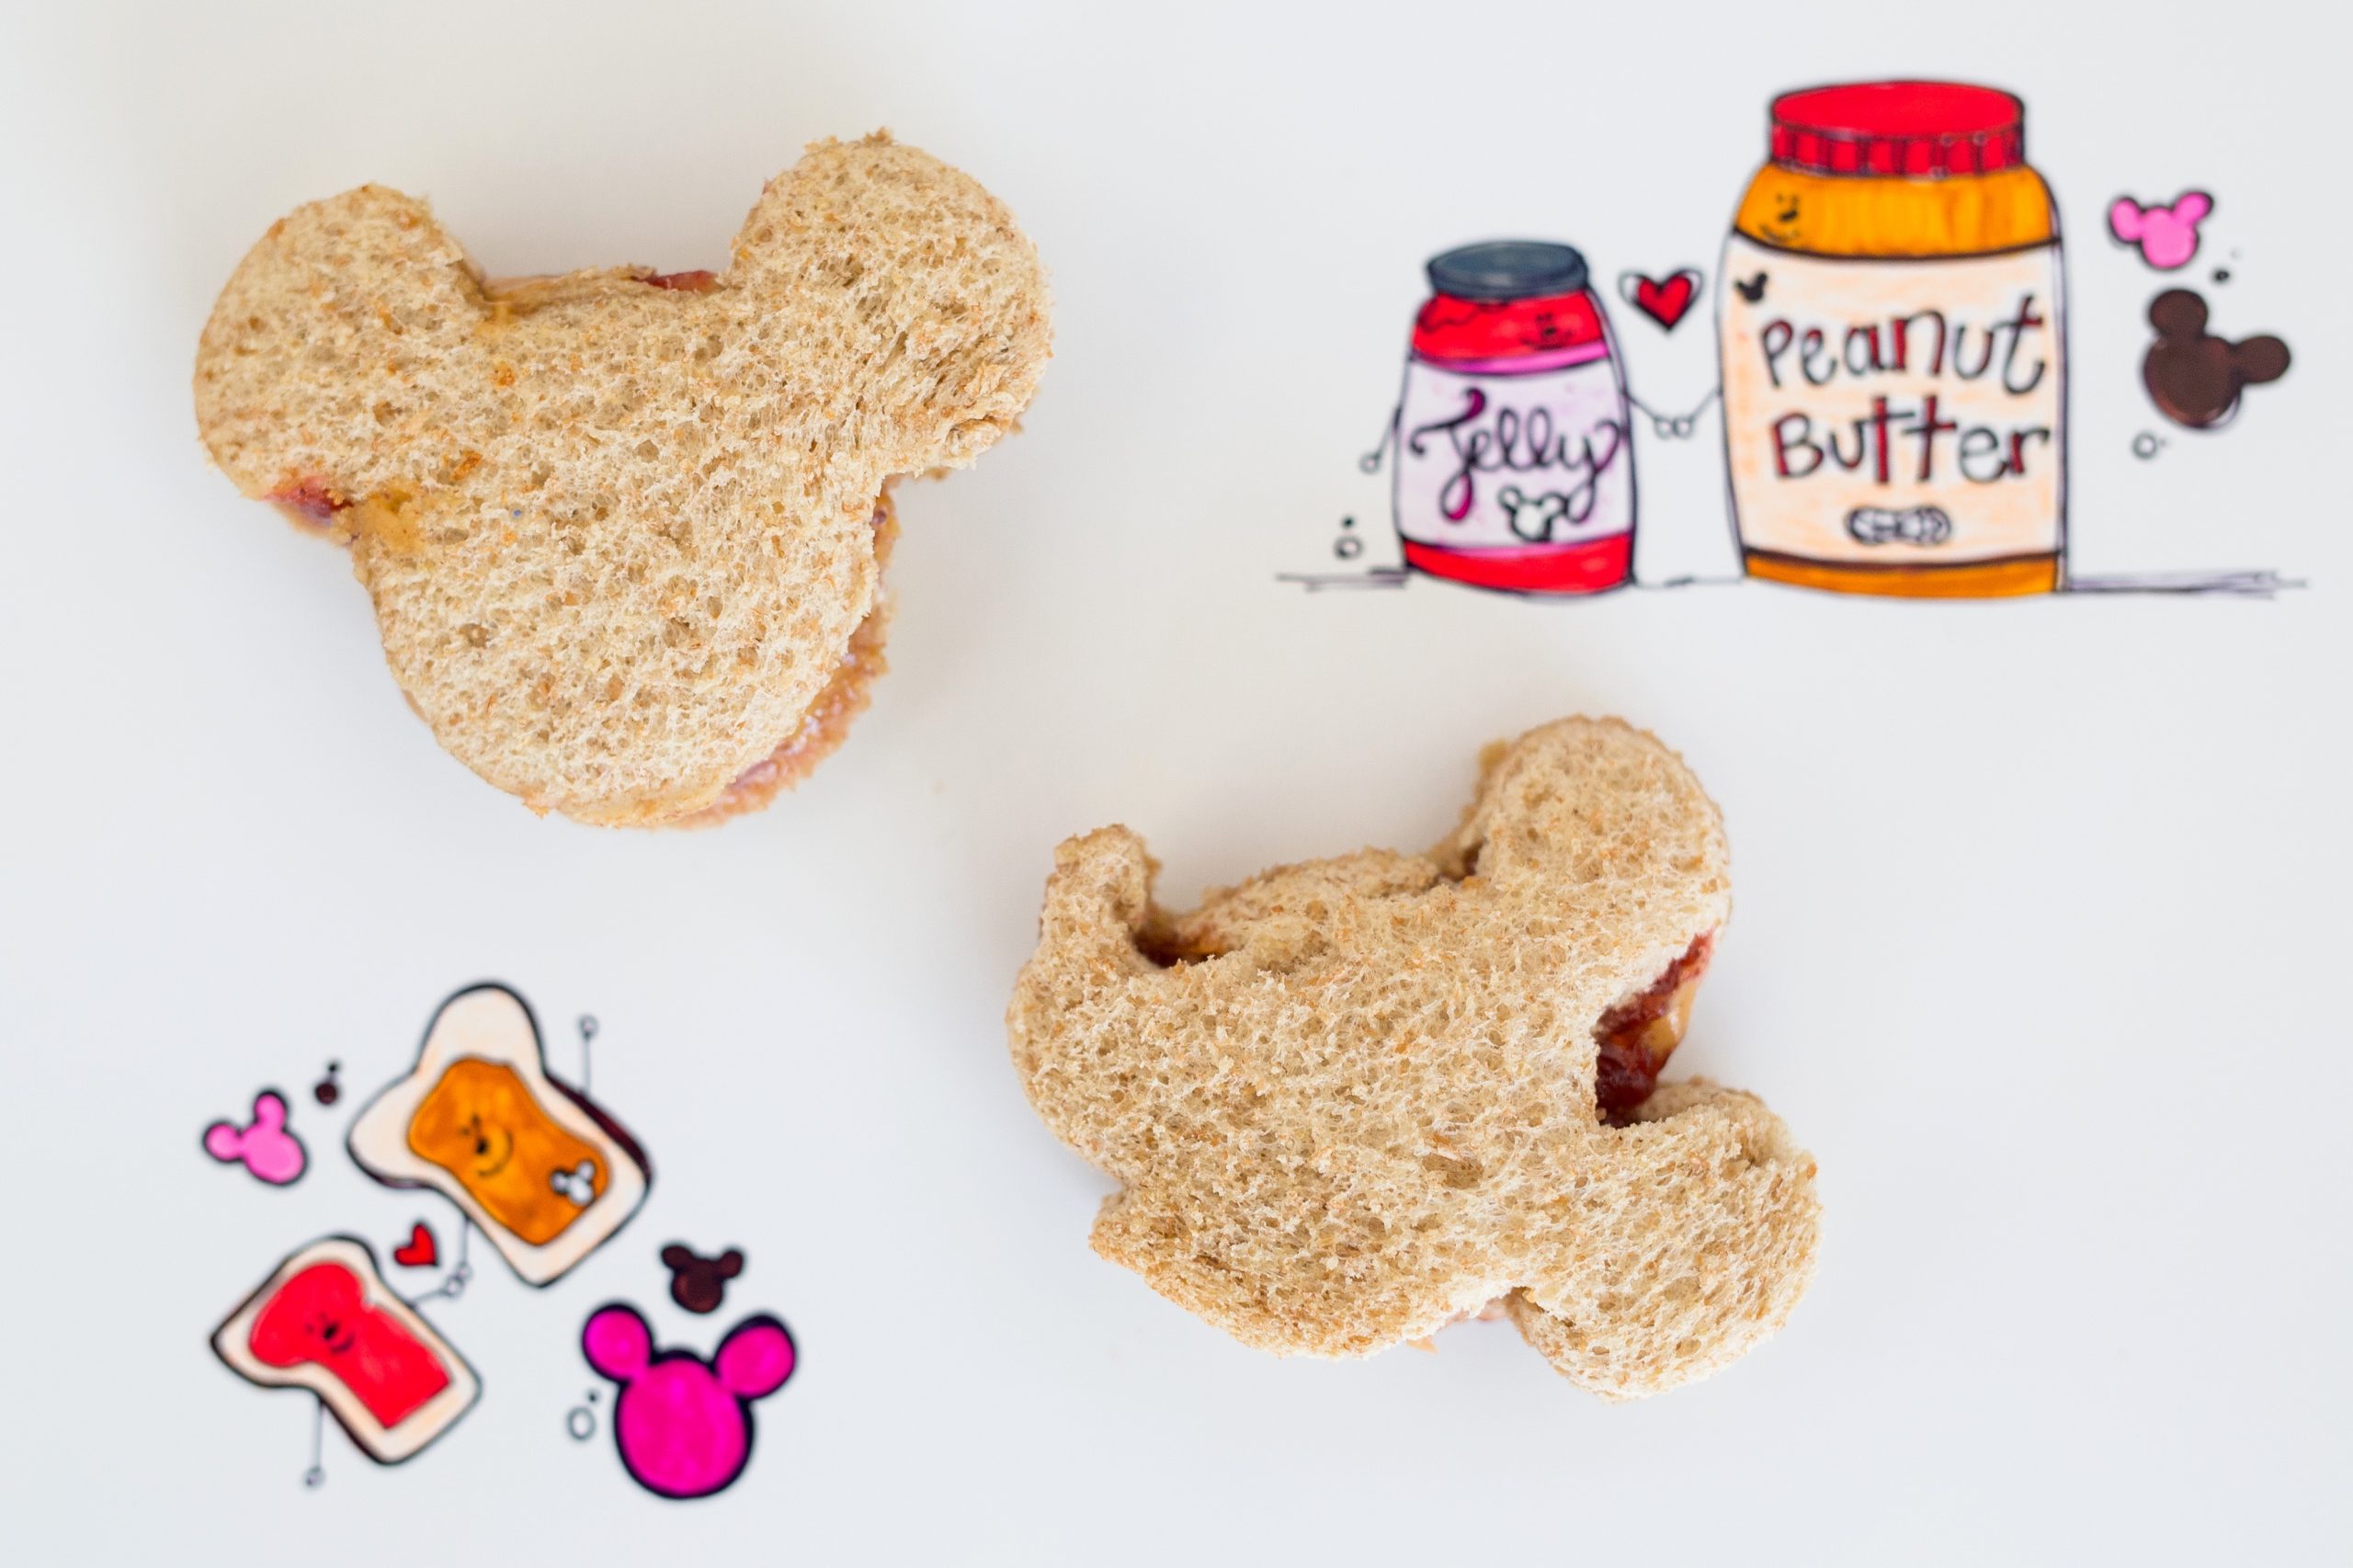
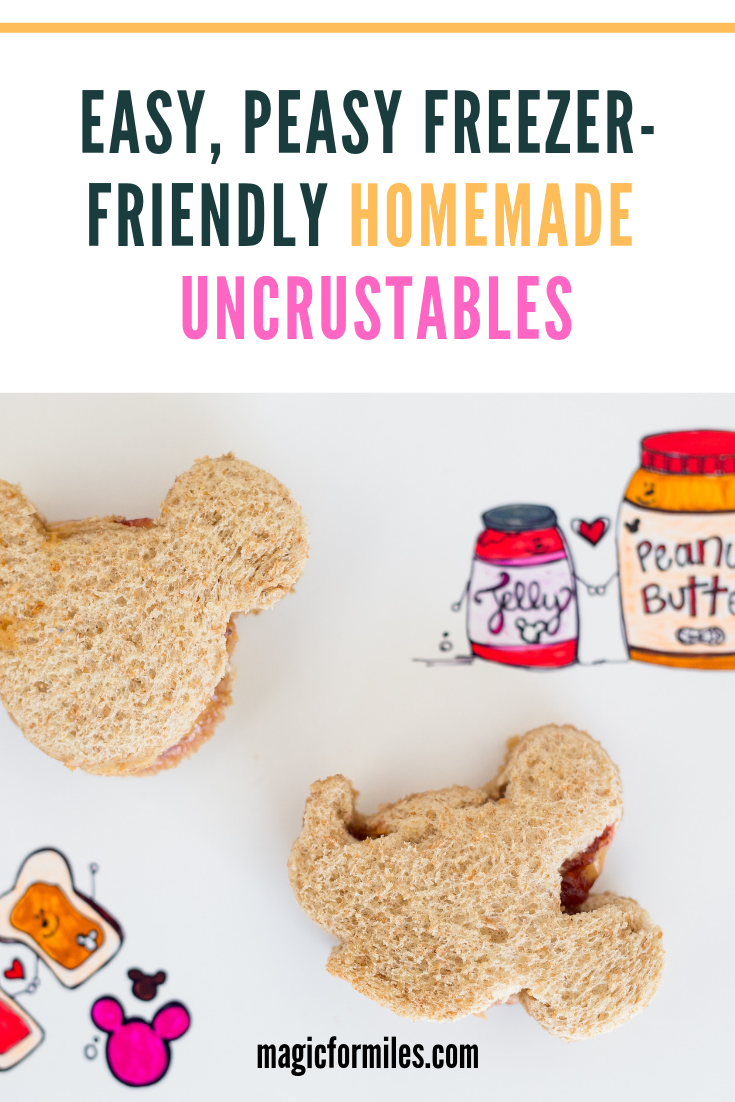
A post on how to make a homemade uncrustable sandwich, here to save you time and energy. Plus, possibly a little cash along the way.
Especially because school is starting up again and we all need to save a little time and money to help the days move smoothly.
Together we can do so with this easy, peasy freezer (Mickey Mouse inspired) homemade uncrustables
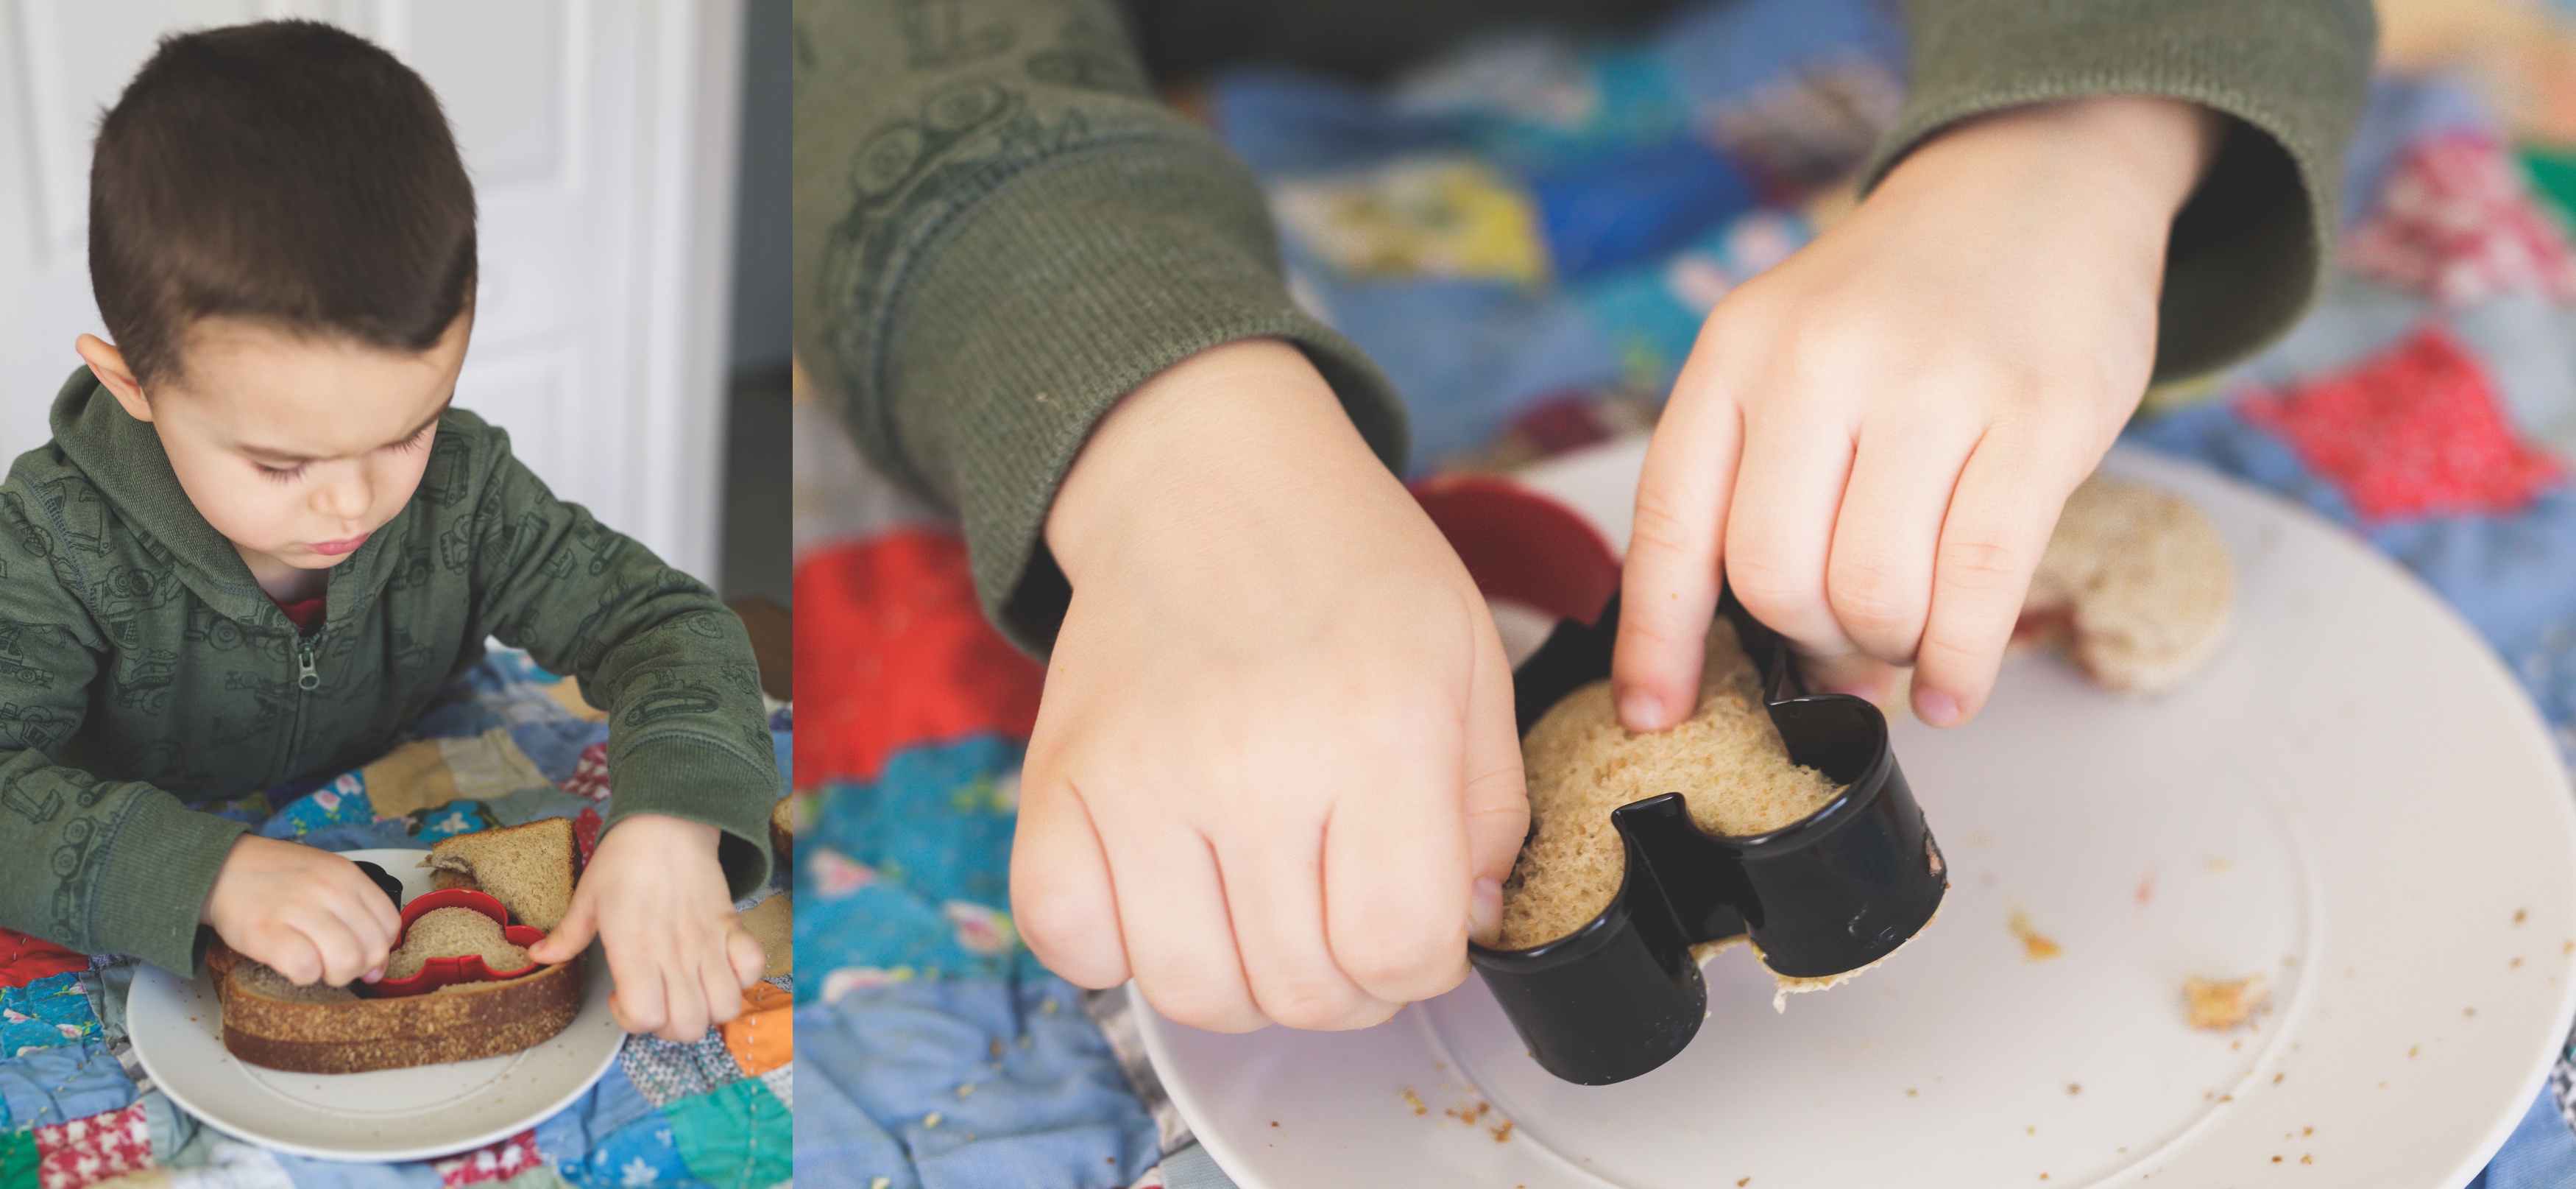
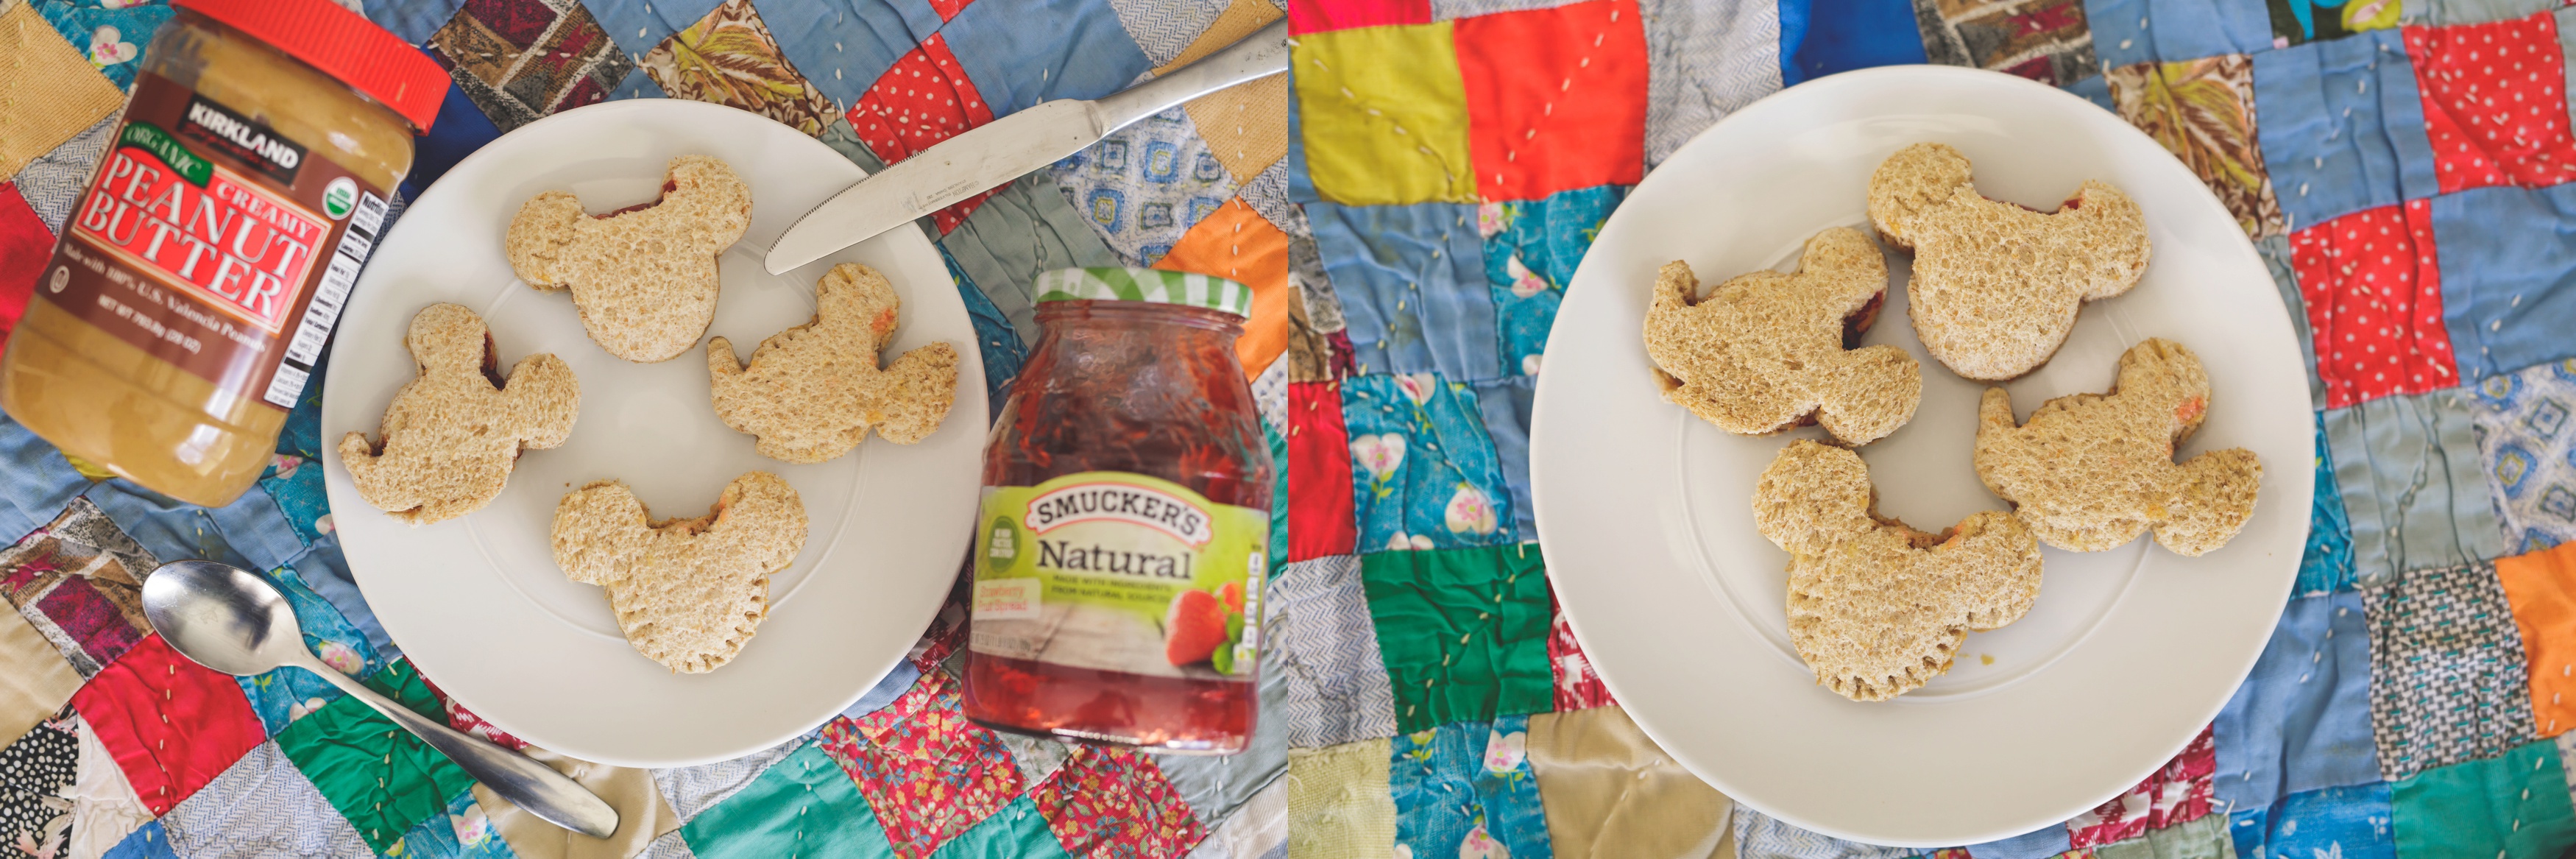
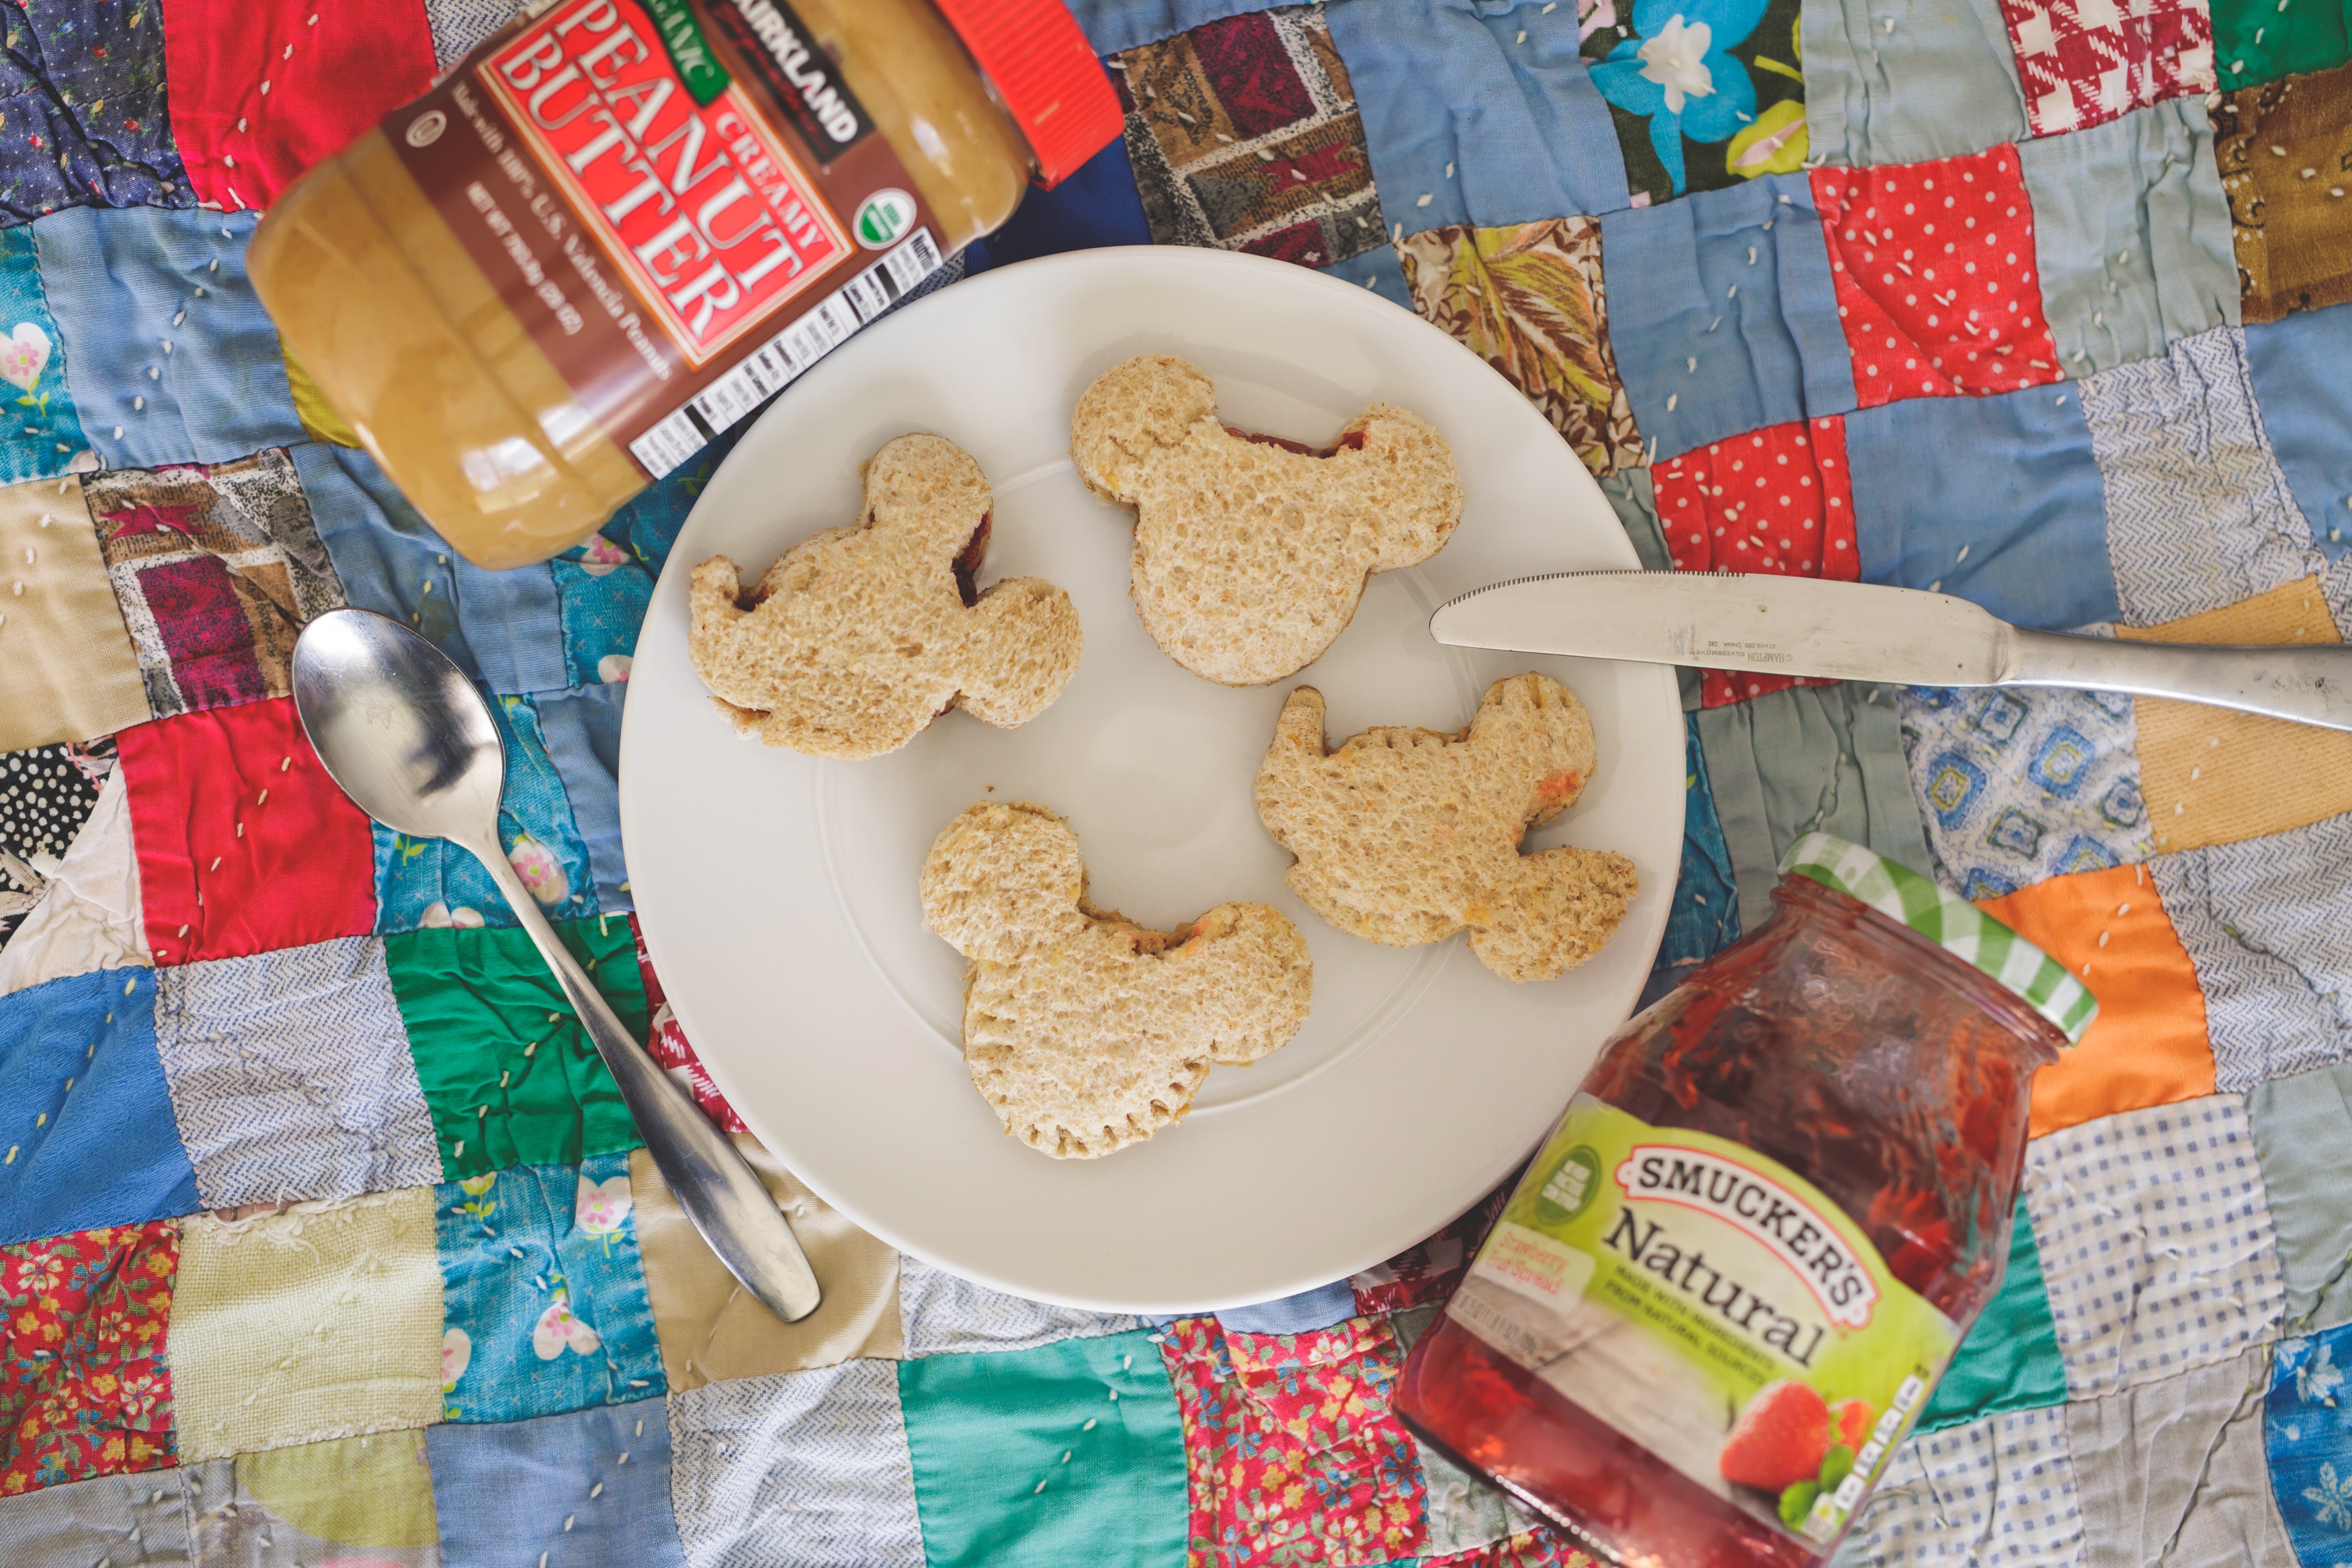
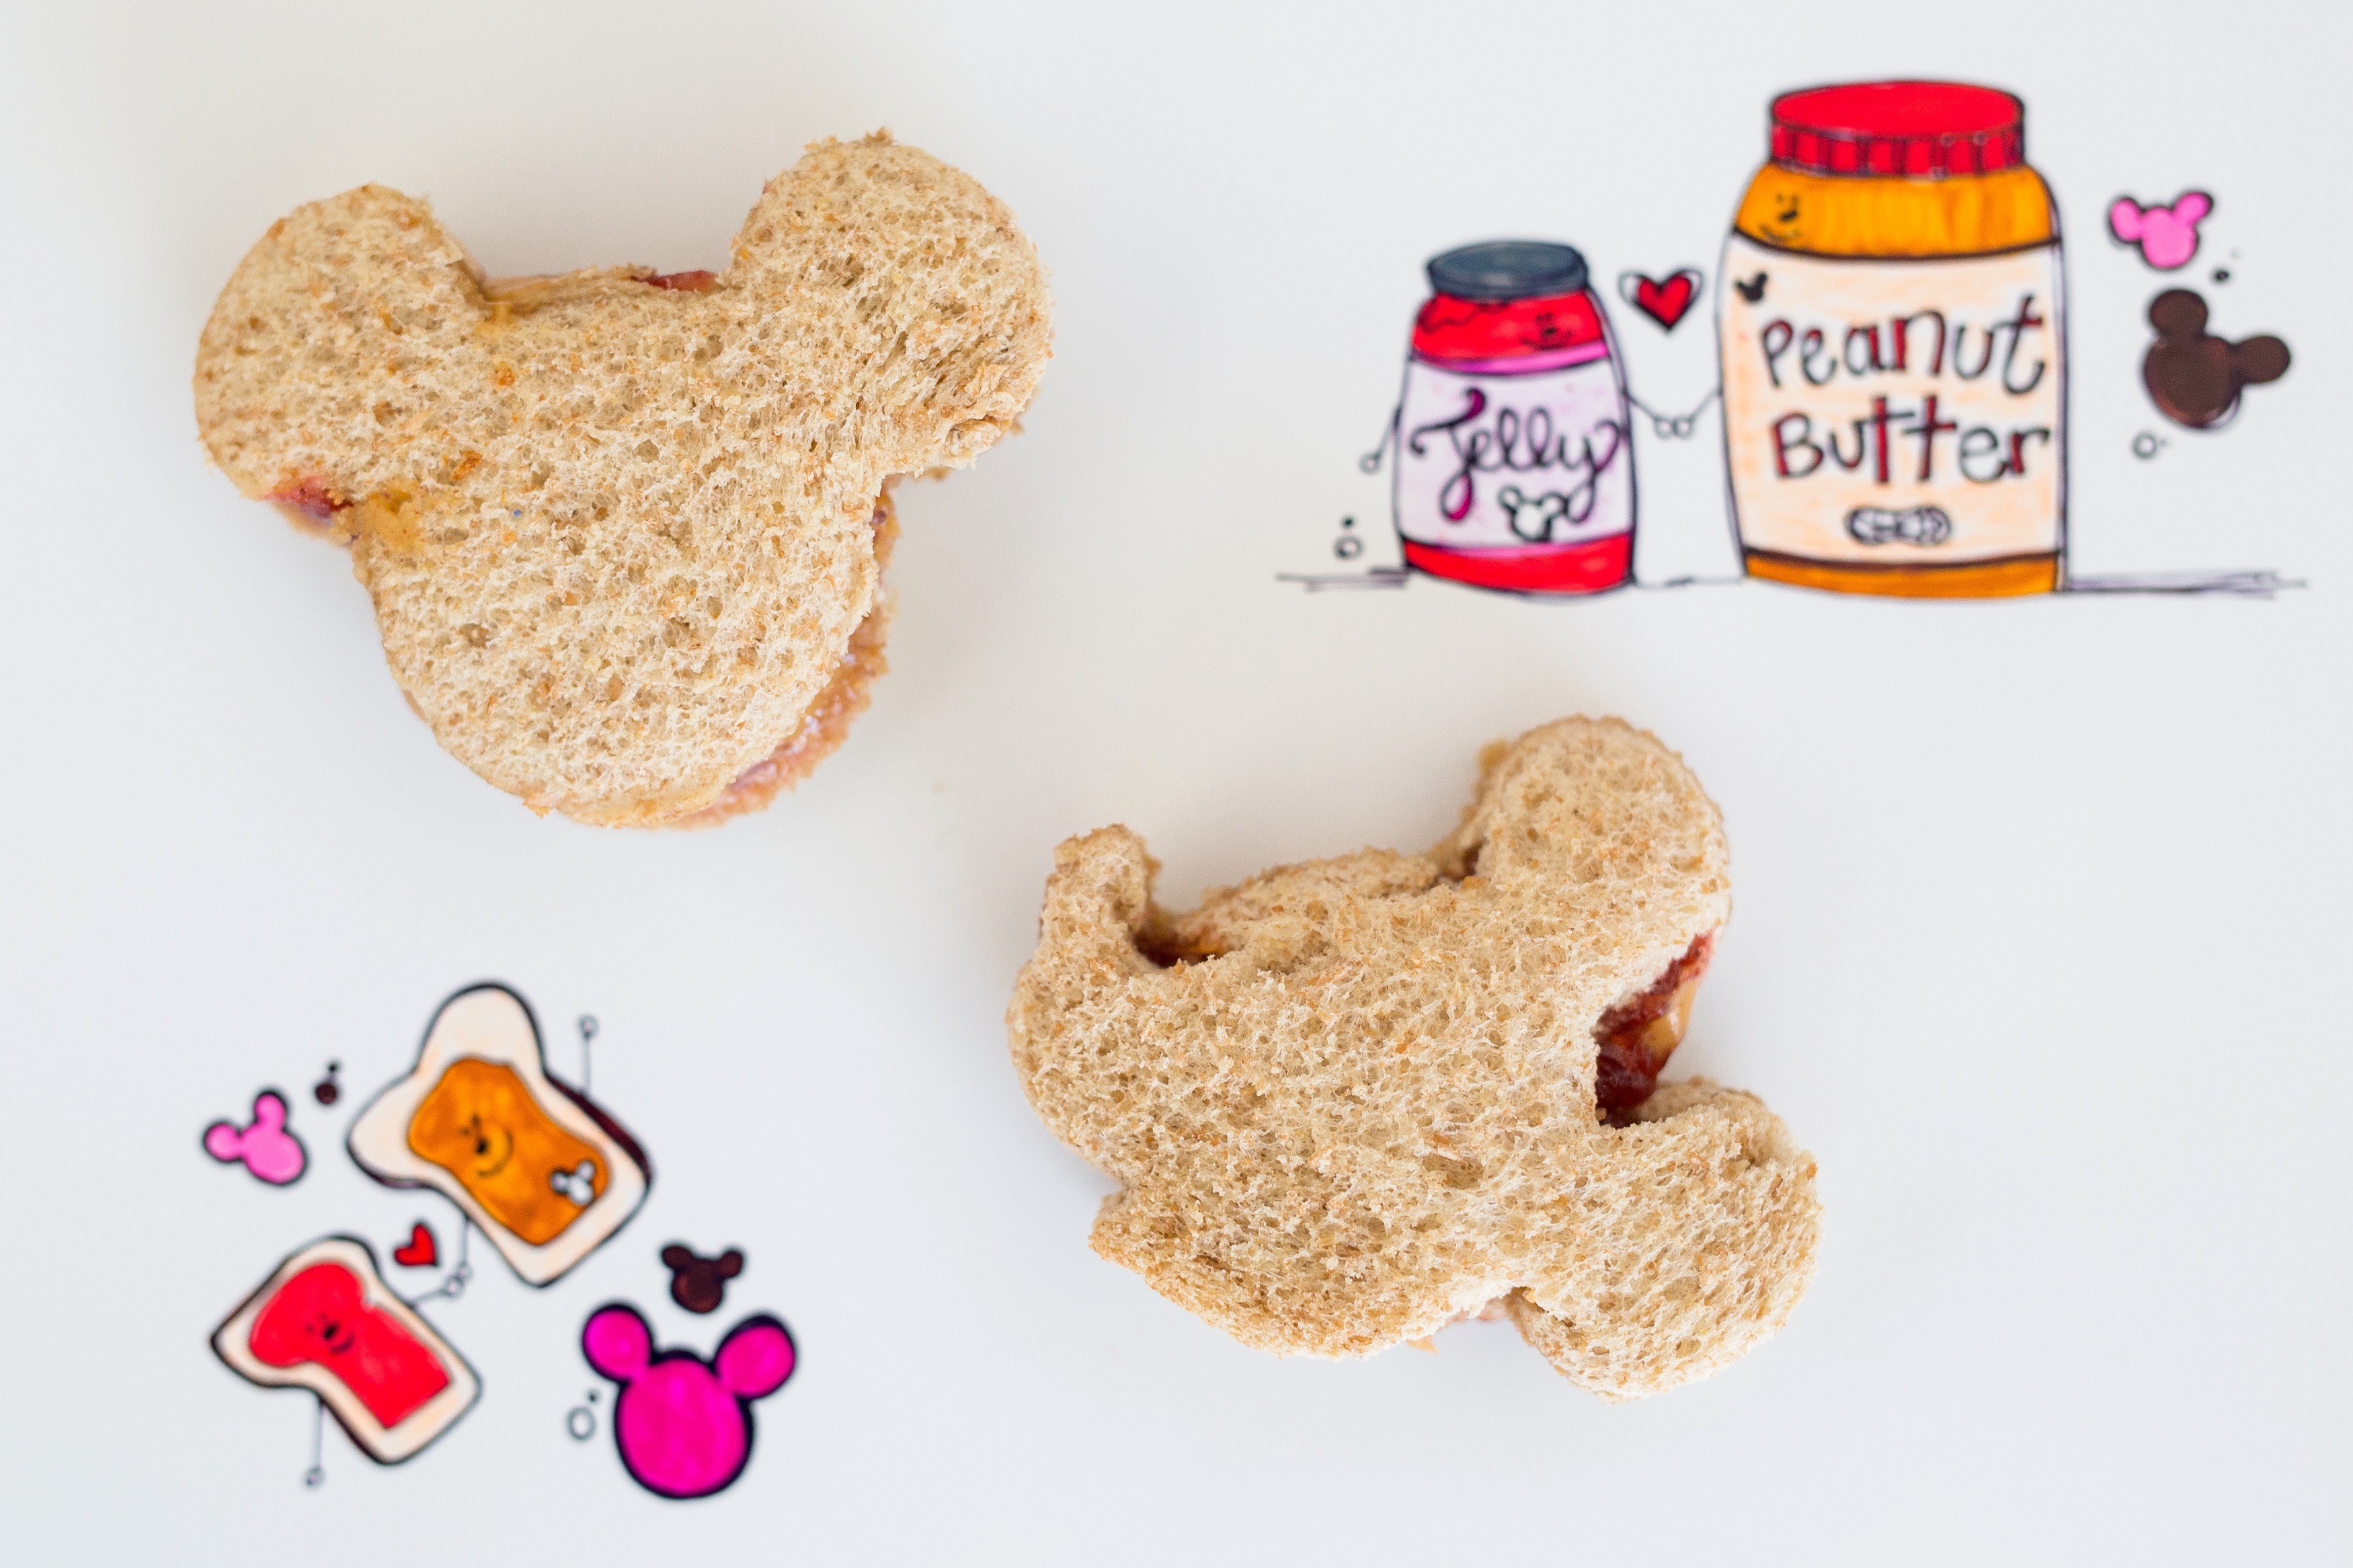
My son and I put together a simple food craft of making homemade freezer peanut butter and jelly sandwiches without the crust. (Aka uncrustables!) The best part? My son could make a majority of this homemade uncrustable sandwich on his own.
Woohoo!
Make a bunch of homemade uncrustables when you have 30 minutes to spare and viola, you’ve got a quick and simple lunch on your hands!
Plus, if you pick up some Mickey Mouse and friends cookie cutters, you can easily incorporate some Disney magic into your sandwiches.
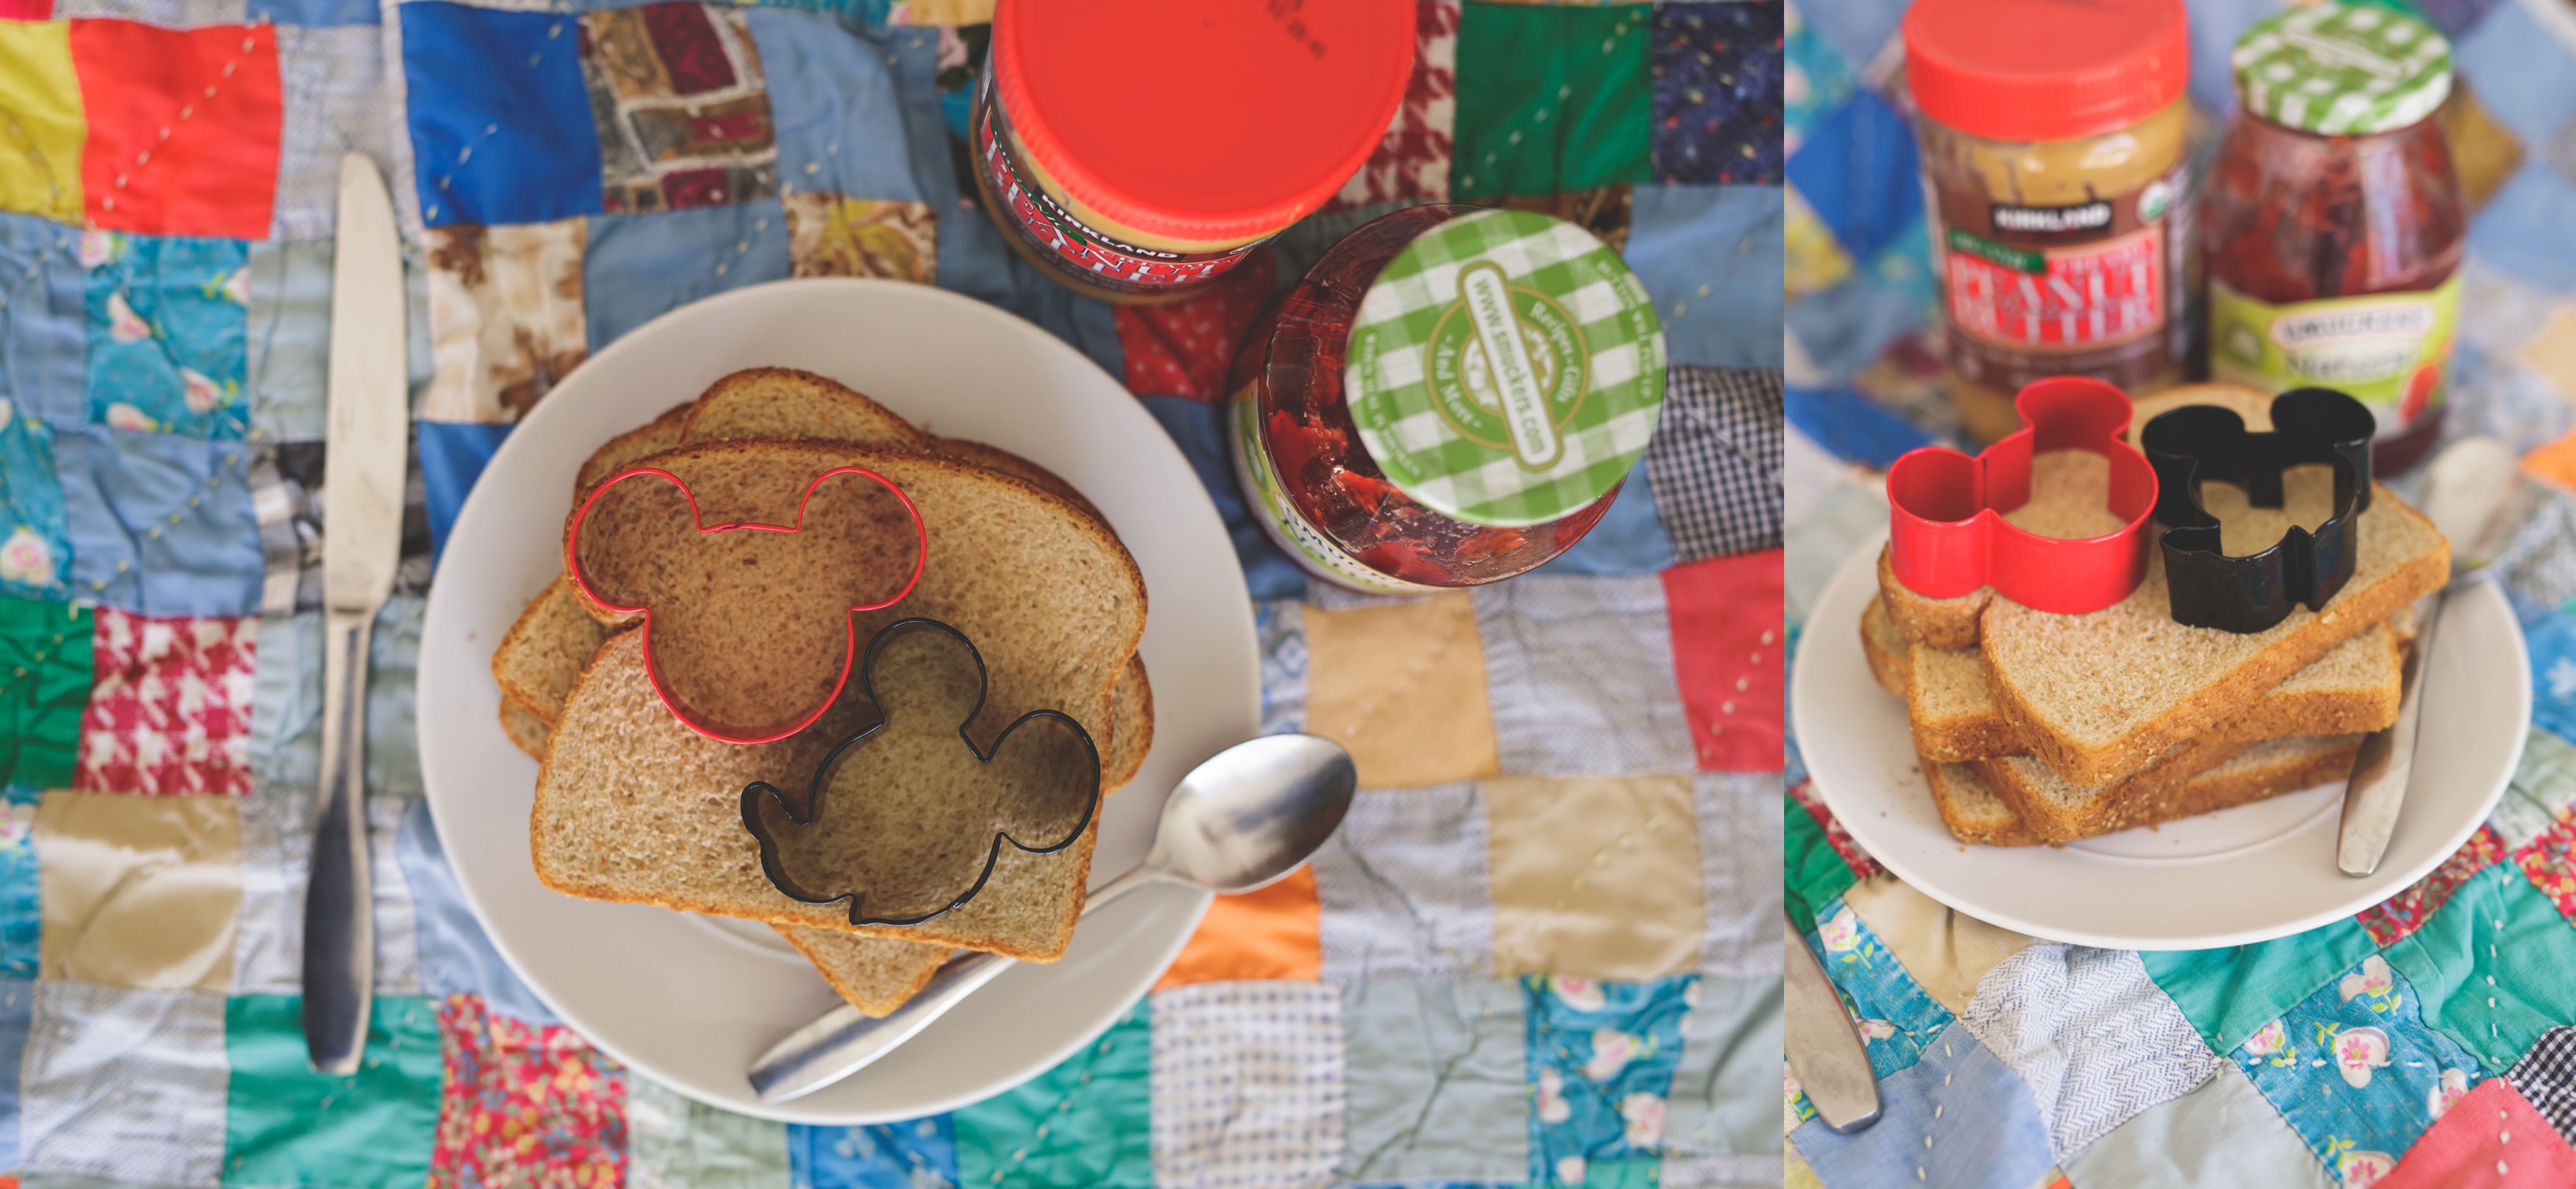
We picked up our cookie cutters at Target, but Amazon has similar ones and can be found right here or by clicking on the picture below:
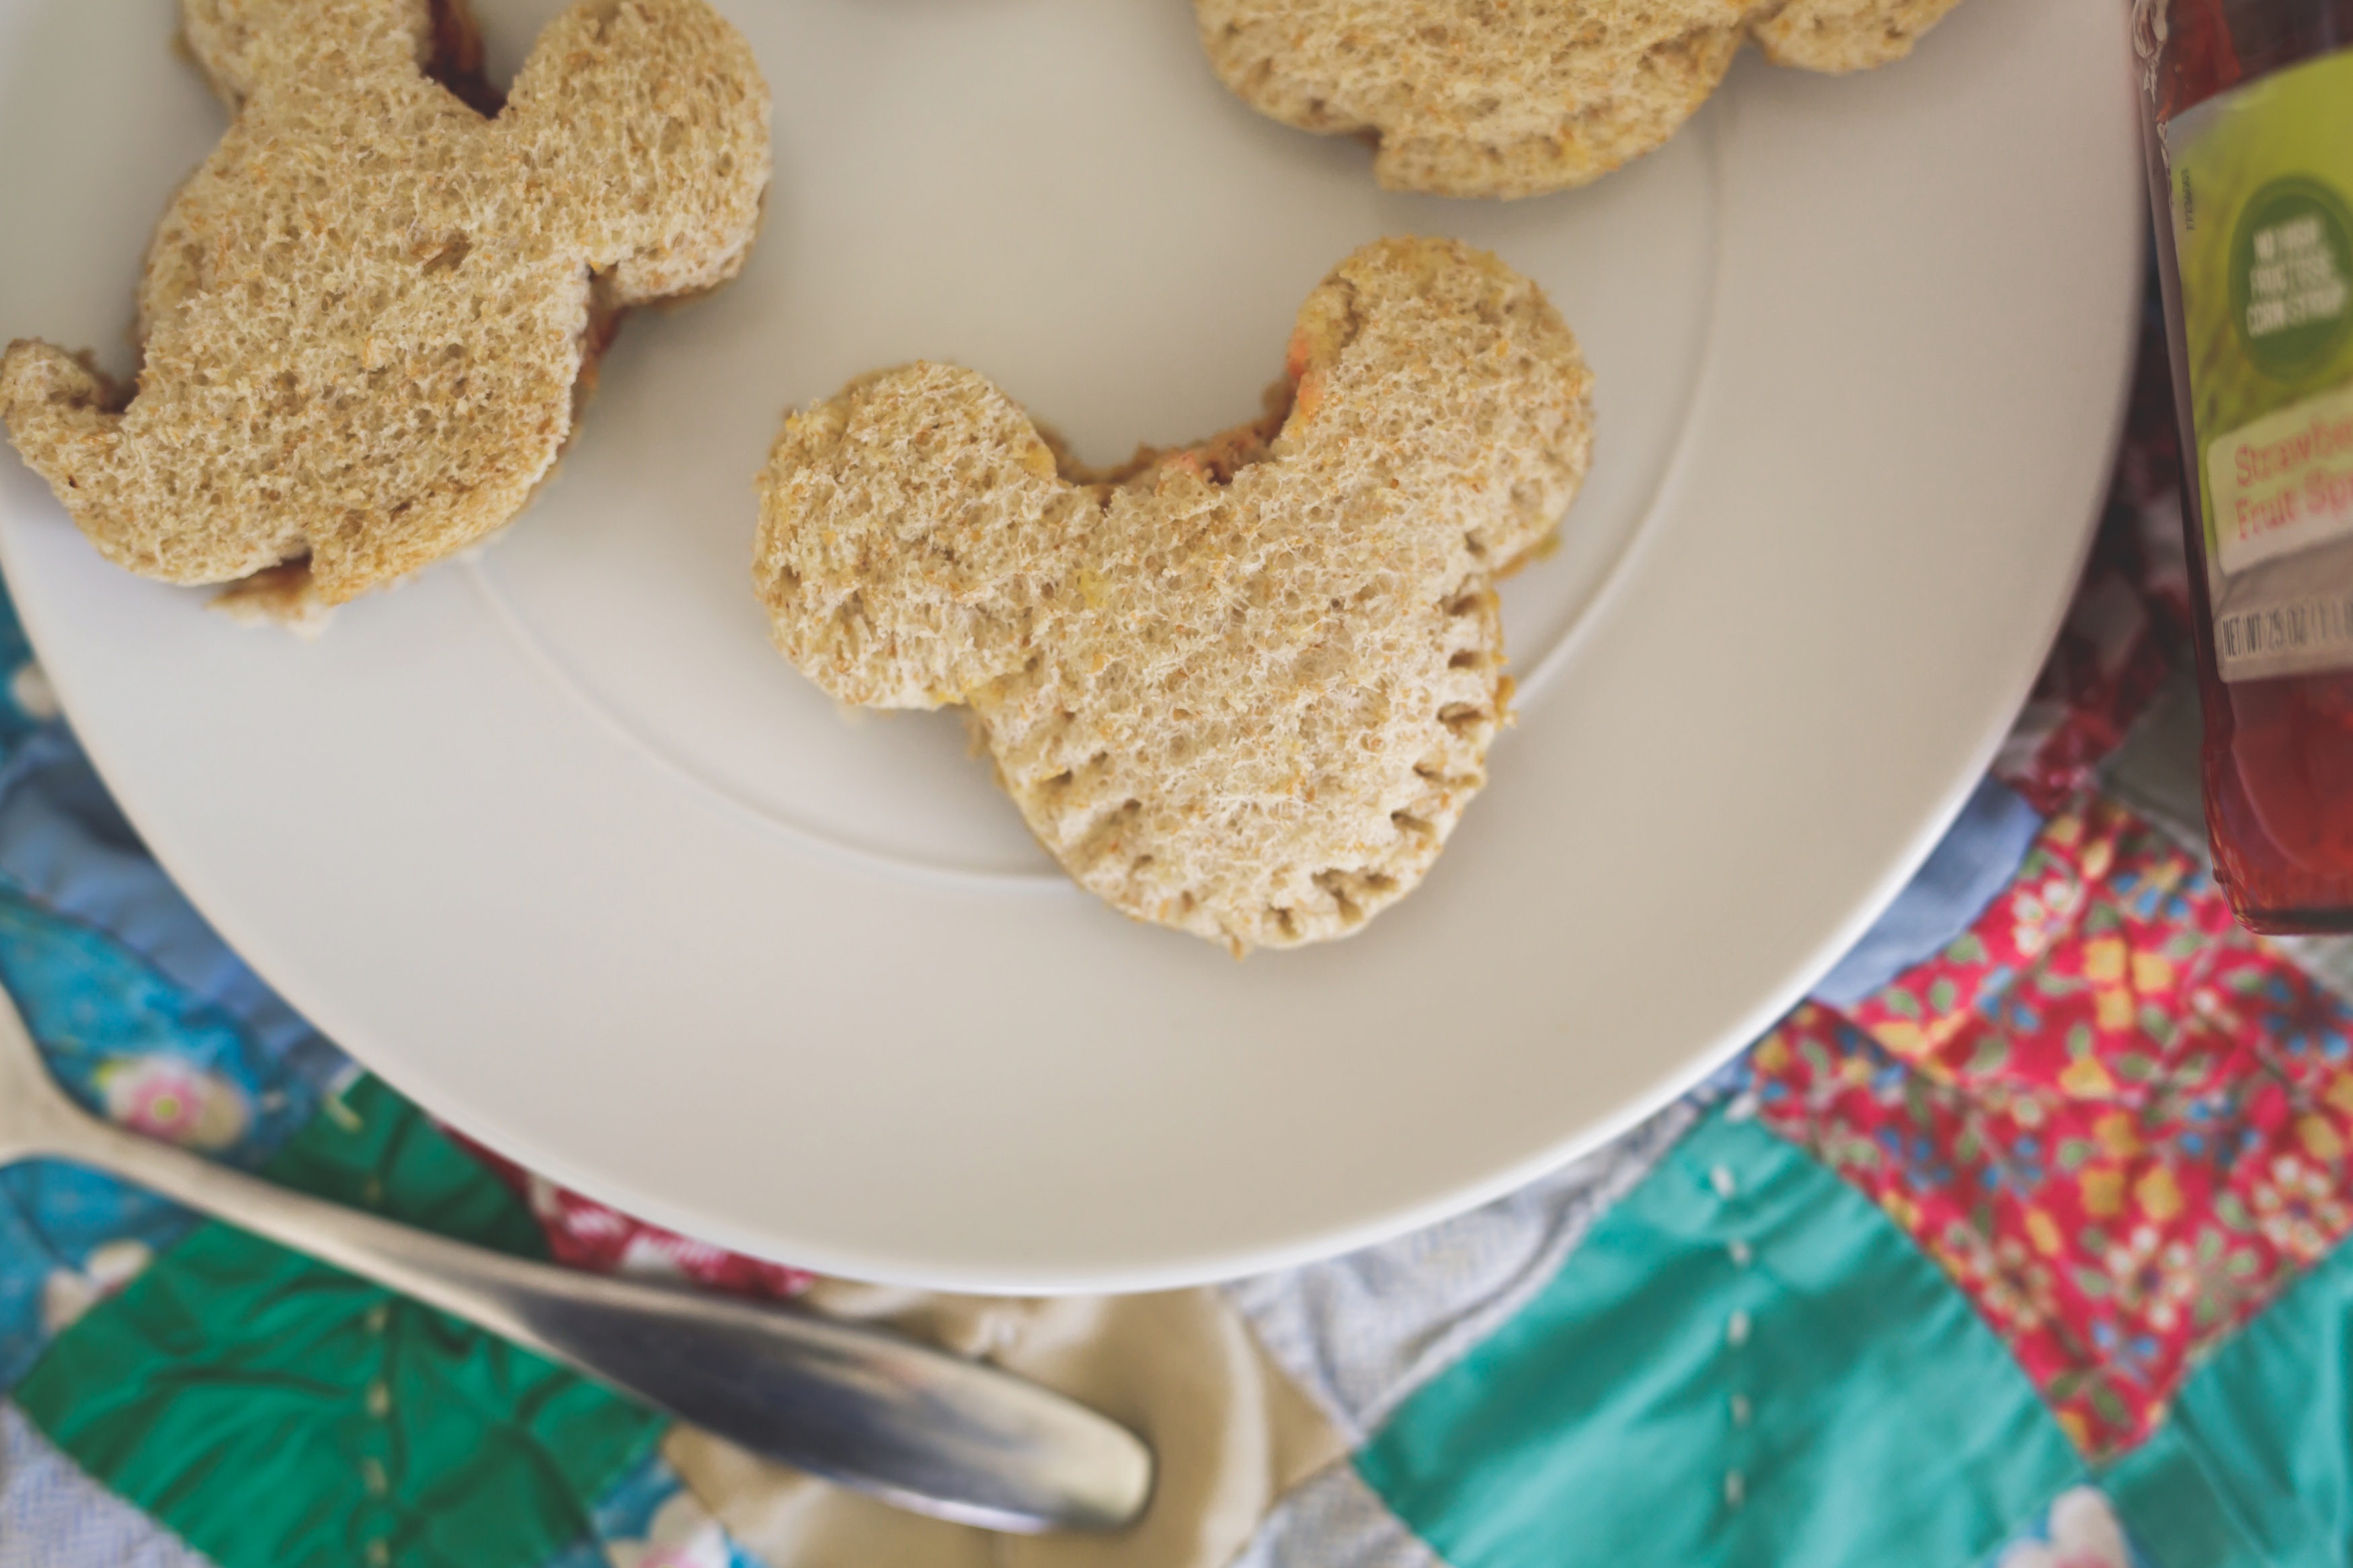
We might love the ones on Amazon even more because of the size. Our cookie cutters are on the smaller size. This enabled us to get two ‘sandwiches’ from every one full sized sandwich.
The smaller homemade uncrustables happened to be perfect for the one-year old PB and J lover in our home.
However, with the larger cookie cutters you get a larger homemade uncrustable. Which is good for bigger appetites! In our house we ended up with a lot of PB and J scraps to eat!
Without further ado, let’s explore how to make a homemade uncrustable that can be perfect for now or freezing for later!
Supplies for Freezer-Friendly Homemade Uncrustable Sandwiches
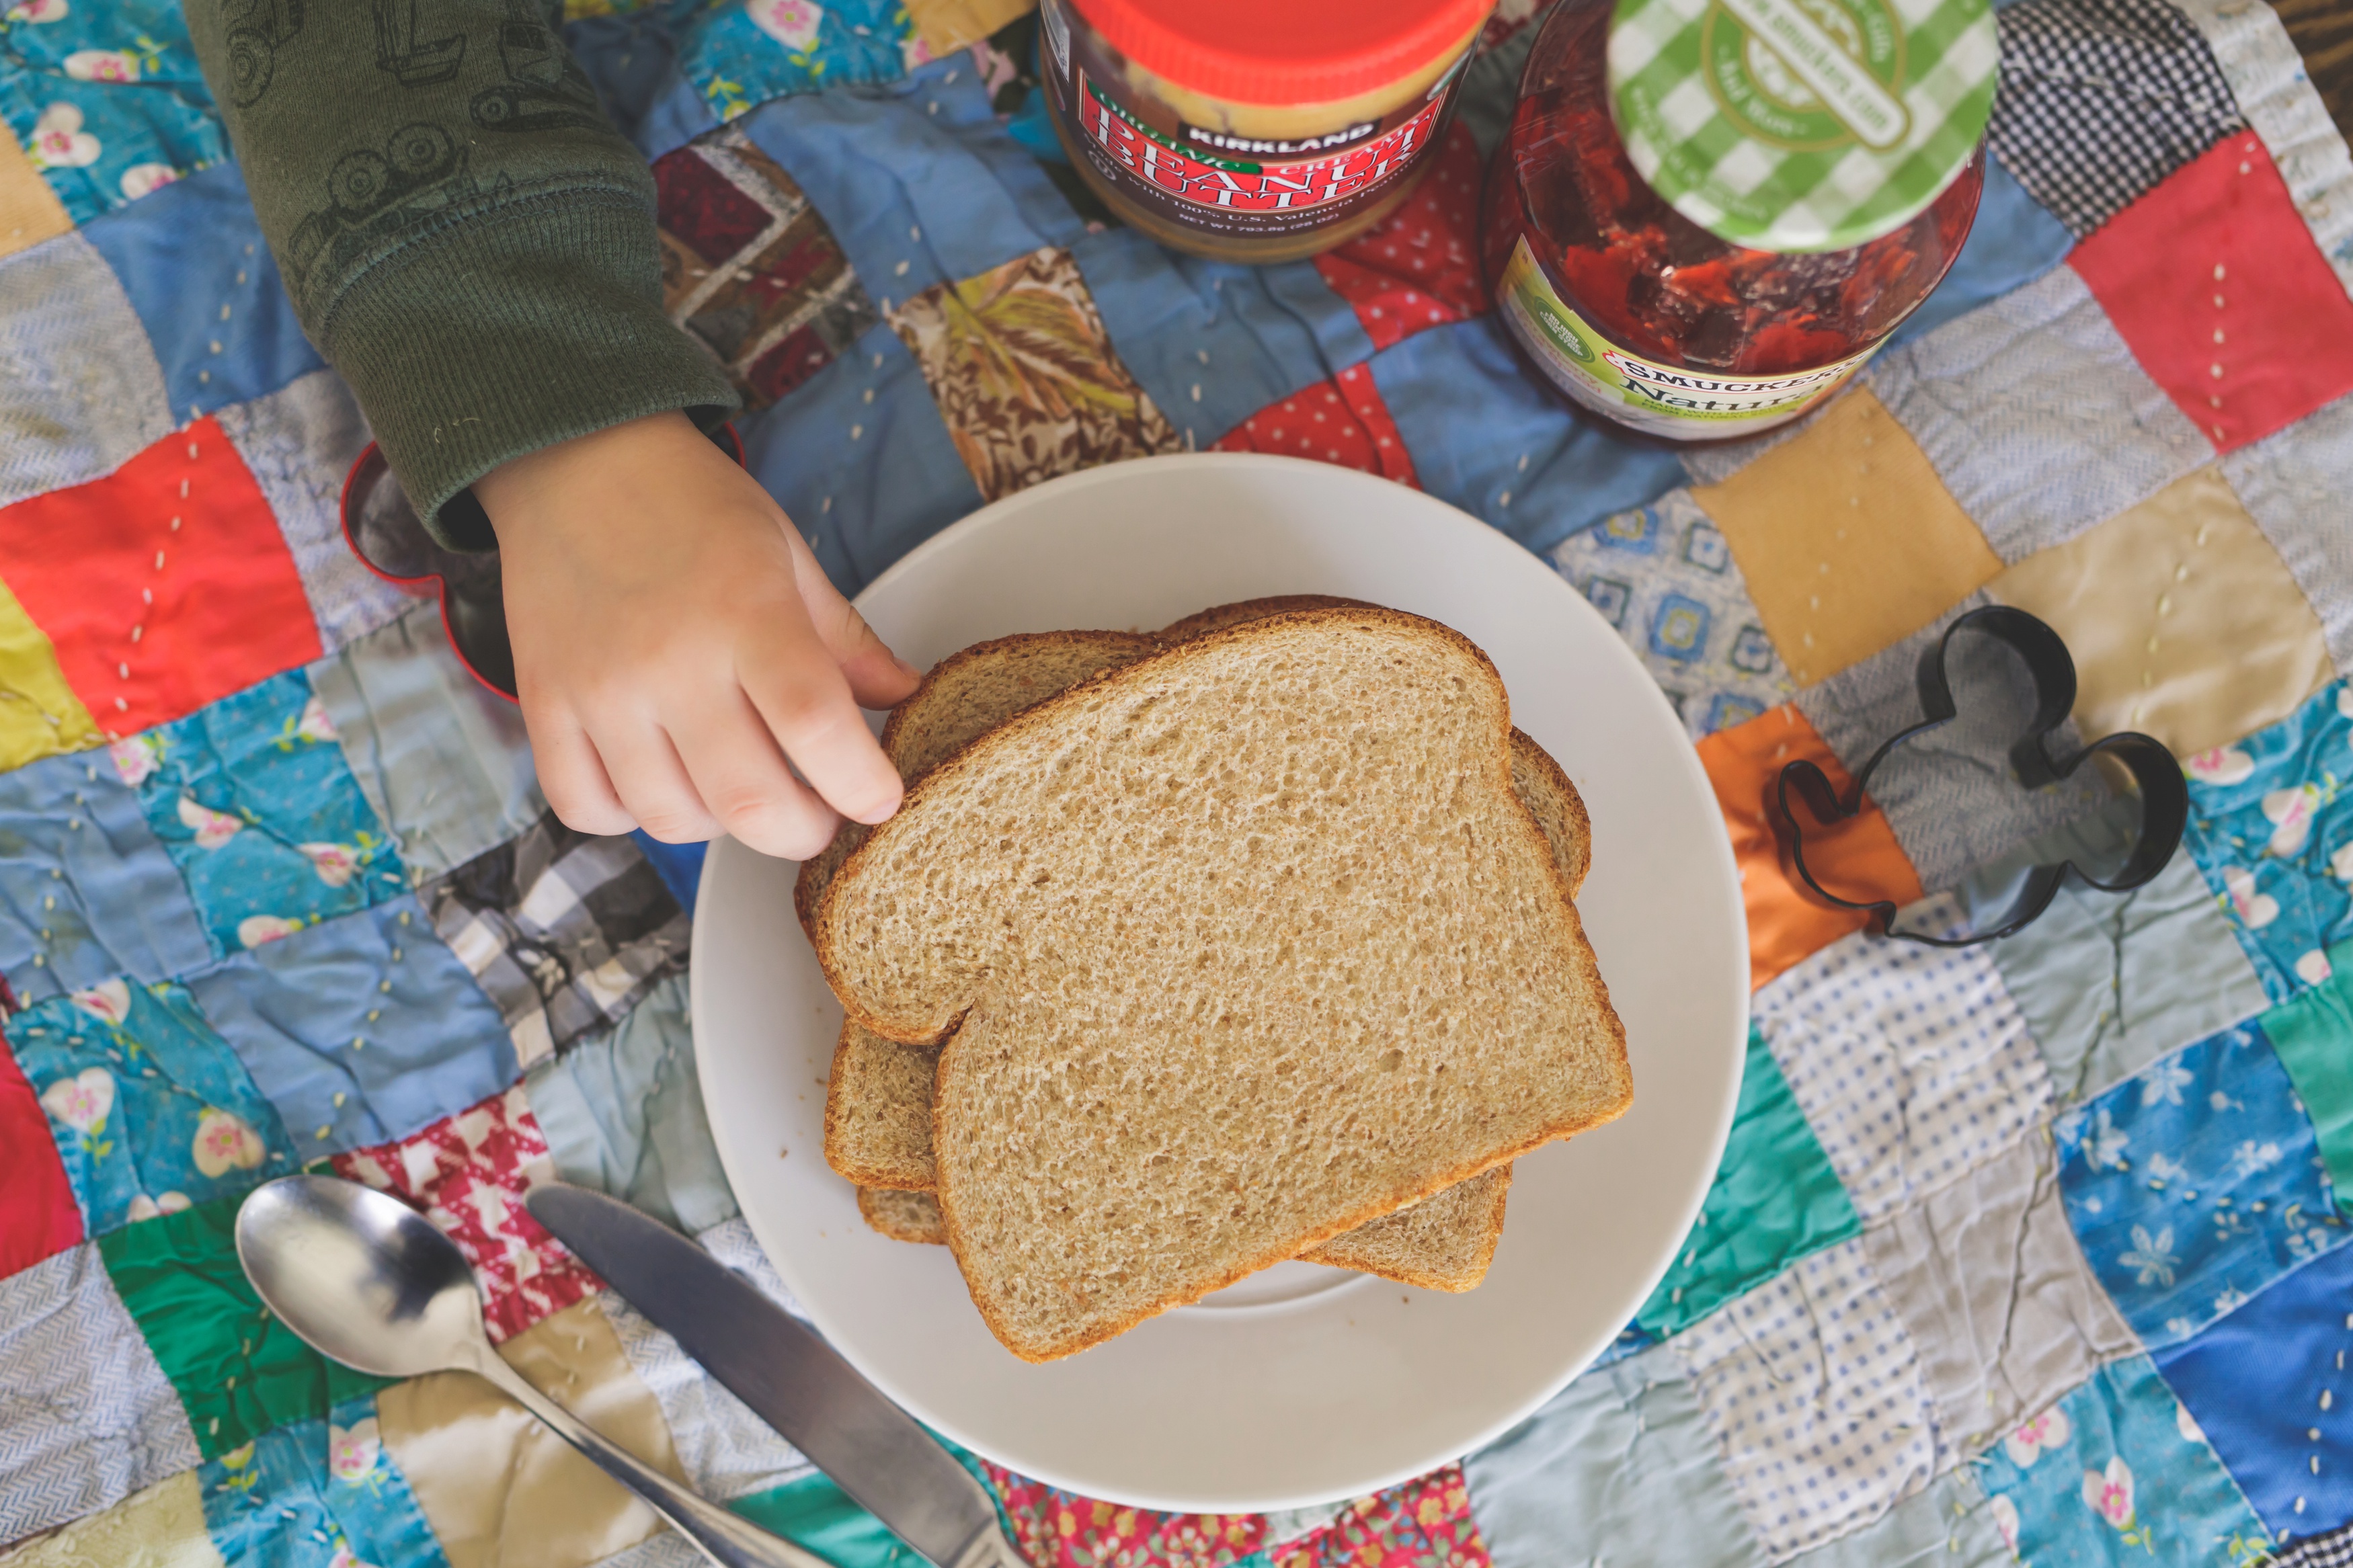
Two Slices of Sandwich Bread (Or however many sandwiches you plan to make!)
Peanut Butter (We used natural from Costco. This brand is also tasty: Crazy Richards.)
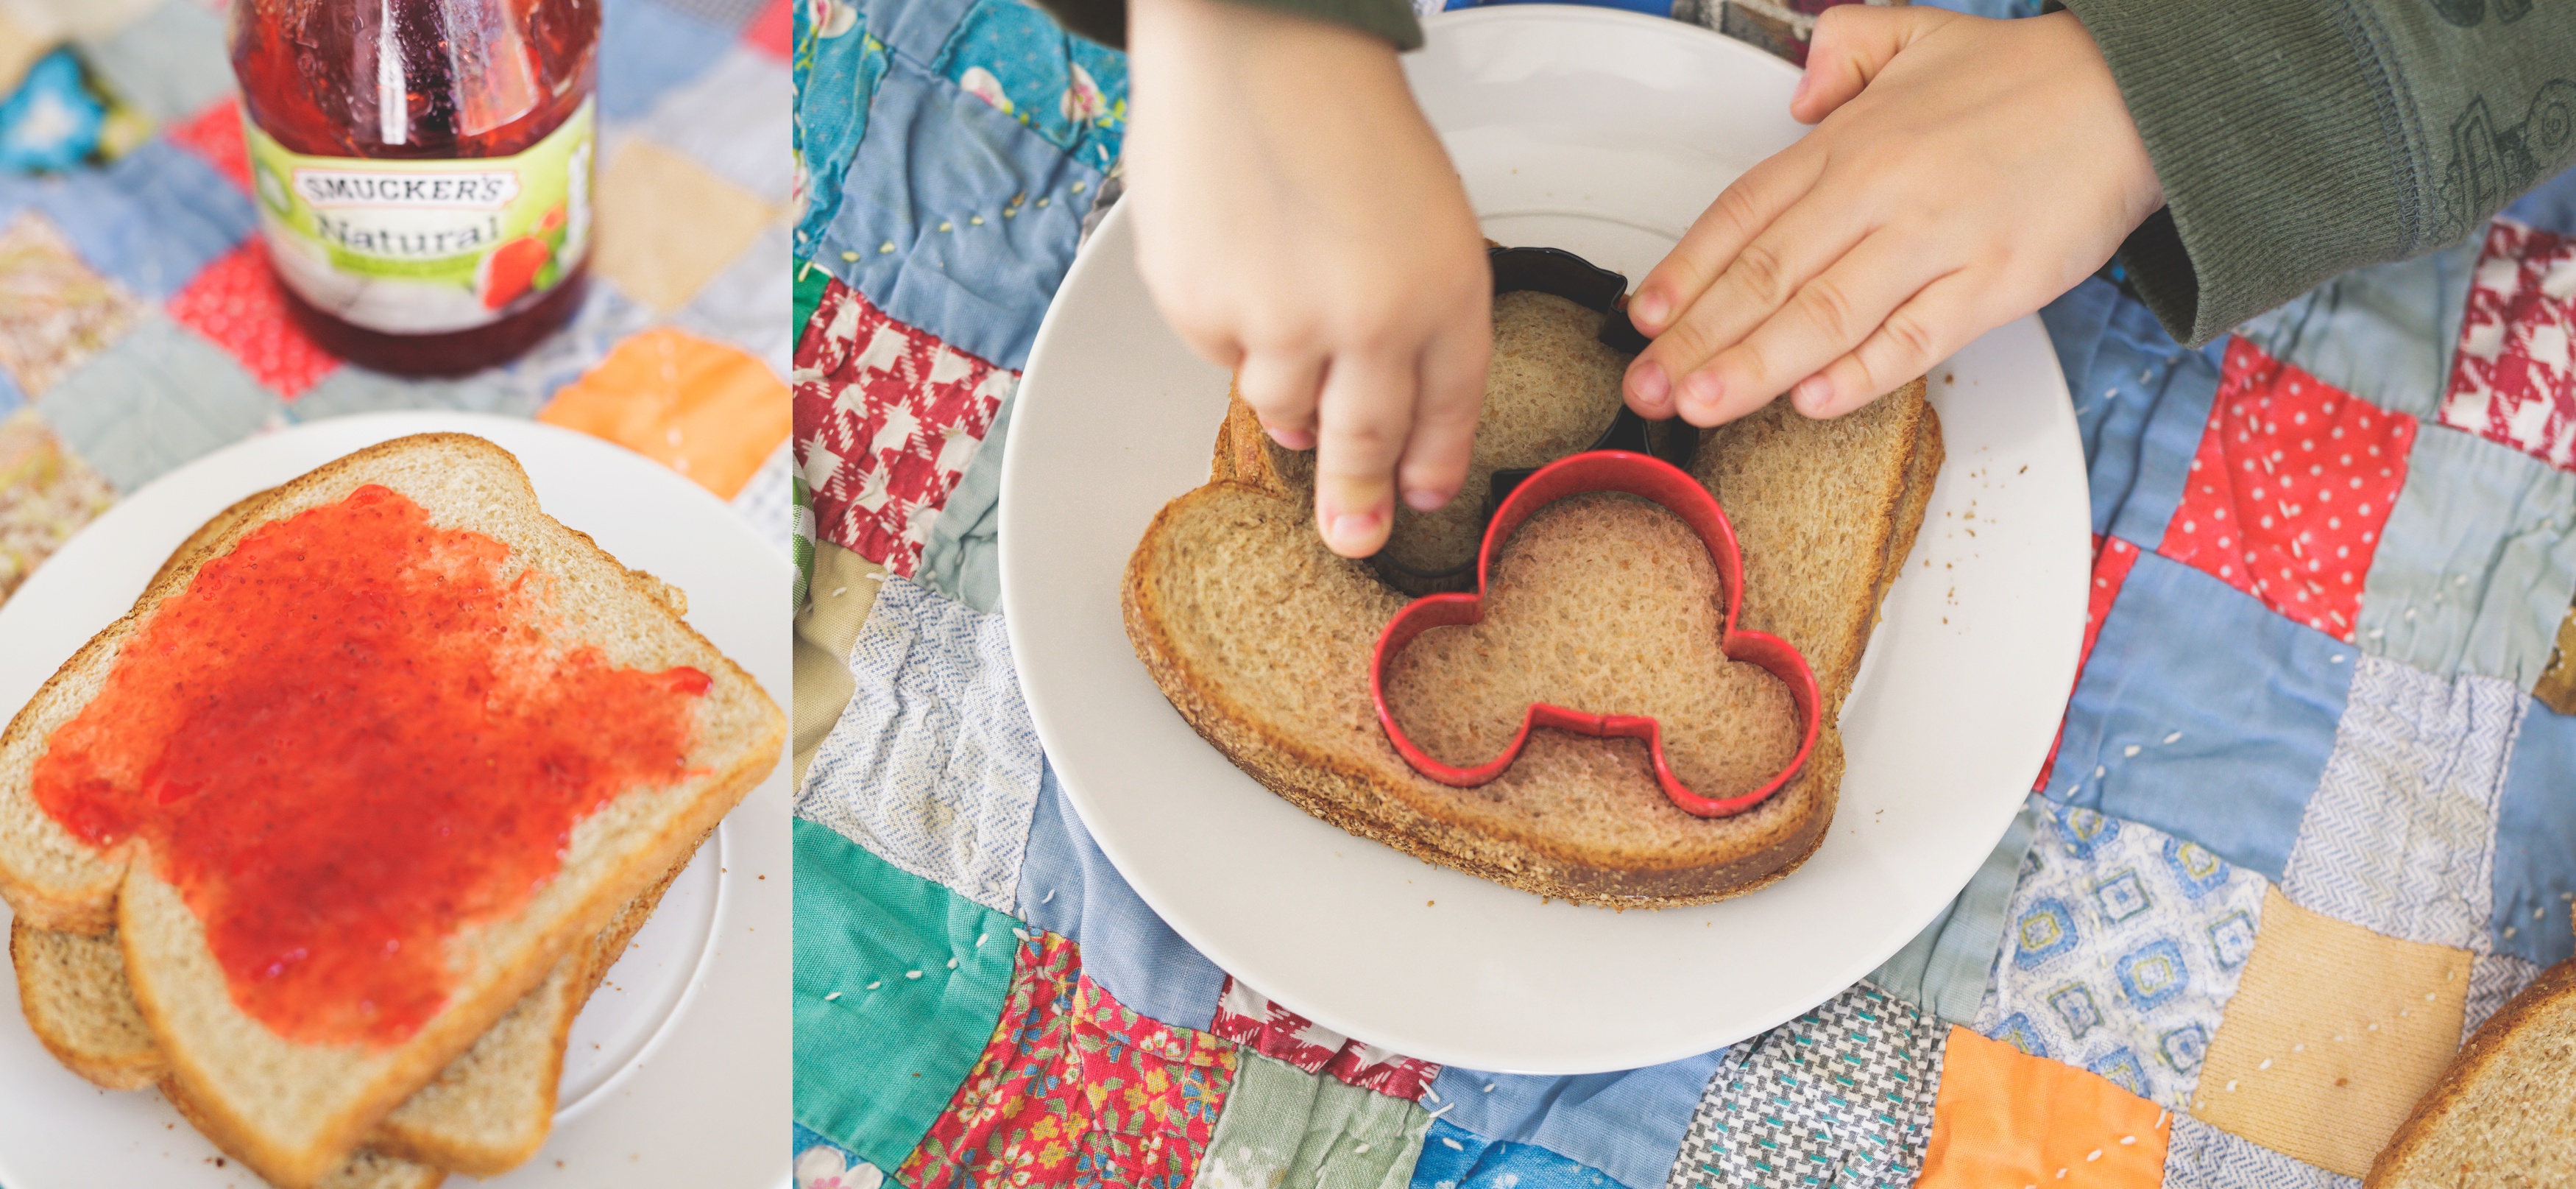
Jelly (We used Smucker’s Natural Strawberry Fruit Spread)
2 Butter Knives
1 Fork
Freezer Friendly Bags/Container for the Freezer
1. Step One
Gather up your supplies! For a super quick process, I like to set everything out in assembly line fashion. I’ll get the counter clean and then lay out the bread to it’s ready to go.
2. Step Two
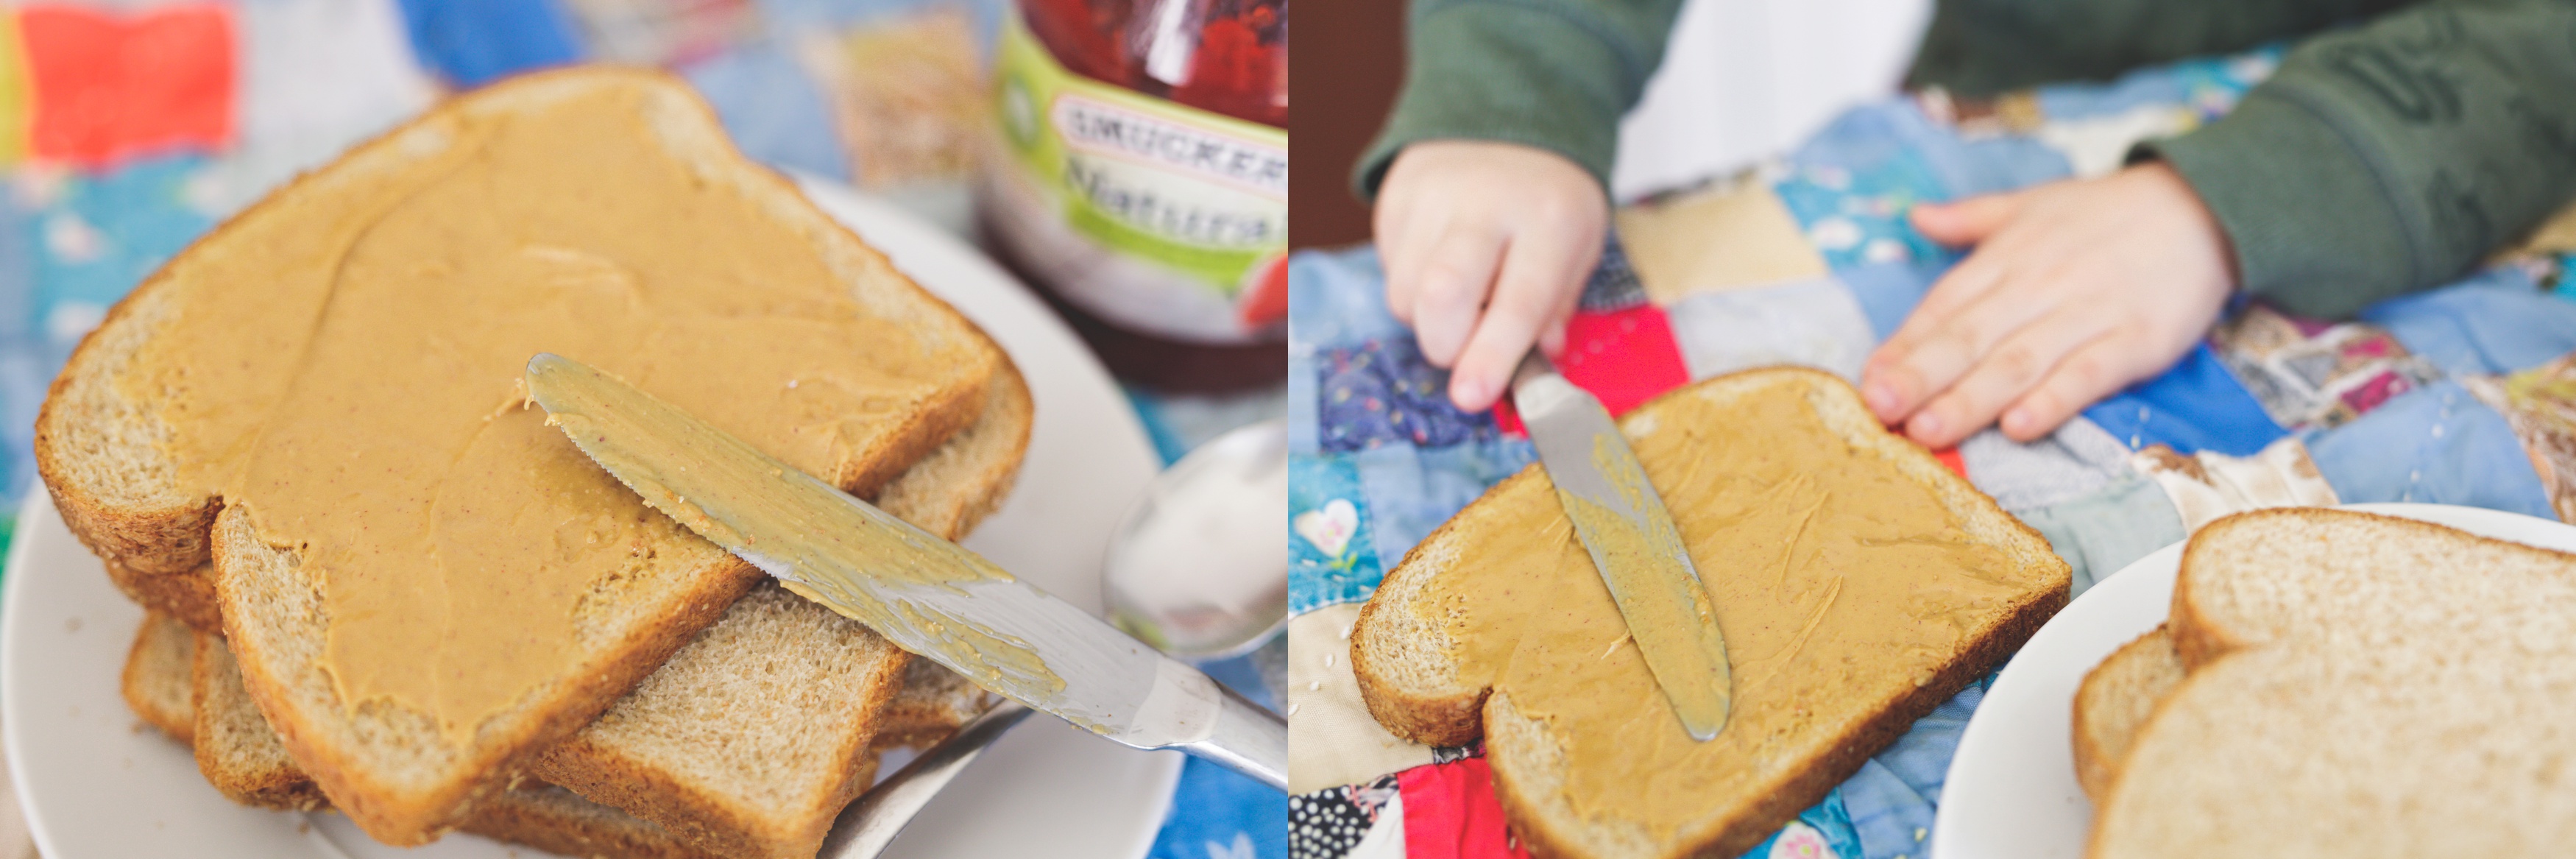
Cover half the slices of bread with peanut butter and the other half with jelly. If you plan to make the sandwiches for freezing and without the crust, be sure to spread the toppings in the middle only. Not only does this make it easier to keep the peanut butter and jelly contained inside of the bread, but it also helps when you go to seal the sandwiches.
3. Step Three
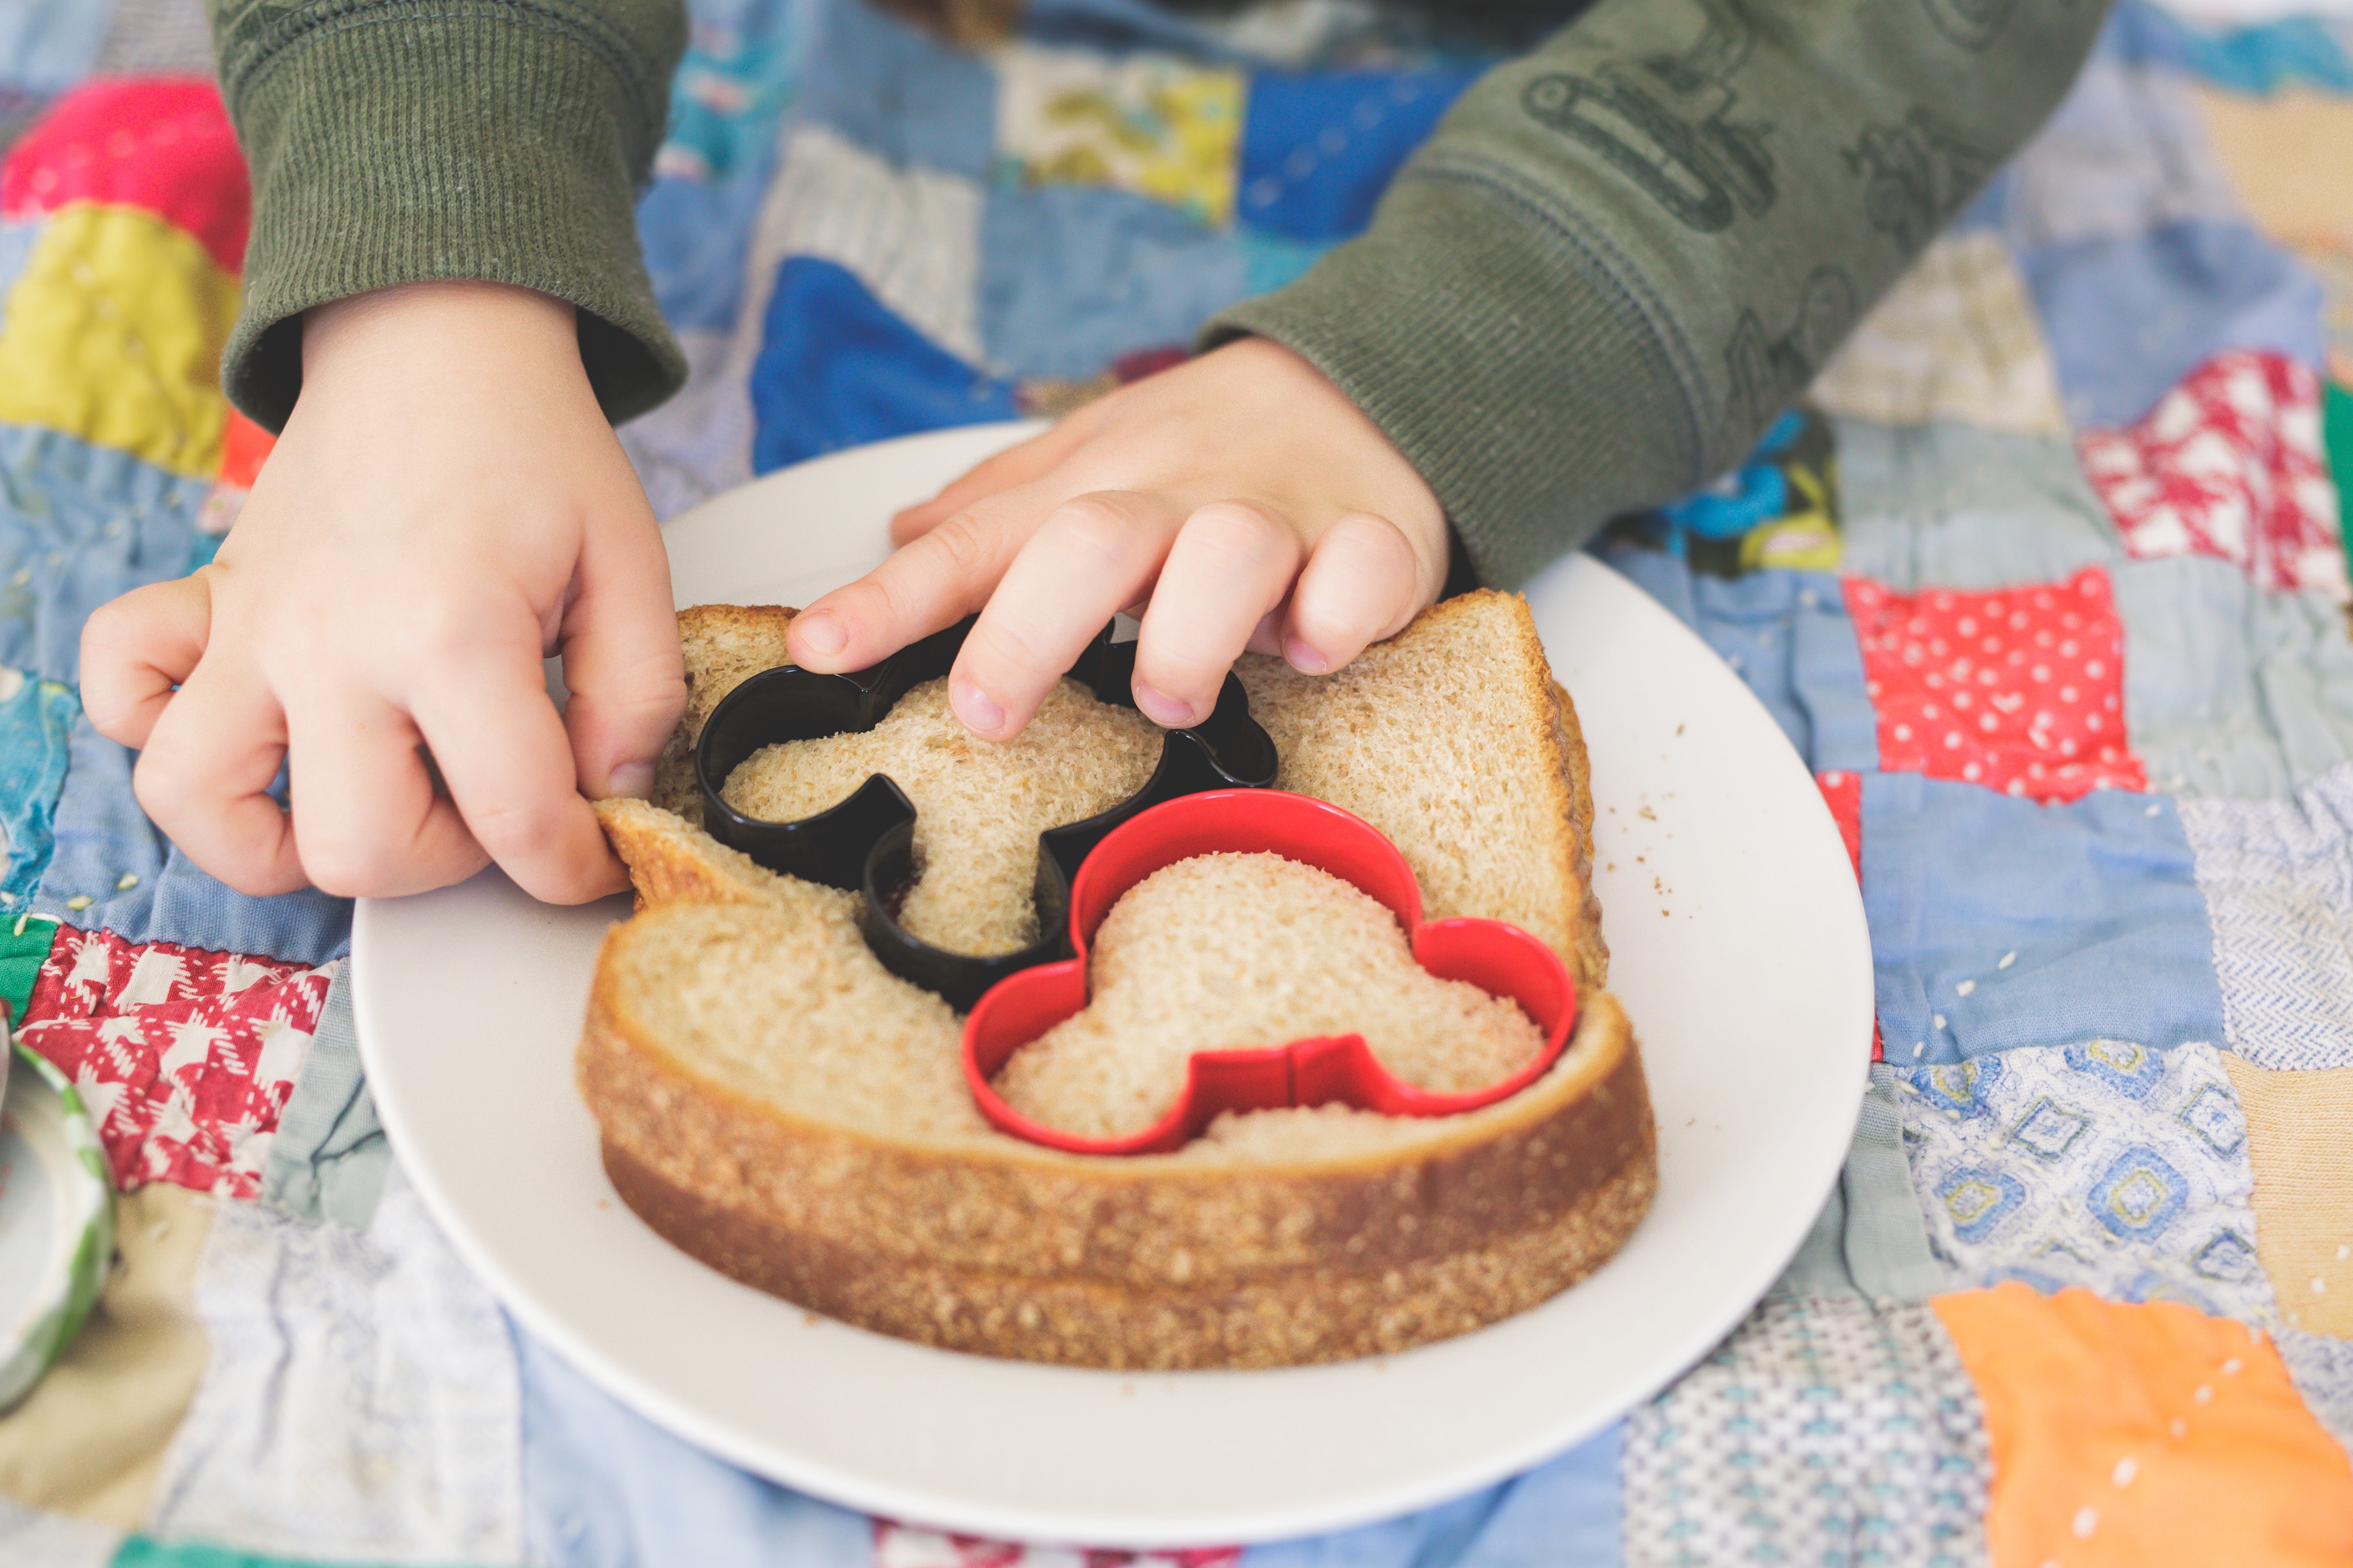
Grab your Mickey Mouse cookie cutter and cut out your sandwich shape! If you plan to enjoy your sandwiches today, you’re all set! If you want to save a few for another day, move onto step number 4!
4. Step Four
Take your fork and carefully go around the edges of the sandwiches, creating a seal. The seal will help keep the sandwich filling inside and help keep your sandwich fresher!
5. Step Five
Once your sandwiches are all sealed, it is time to freeze them! In order to preserve the sandwiches and ensure they are lunchtime when you pull them out of the freezer, be sure to complete a few steps.
First, flash freeze your sandwiches on a cookie sheet. Do this by placing the sandwiches in a single layer on a cookie sheet and then place them all into the freezer.
Let them partially freeze and then remove. This helps to keep the sandwiches from getting too squished inside the freezer.
Next, place each sandwich into an individual freezer friendly sandwich bag or freezer container, whichever you prefer to use for lunches when you take the sandwiches out.
Put the containers or bags with the homemade uncrustables inside back in the freezer and you’re all set!! You’ve just saved yourself a bunch of time come your next lunchtime!
Freezer Duration
We have completed the above steps and used the freezer sandwiches in about a months time.
The sandwiches hold up pretty well, but their life span is going to be dependent on how well they are preserved, how fresh the bread was and so forth.
Keep an eye on them and if they start tasting freezer burned, be sure to eat up the remaining homemade uncrustables quickly!
Conclusion for Freezer-Friendly Homemade Uncrustable
As I said, probably the world’s simplest blog post, but it’s always helpful to have a reminder of these simple things!
Next time you find yourself with a few extra minutes, whip up a few of these homemade uncrustables and you’ll have a super simple lunch waiting for you in the freezer!
Have you tried to make these before? How did they turn out for you?
Be Sure to Follow Me on Facebook, Instagram and Pinterest: @magicformiles
Heading to the parks soon? If you’re looking for ticket, hotel or car rental deals be sure to check out Undercover Tourist. We have used Undercover Tourist for several years and for numerous trips, both to Walt Disney and Disneyland. Every experience has been easy and resulted in a great deal. Be sure to click through the link below to see their current offers. If you purchase after clicking through banner, we will receive a small commission. Thanks in advance!

