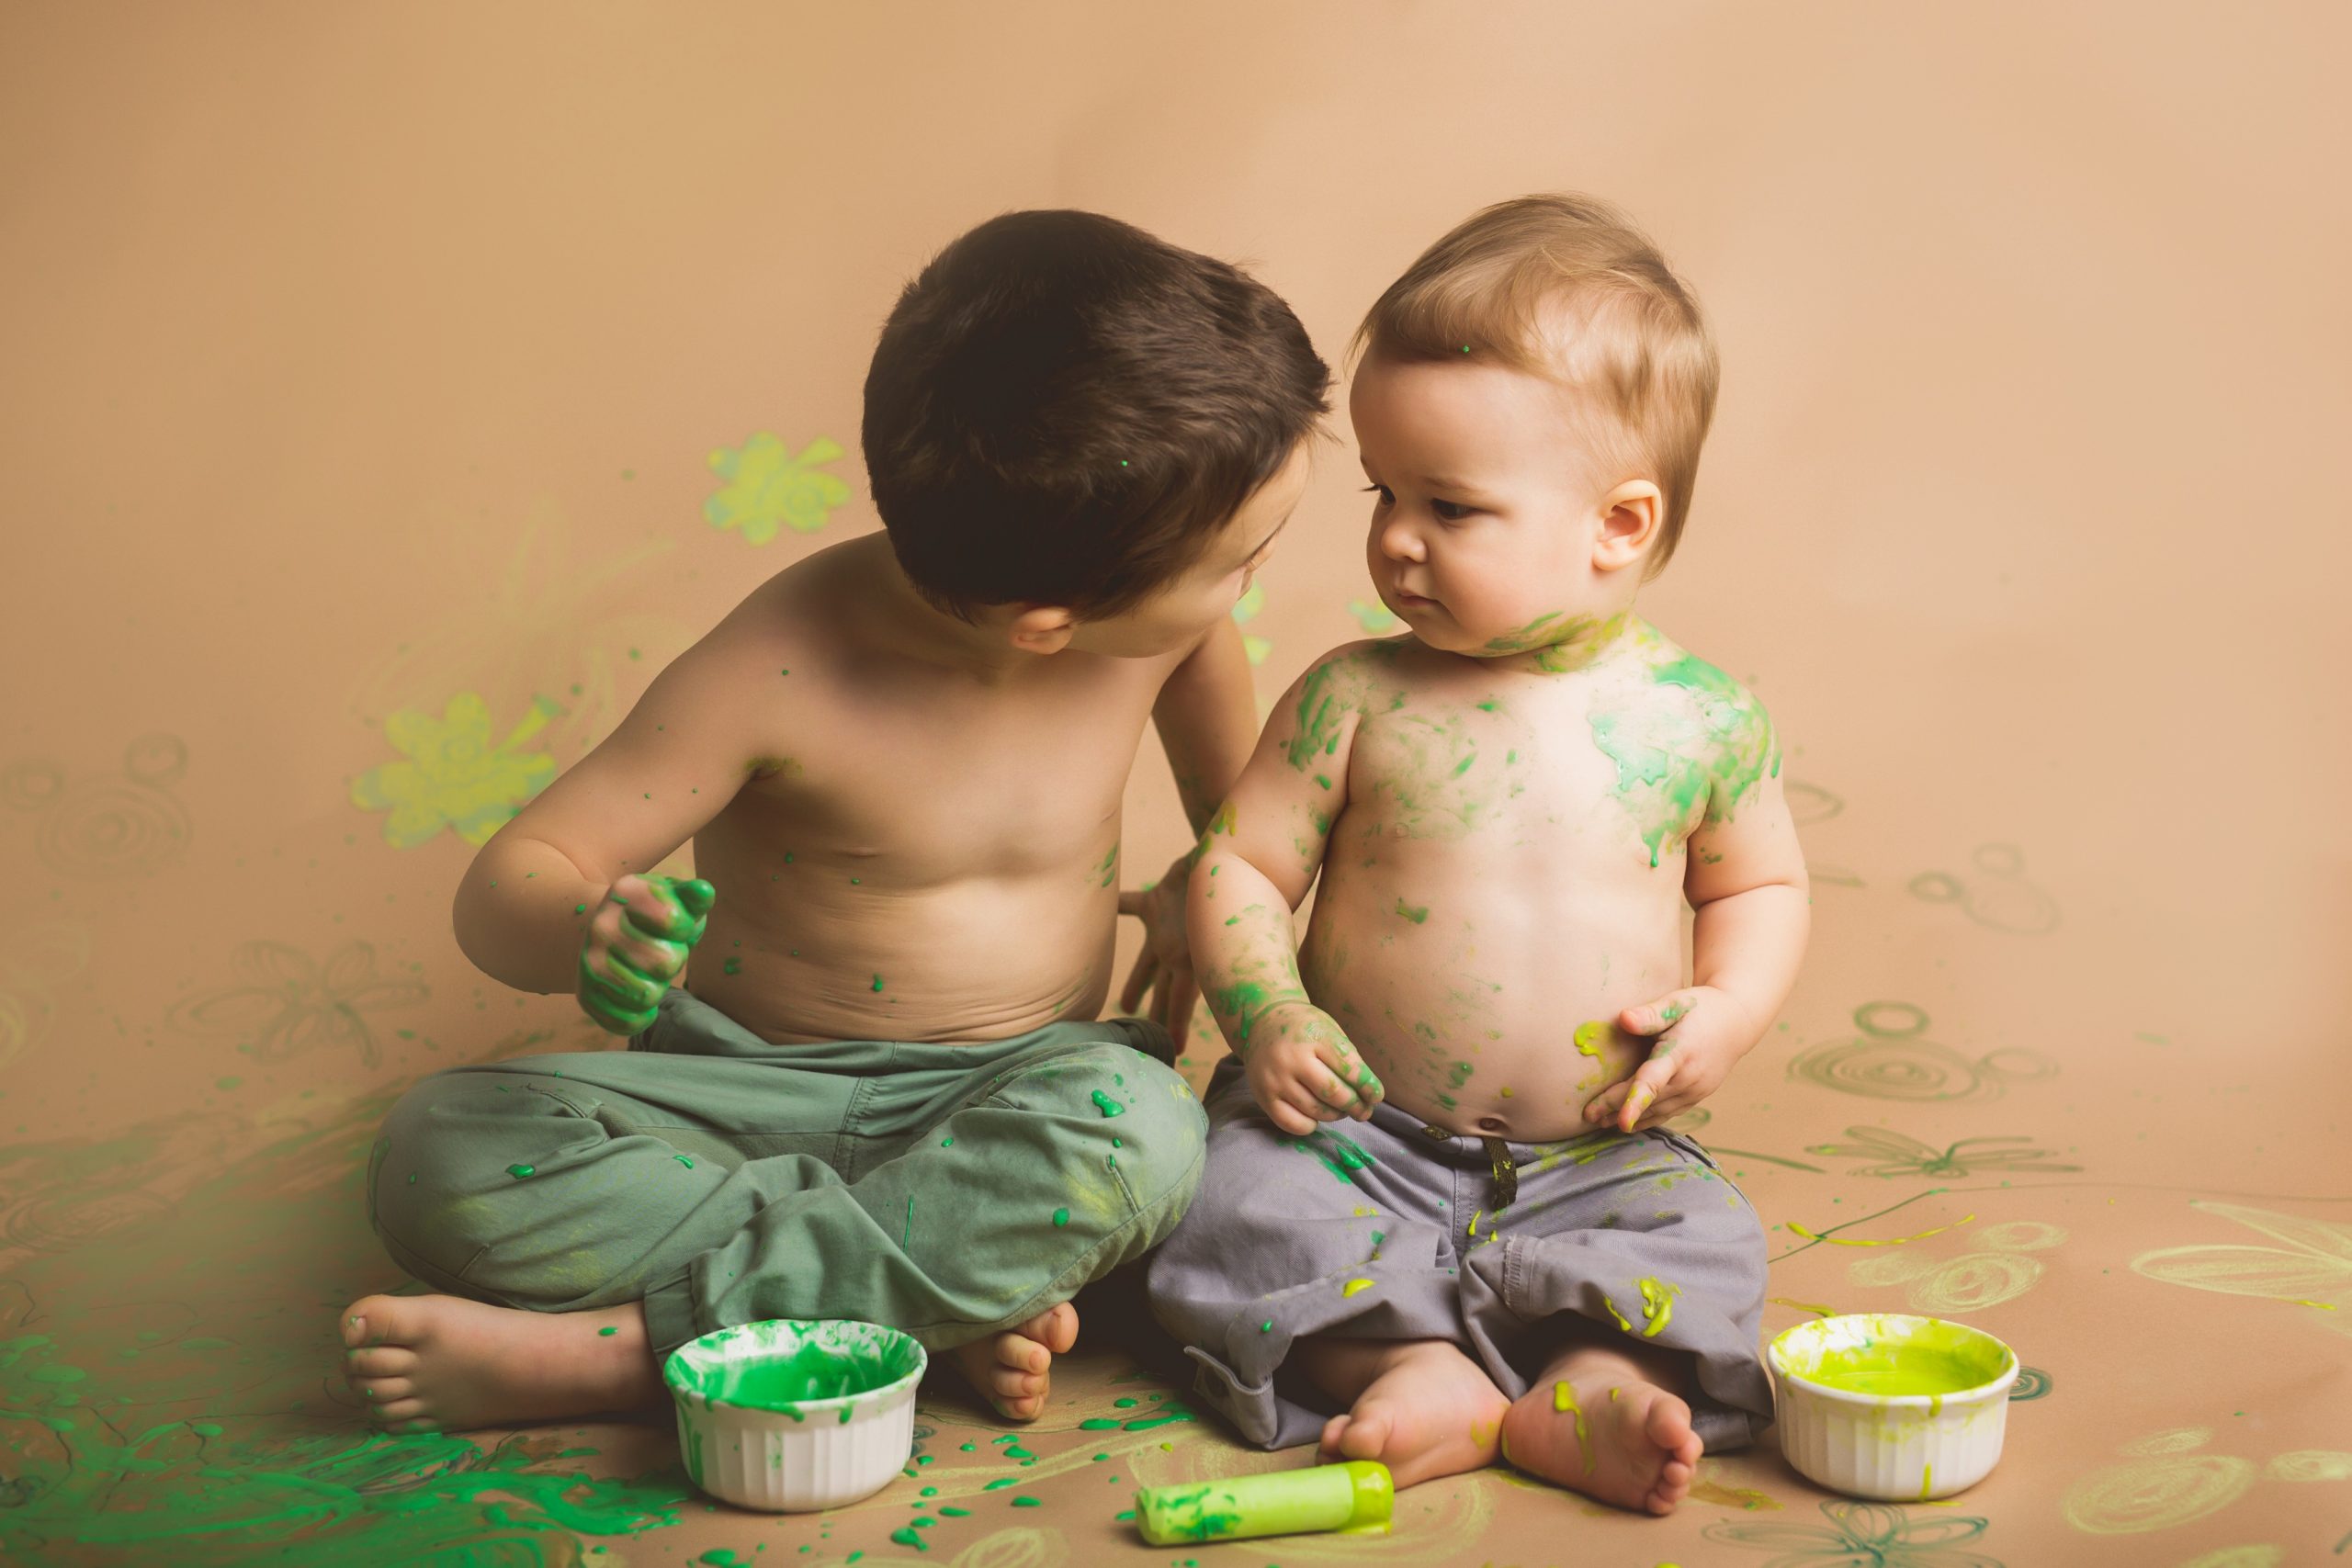
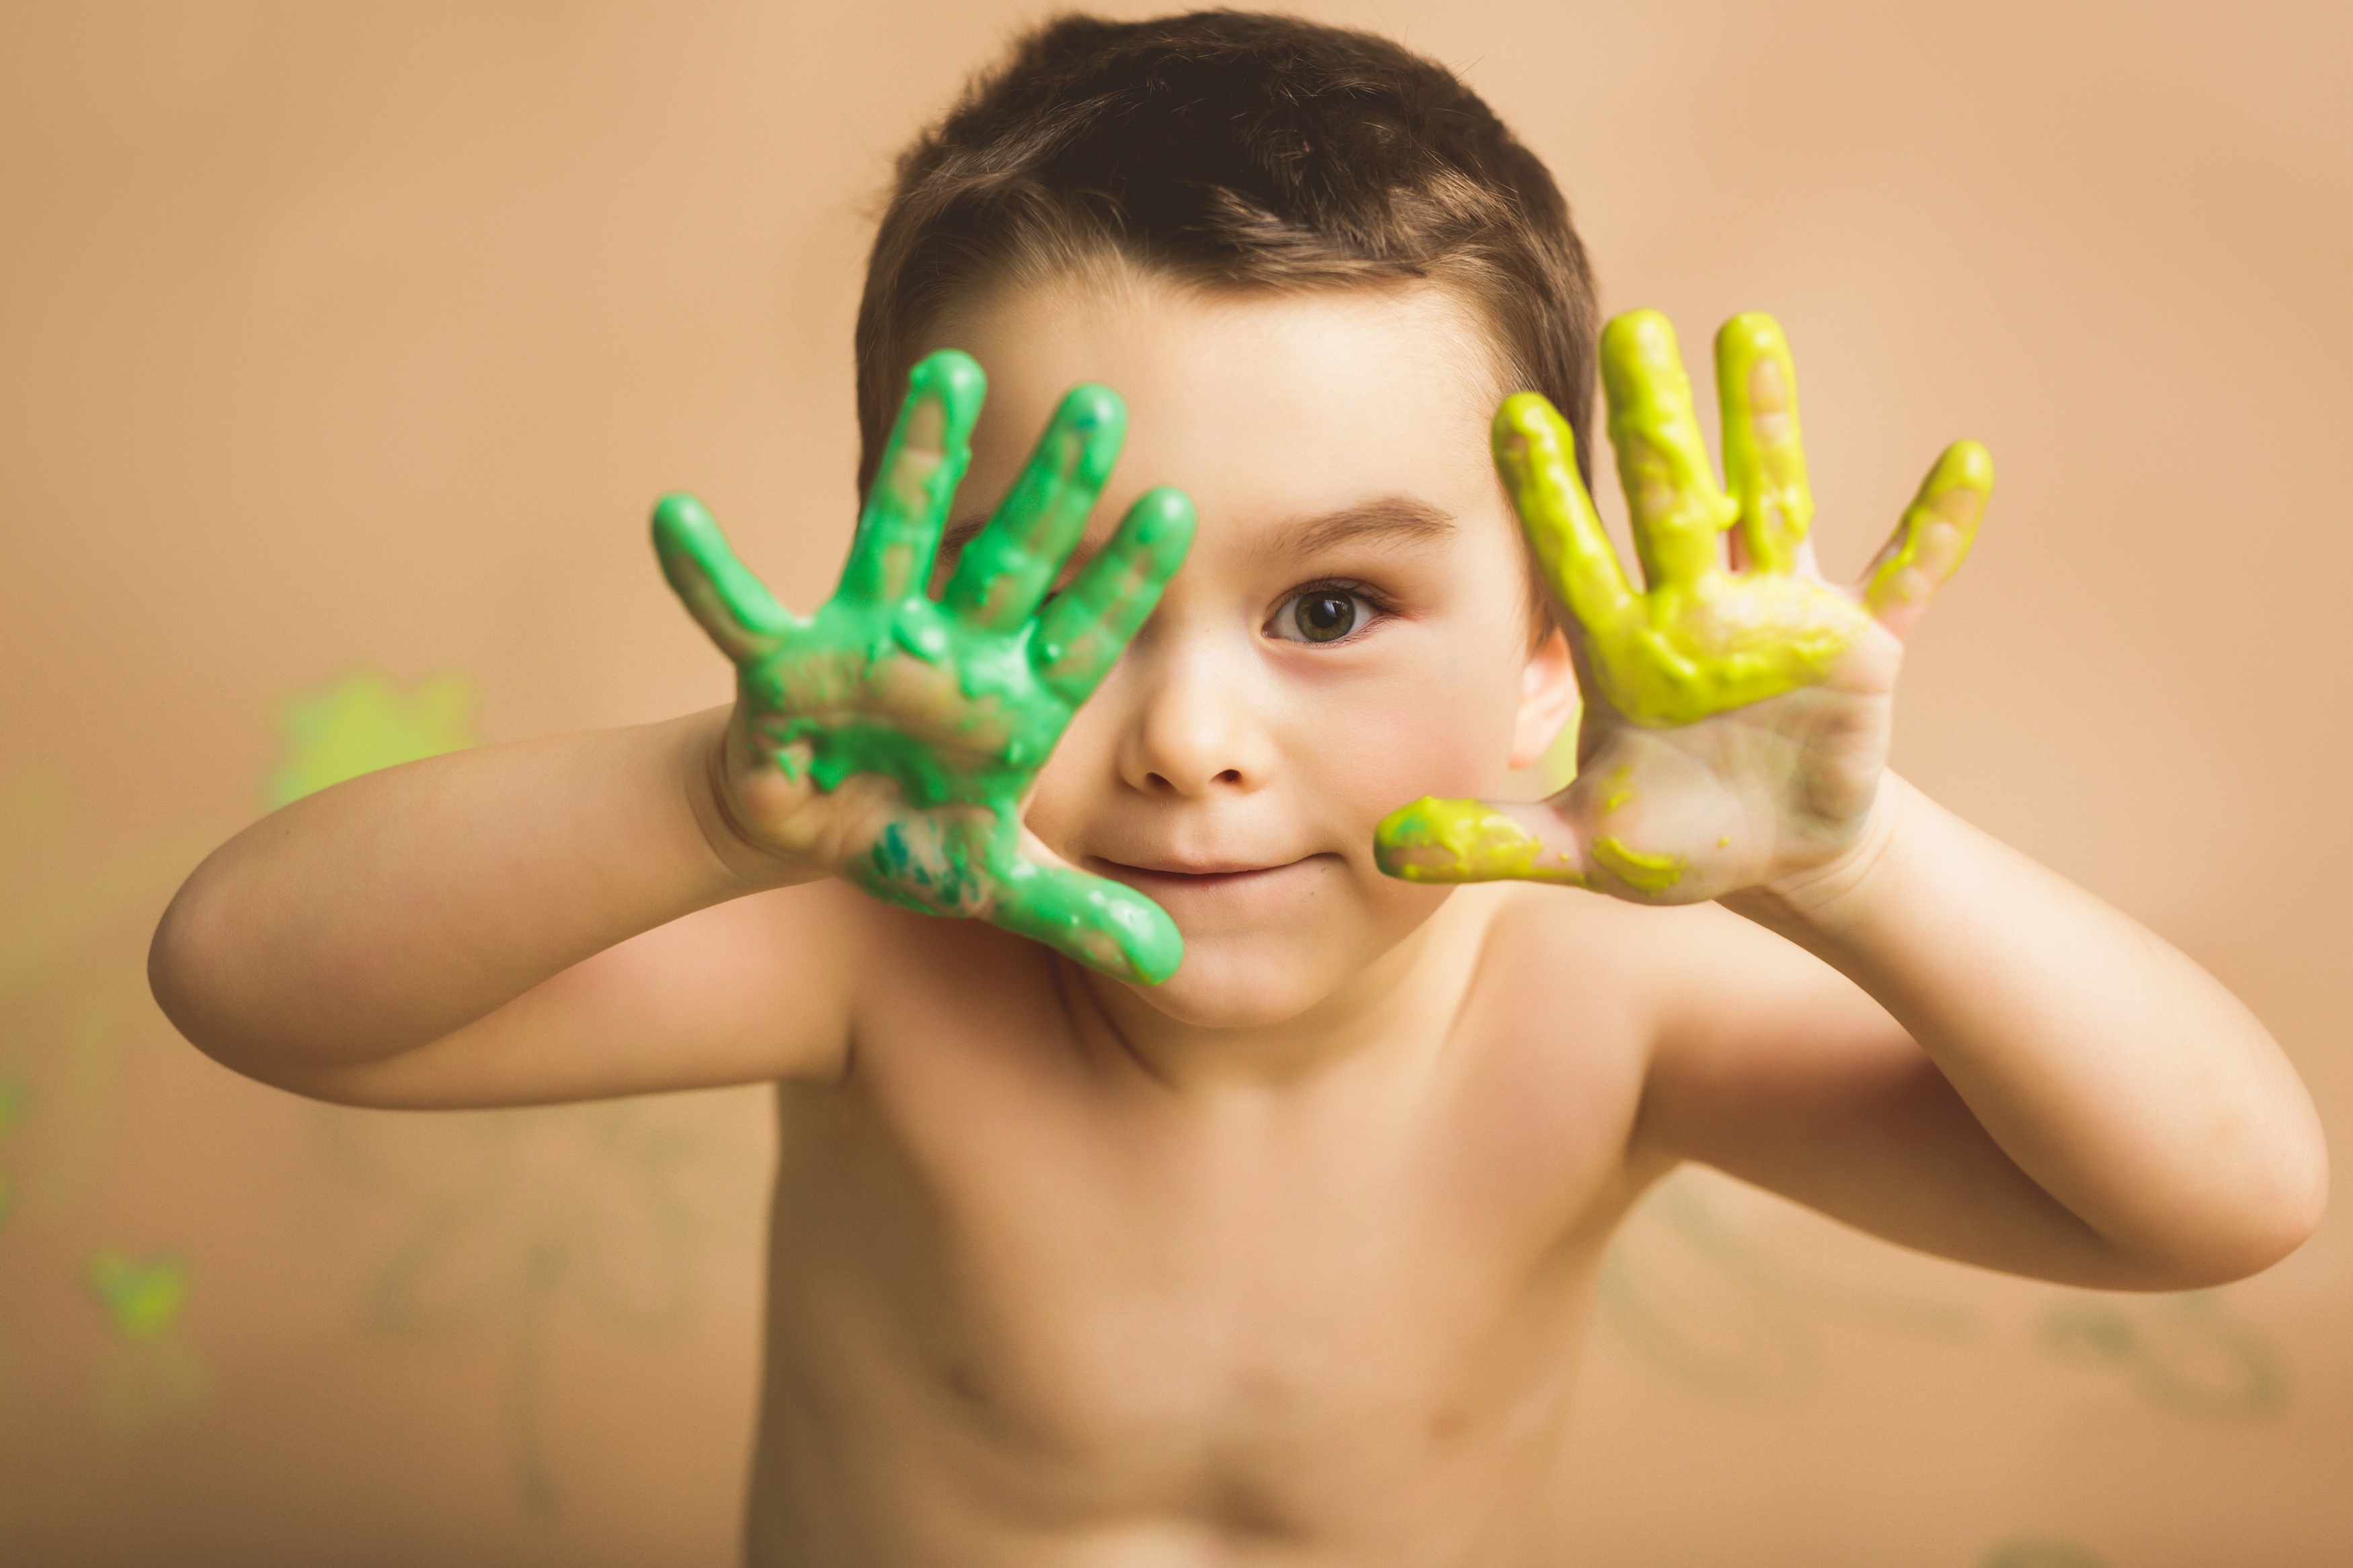
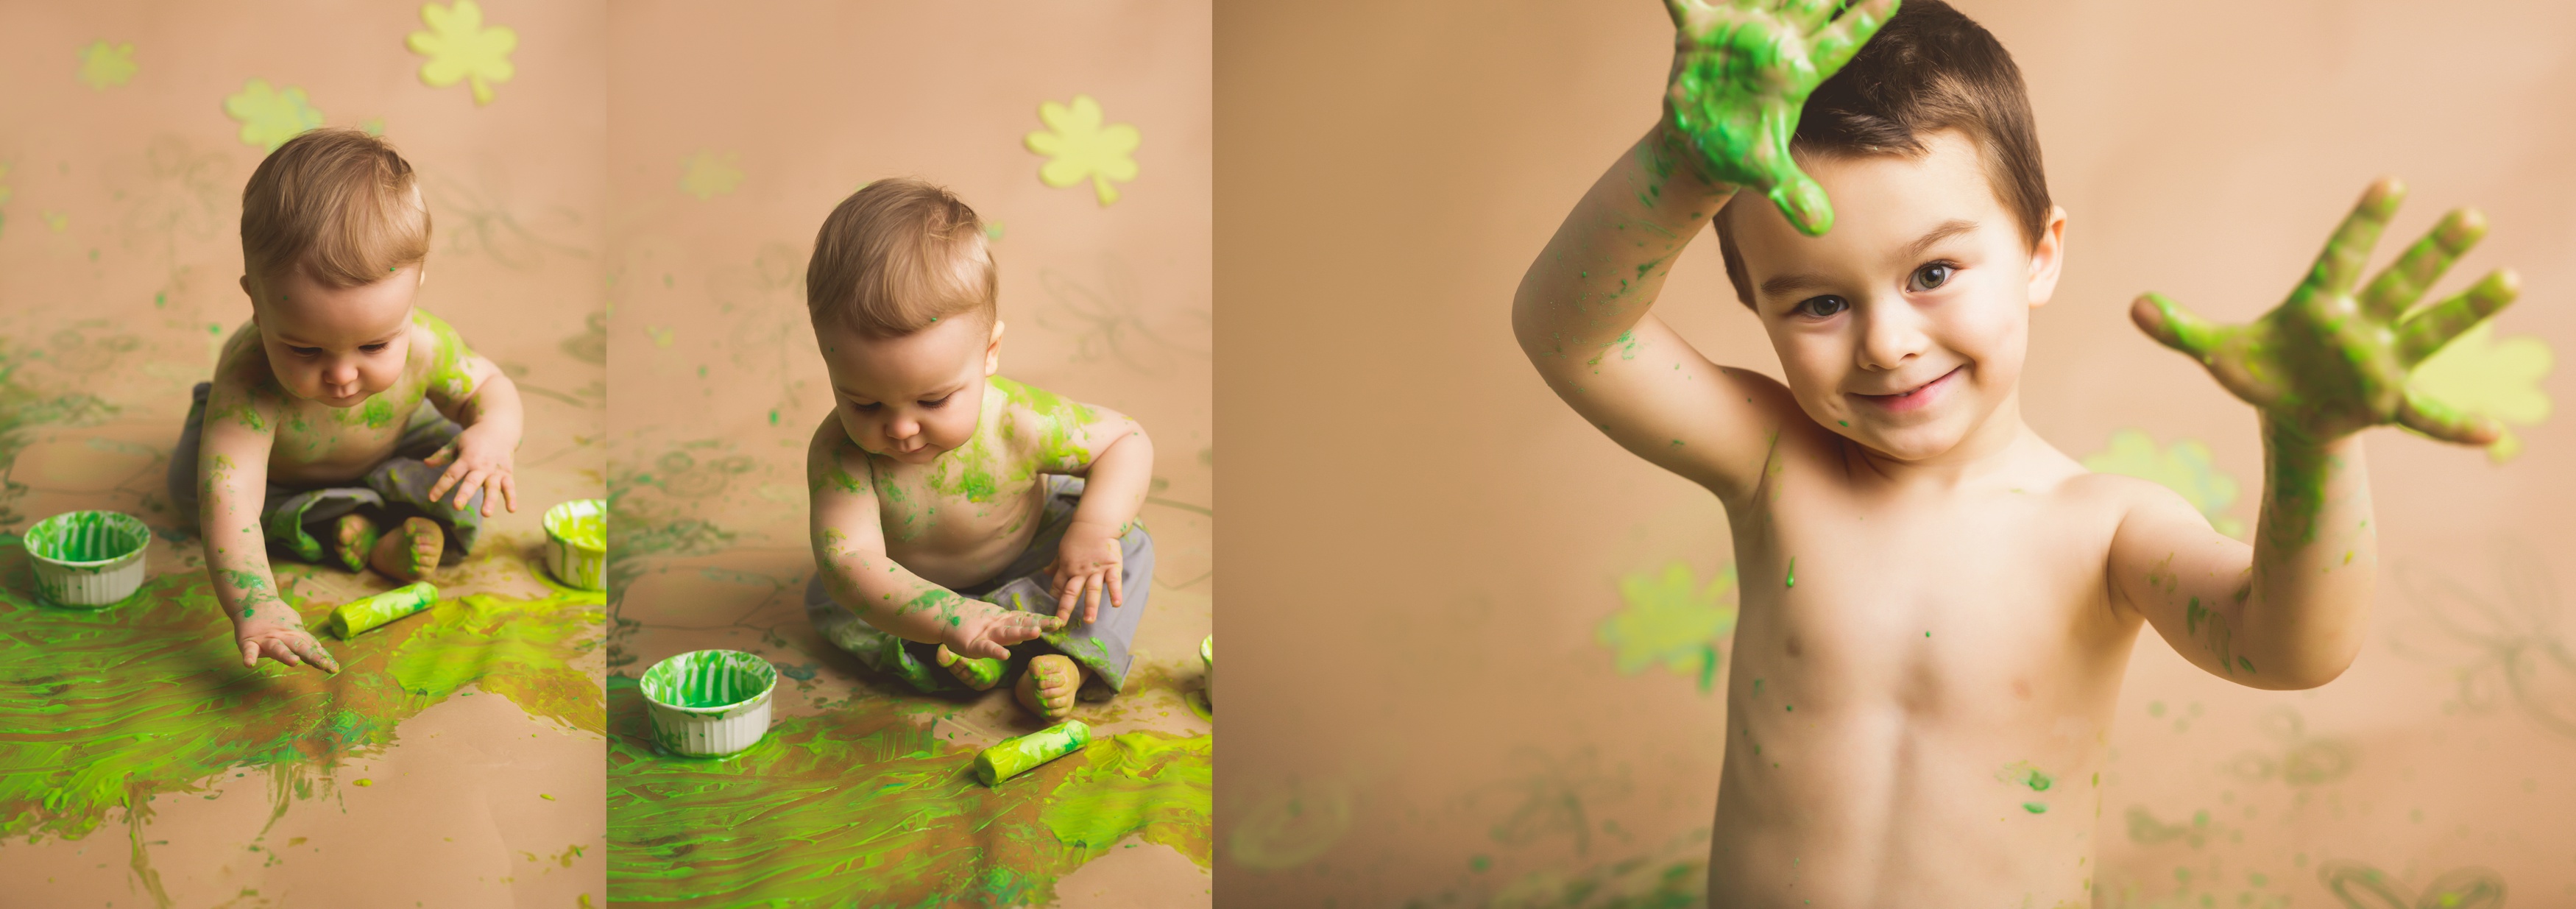
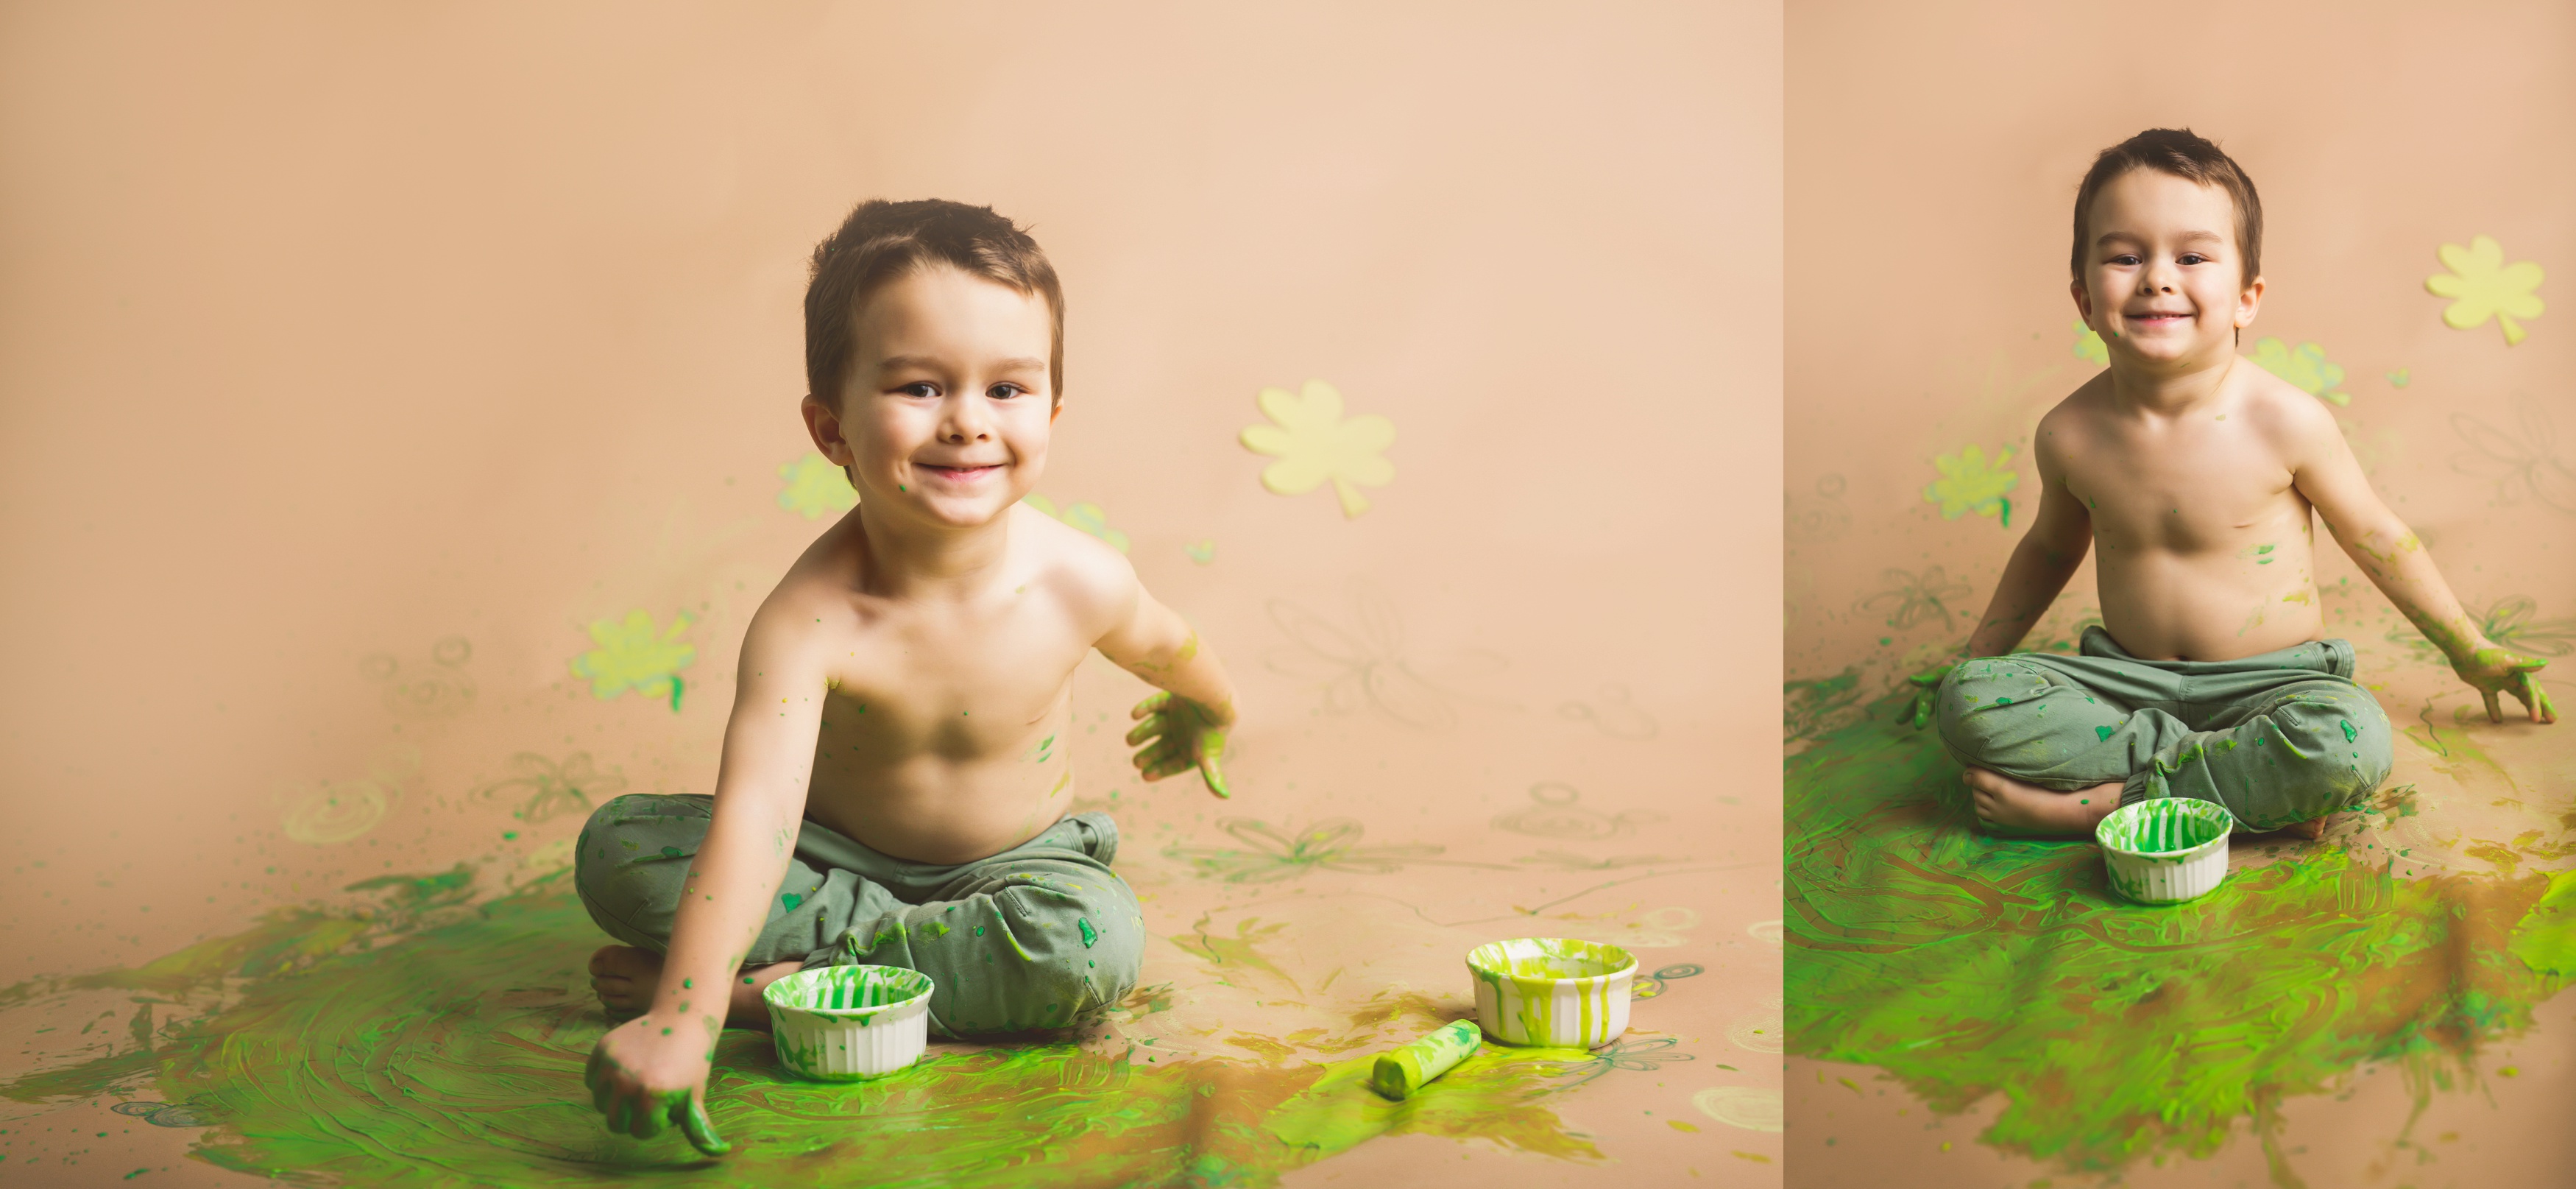
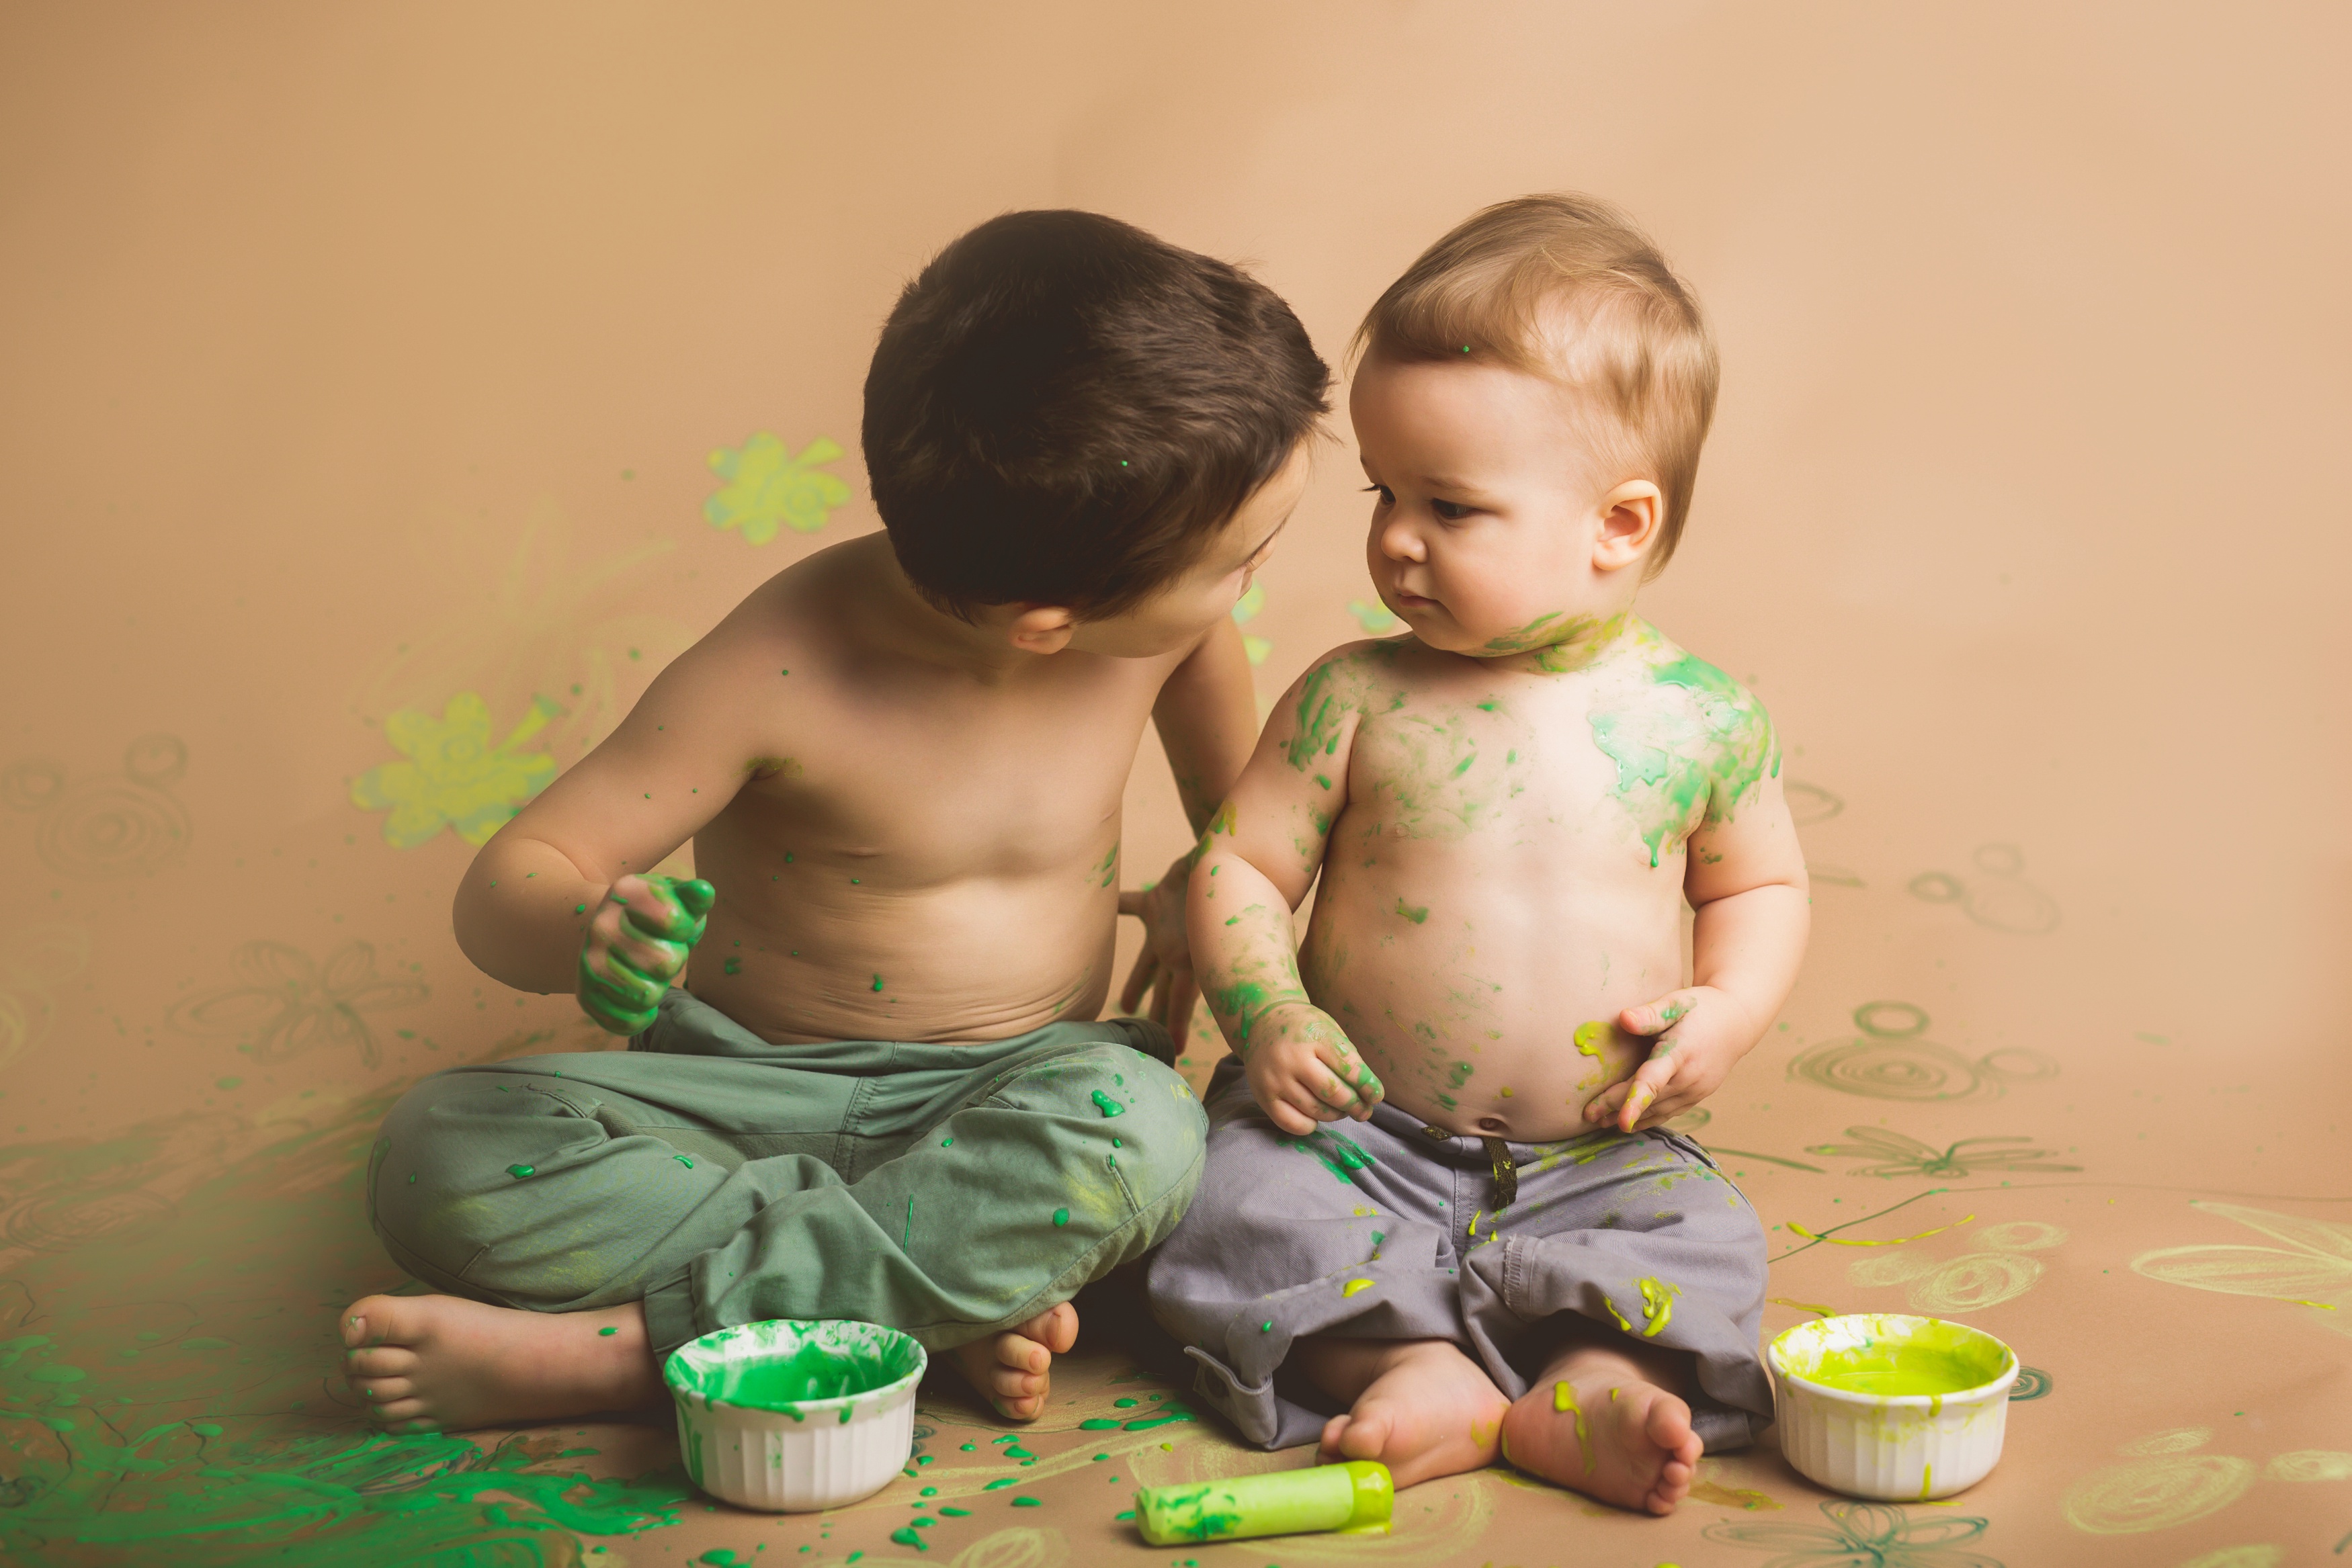
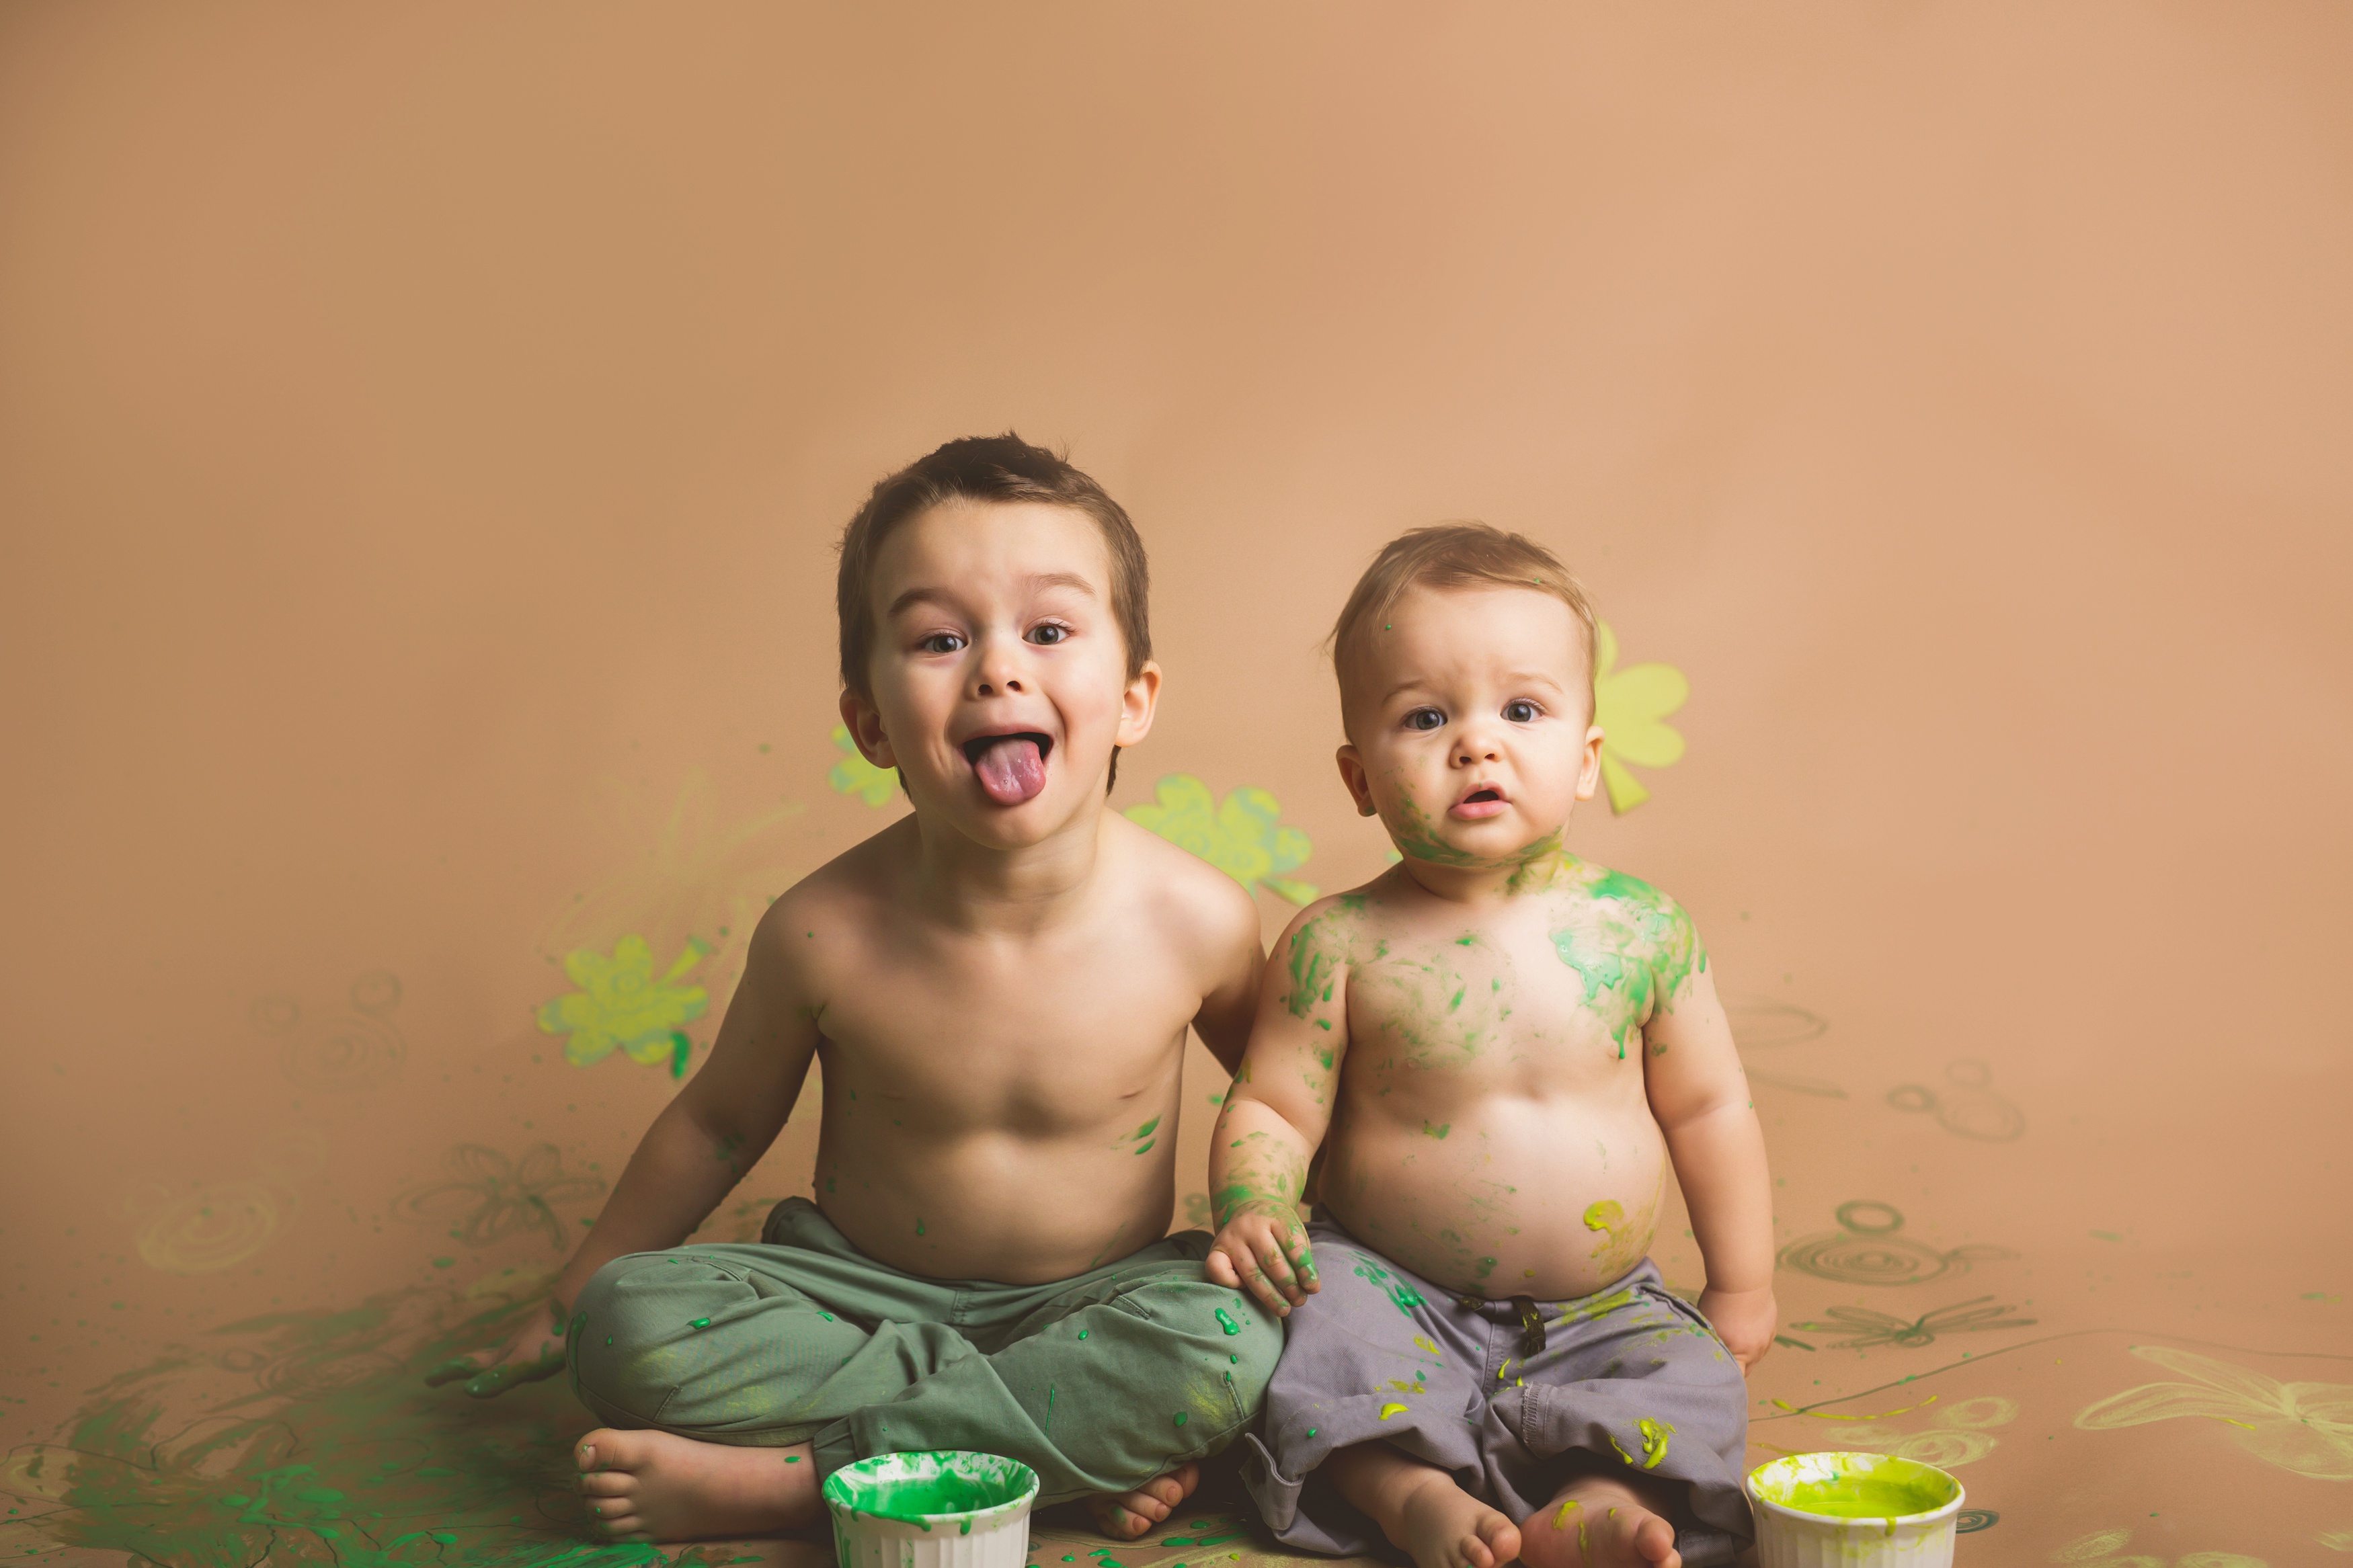
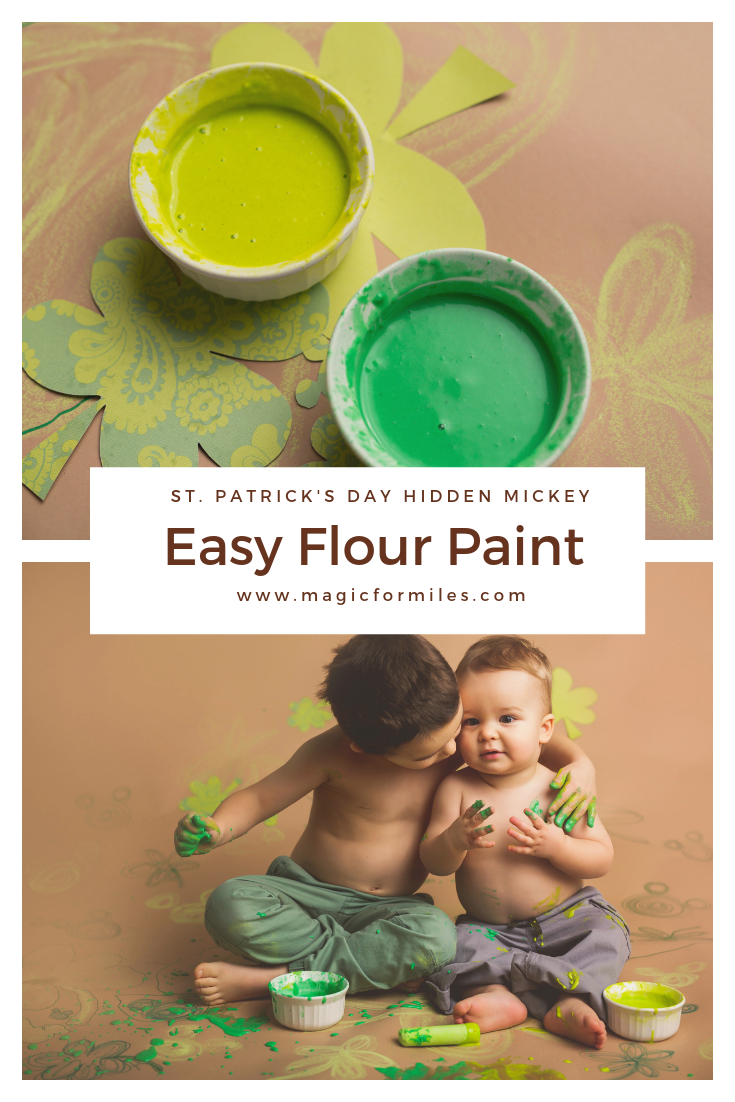
My preschooler loves to get messy. The messier the better and that was definitely possible with this super quick and easy flour paint recipe. My one year old, he’s kinda on the fence about these types of things. Unless the mess involves food, then he’s ALL over it. Or it’s all over him from his hair to his feet. Even though I’m not even sure how the food gets down to his feet?
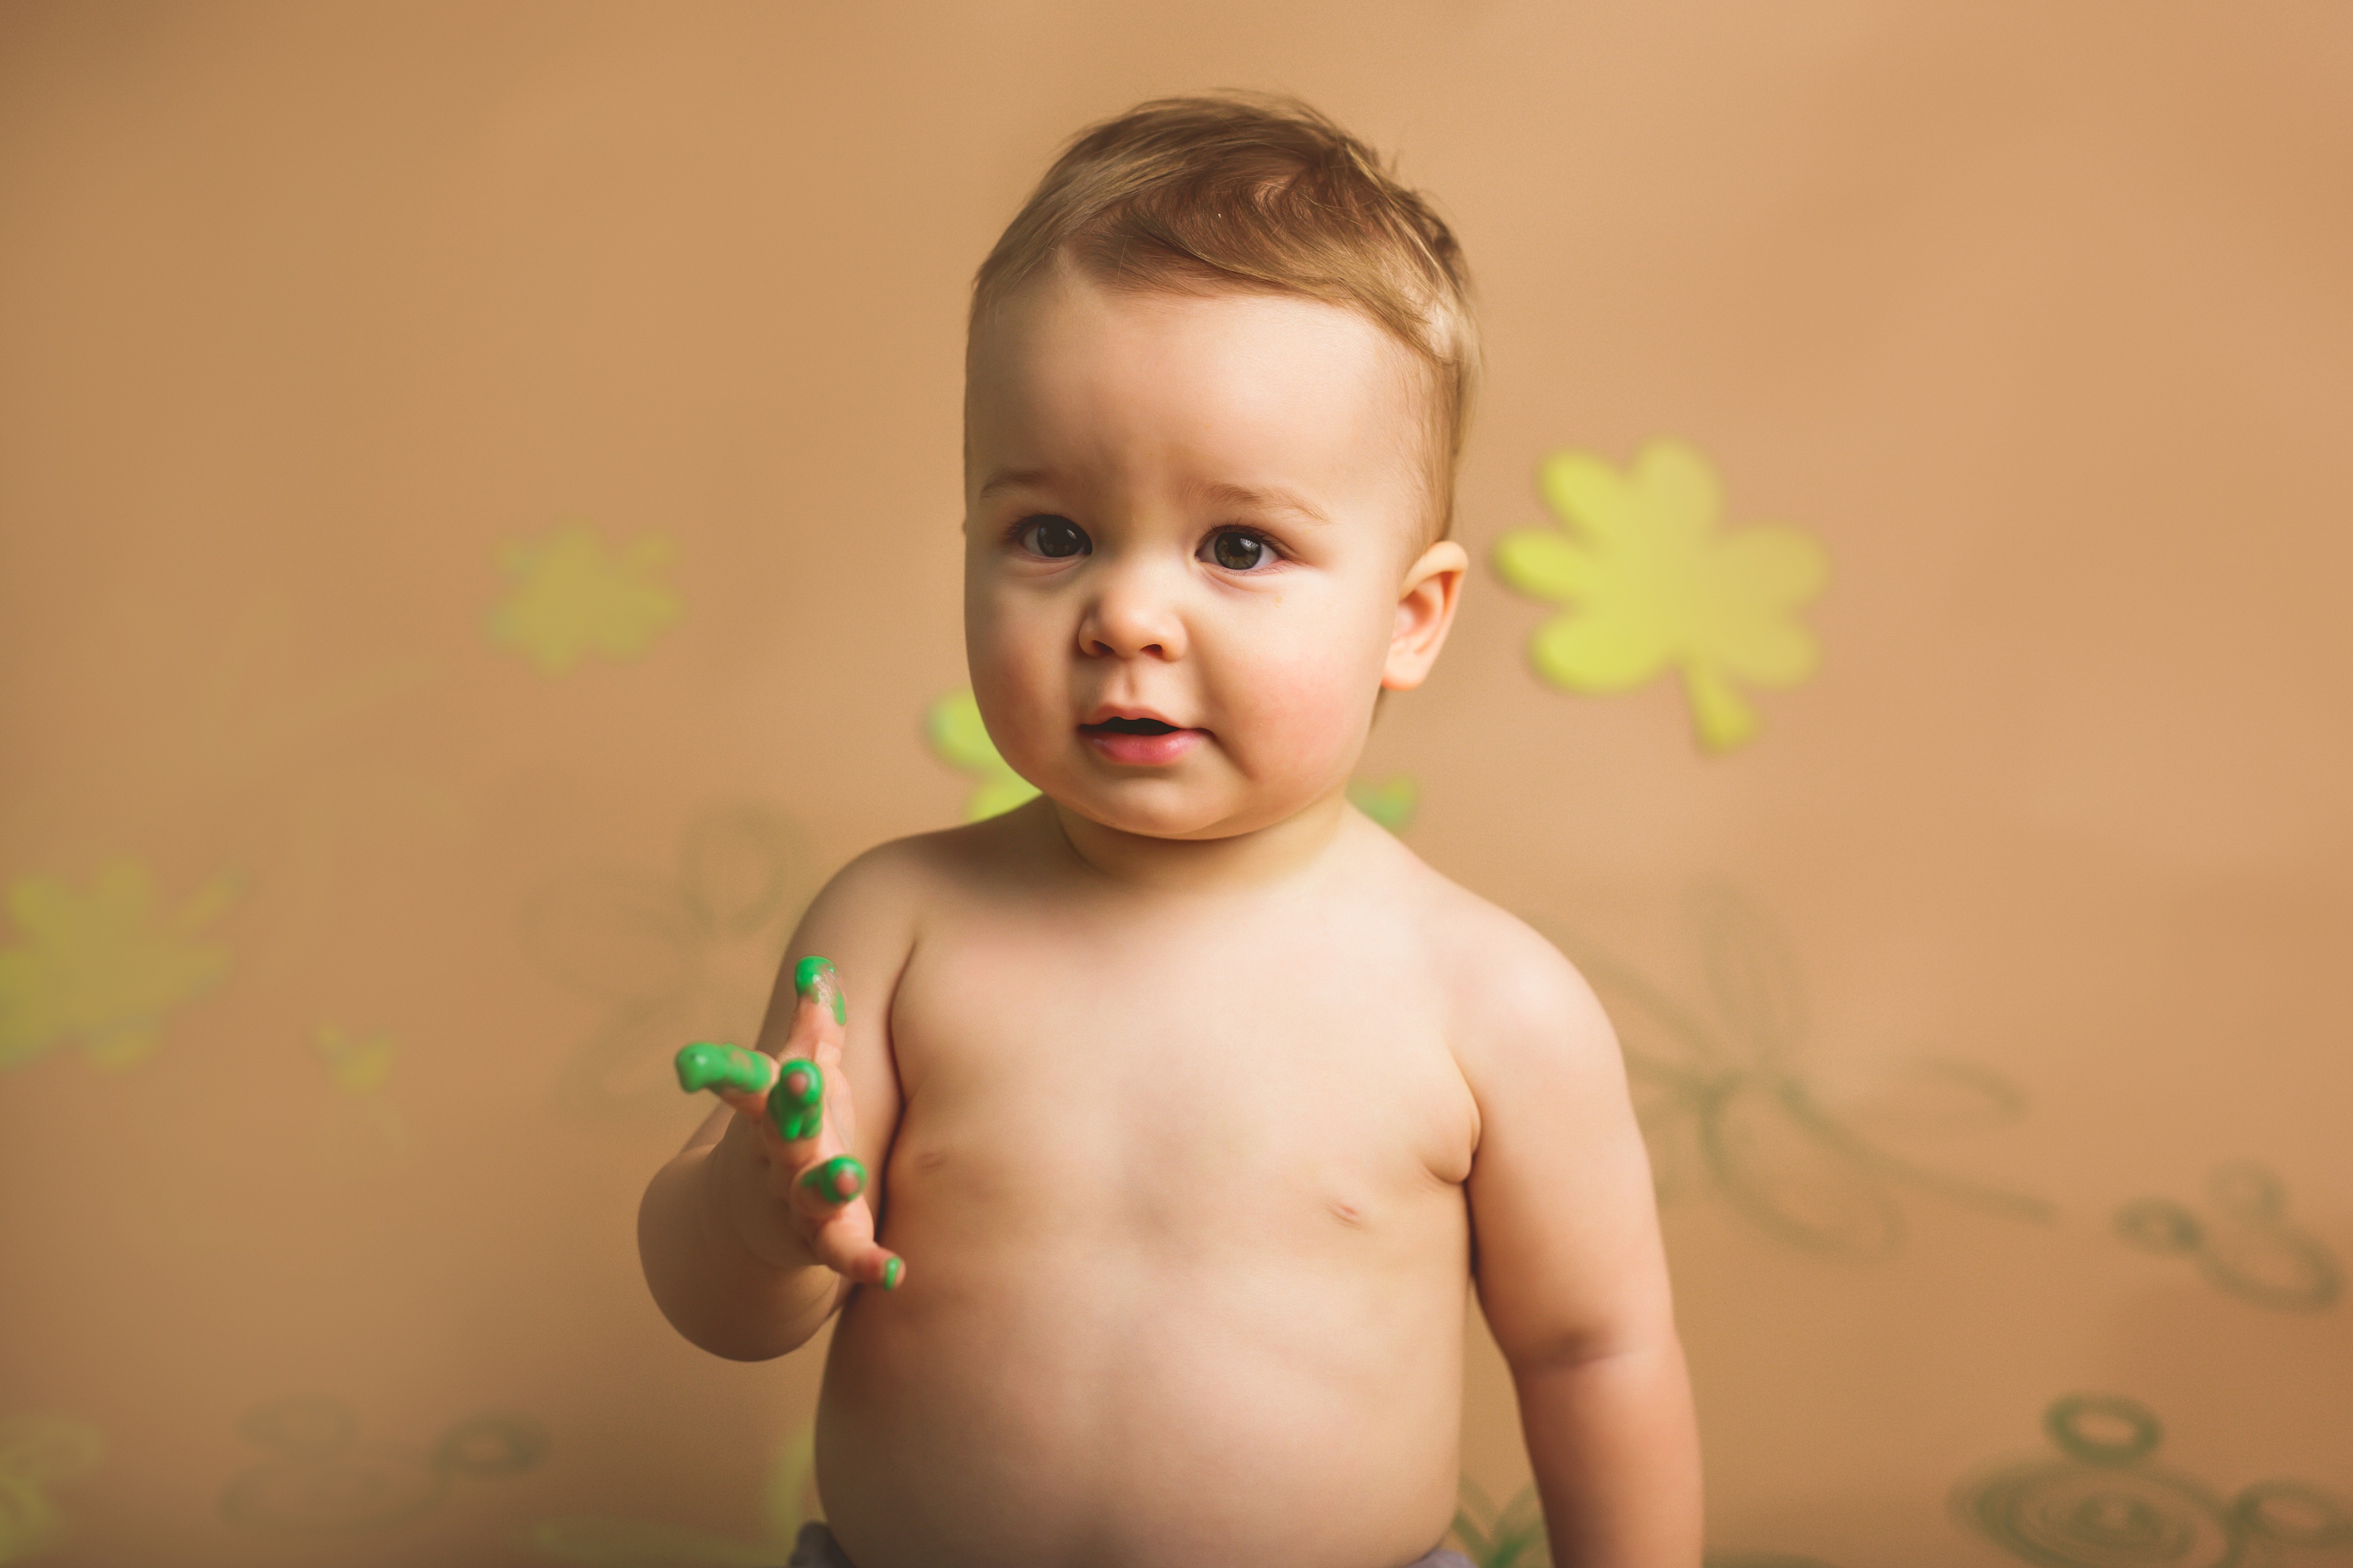
Needless to say, my preschooler was all about this super quick and easy flour paint recipe and the painting that went with it. It did get a little crazy and turned more into body painting, which is why my one year old probably wasn’t too thrilled about the project.
Whether you let things get nuts or keep them a little more tame, this is a super easy project to put together. It reminds me of Festival of the Arts at Epcot in a way as it’s encouraging my kids to explore art and to create without boundaries. Keeping creativity inside of boundaries tends to muffle what something could really become.
Therefore, without further ado, let me introduce you to the Quick Flour Paint St. Patrick’s Day Craft with Hidden Mickeys project. We completed this project with green paints to help us celebrate St. Patrick’s Day, but it can be completed or made year round. We’ve made the paint before to paint on the driveway outside, so it is really versatile.
Fair warning, even though the paint is made of simple ingredients, it does tend to stay on the driveway for a while, even despite rain! It can take a little effort to get out of clothes too if clumps of paint dry on. It’s the flour that takes a little extra work to remove, but through all the times we’ve made this project we’ve never had anything stay stained. If you’re worried, maybe stick to play clothes to help protect your sanity!
Supplies
Flour (1/2 c. for each ‘paint’)
Salt (About 1/4 c. for each ‘paint’)
Several Small Containers
Water
Step 1
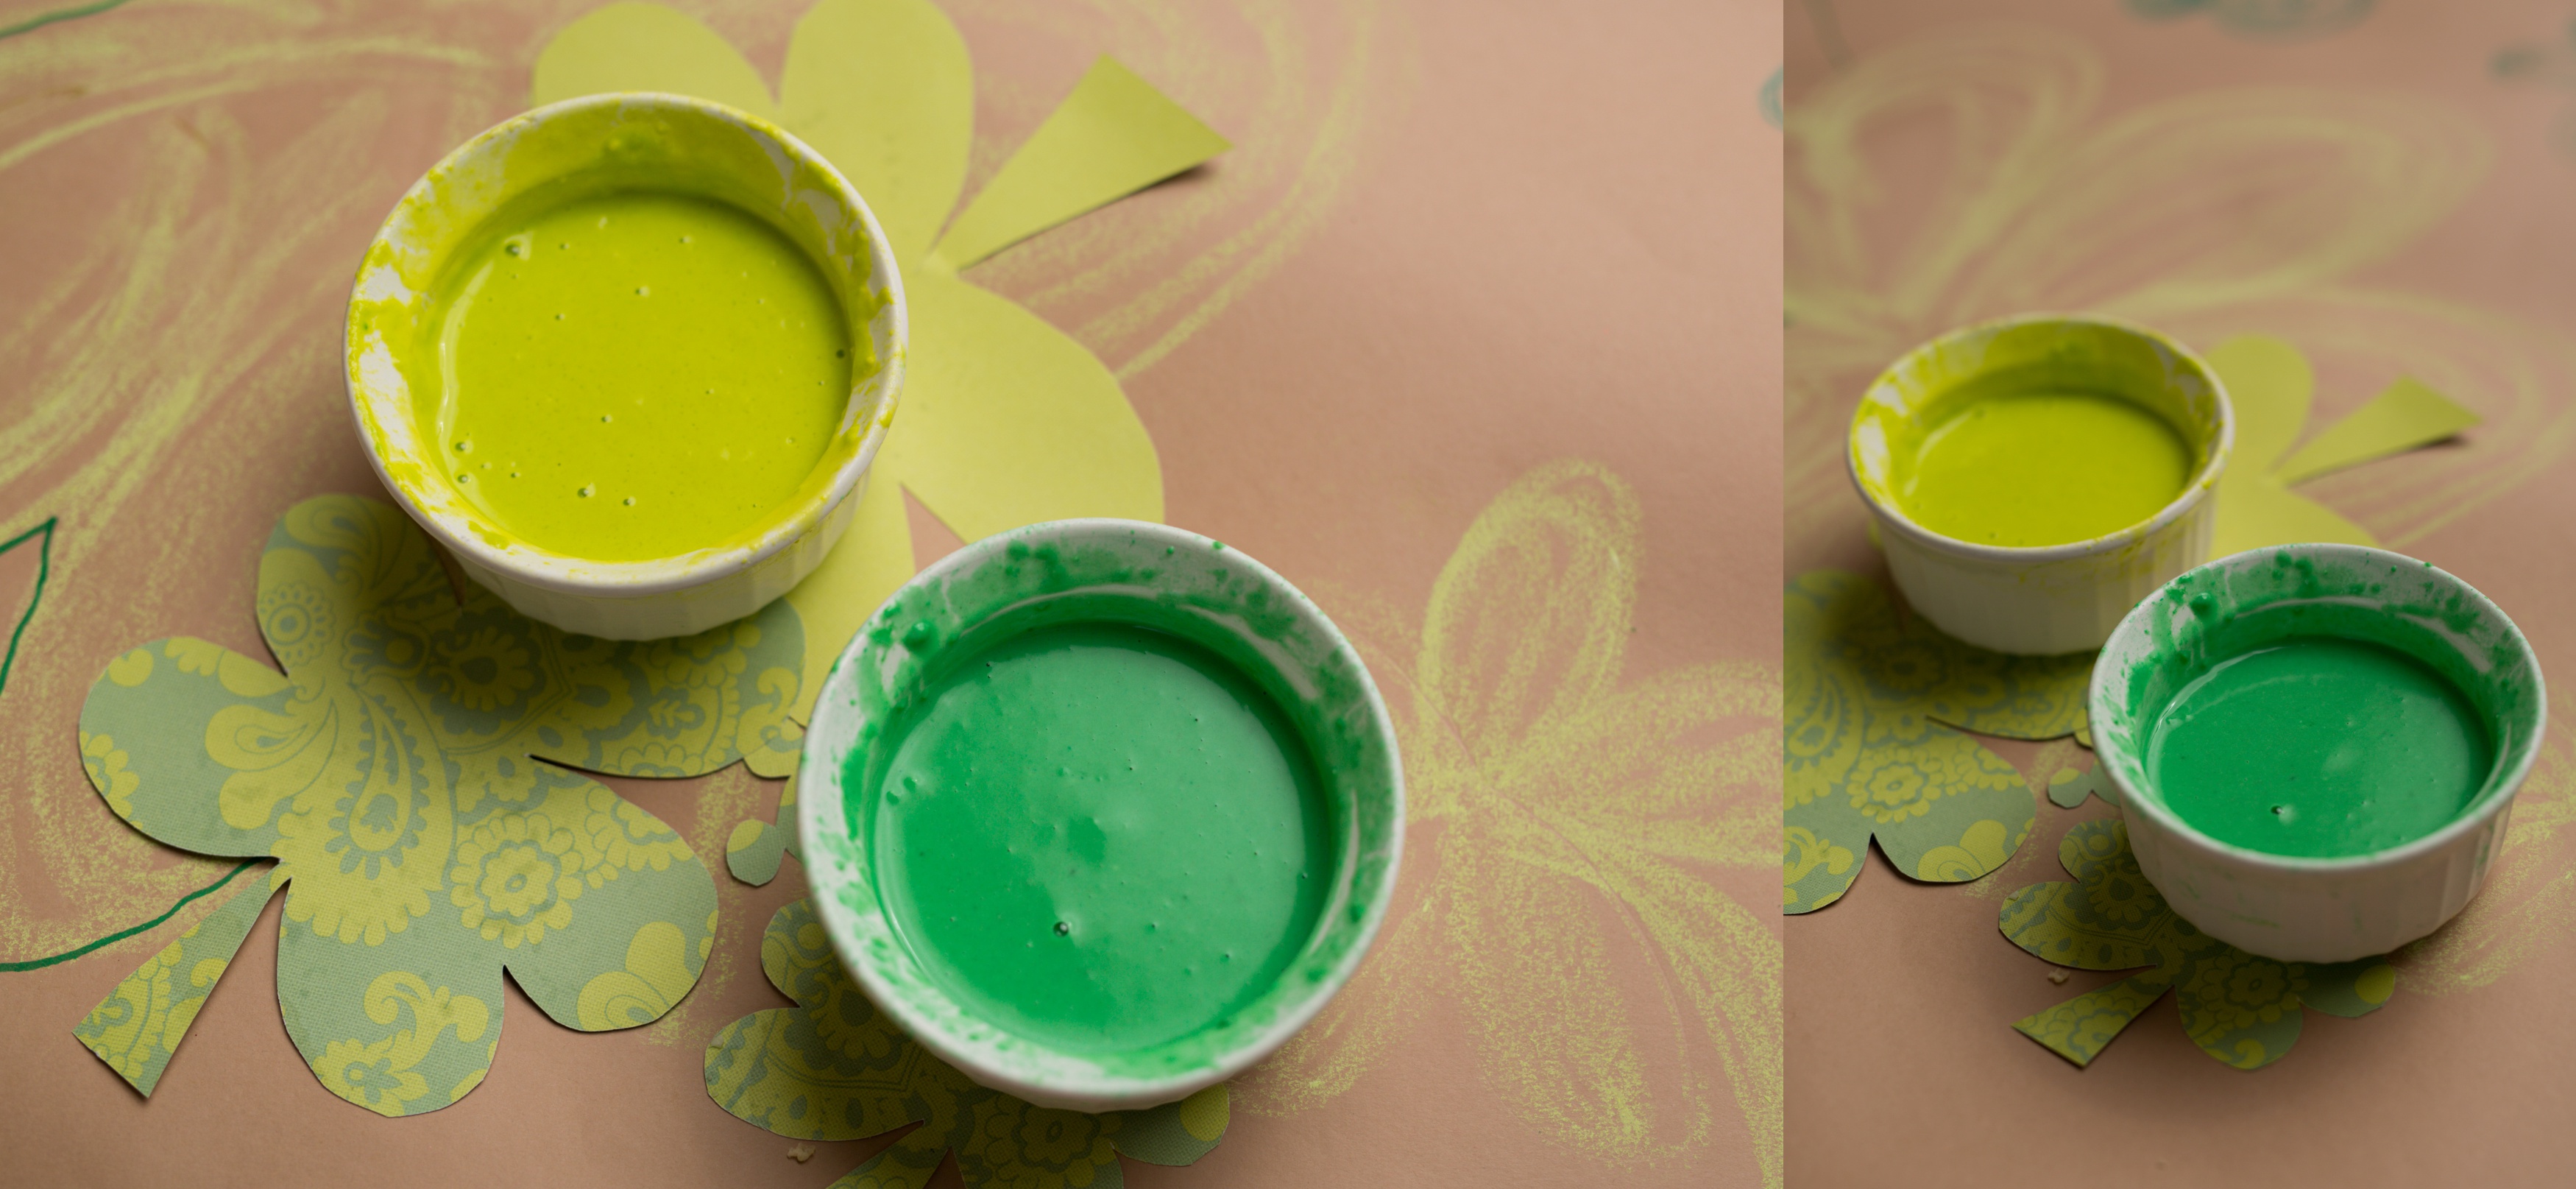
Gather up your supplies. Decide on which colors you plan to have and make sure you have enough small bowls to house all the colors.
Step 2
Add about a 1/2 cup of flour to each bowl along with 1/4″ of salt. Mix the two up well.
Step 3
Add in about 6-7 drops of food coloring, depending on how rich you want your color.
Step 4
Add in water, slowly but surely. I like to start with a few tablespoons of water, mixing up the mixture until the food coloring is even dispersed. With only a few tablespoons of water, your mixture is most likely going to be a thick paste. Slowly add more water until the ‘paint’ is your desired consistency. We like a thinner paint, but it’s personal preference. Just remember you can always add more water, but you can’t take any water away!
Step 5
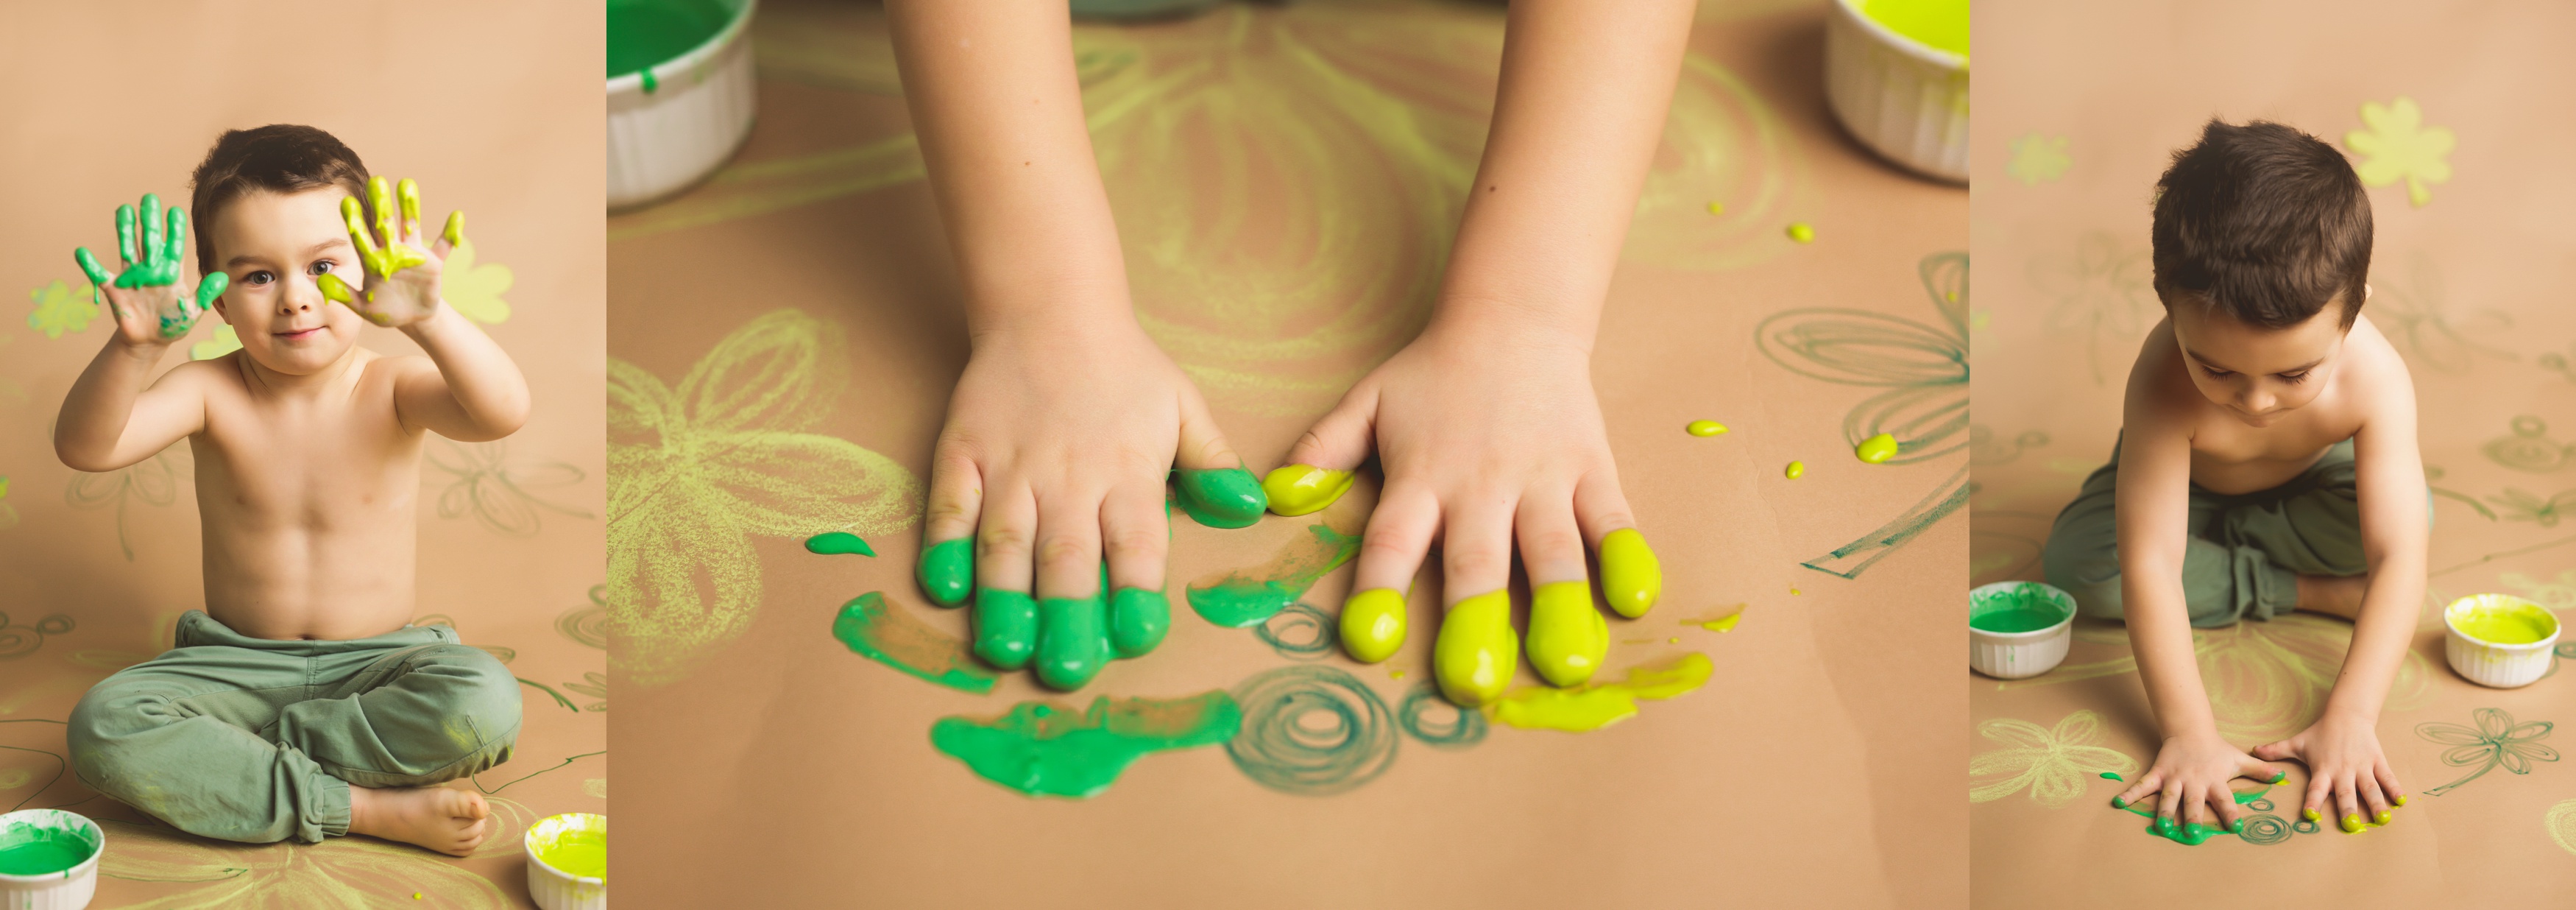
Get painting! You can use paint brushes or hands! Our favorite things to use are hands as we get a little messier. That is, unless you’re my one year old. He likes to use chalk. So, you know, whatever floats your boat! Have fun and get creative.
P.S. Can you find the hidden Mickeys in our backdrop?
There ya go! A super simple and easy way to let your littles have fun painting. Whether you complete this in the winter on a large canvas or during the summer outside on the driveway, it’s a great way to let you kids be creative!
Be Sure to Pin the Above Image and Follow-Me on Facebook, Instagram, and Pinterest: @magicformiles

