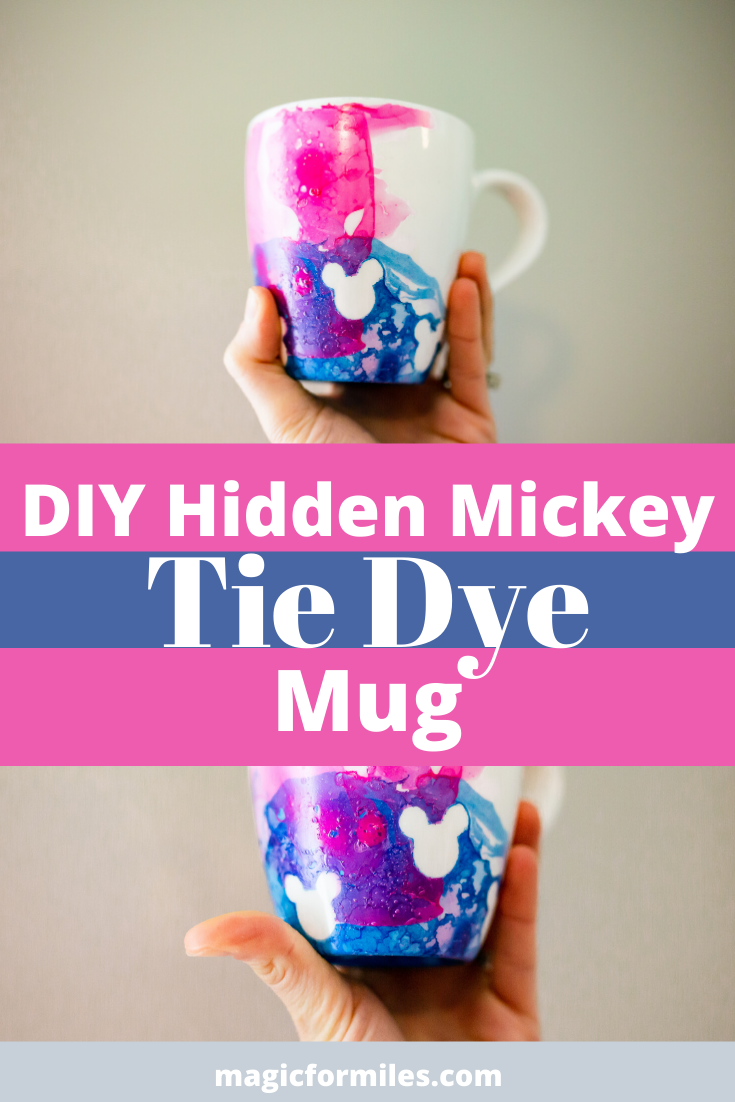
DIY Hidden Mickey Tie-Dye Mug
Hidden Mickeys are some of our favorite things to hunt down in Walt Disney World. Not only can they be found just about everywhere on the property, but they also add to the magic of being at Walt Disney World. There’s nothing like finding a new hidden Mickey while you are in the most magical place on Earth.
One of the easiest ways to transfer the magic from Walt Disney World to your home is by bringing those hidden Mickeys home! You’ve probably thought about incorporating hidden Mickeys into your decor or possibly drawing a ‘hidden’ Mickey here or there. Yet, have you thought about having a hidden Mickey on your drinkware? Or on a vase?
Well, start thinking because, with this simple DIY Hidden Mickey Tie-Dye Mug, you can have more hidden Mickeys in your home! Once you start adding hidden Mickeys to everyday objects you can spread ‘magic’ to every corner of your house.
Let’s take a look below for the steps for a DIY Hidden Mickey Tie-Dye Mug and what materials you are going to need.
Materials for DIY Hidden Mickey Tie-Dye Mug
White Ceramic Mug (Great for Upcycling Old Mugs)
Foam Mickey Mouse Head Stickers
Nail Polish (Great Way to Use Up Colors You Might Want to Get Rid Of)
Old Bowl/Container
Warm Water
Cotton Balls
Old Towel or Paper Towel
Step 1: Gathering Up Supplies for Your DIY Hidden Mickey Tie-Dye Mug
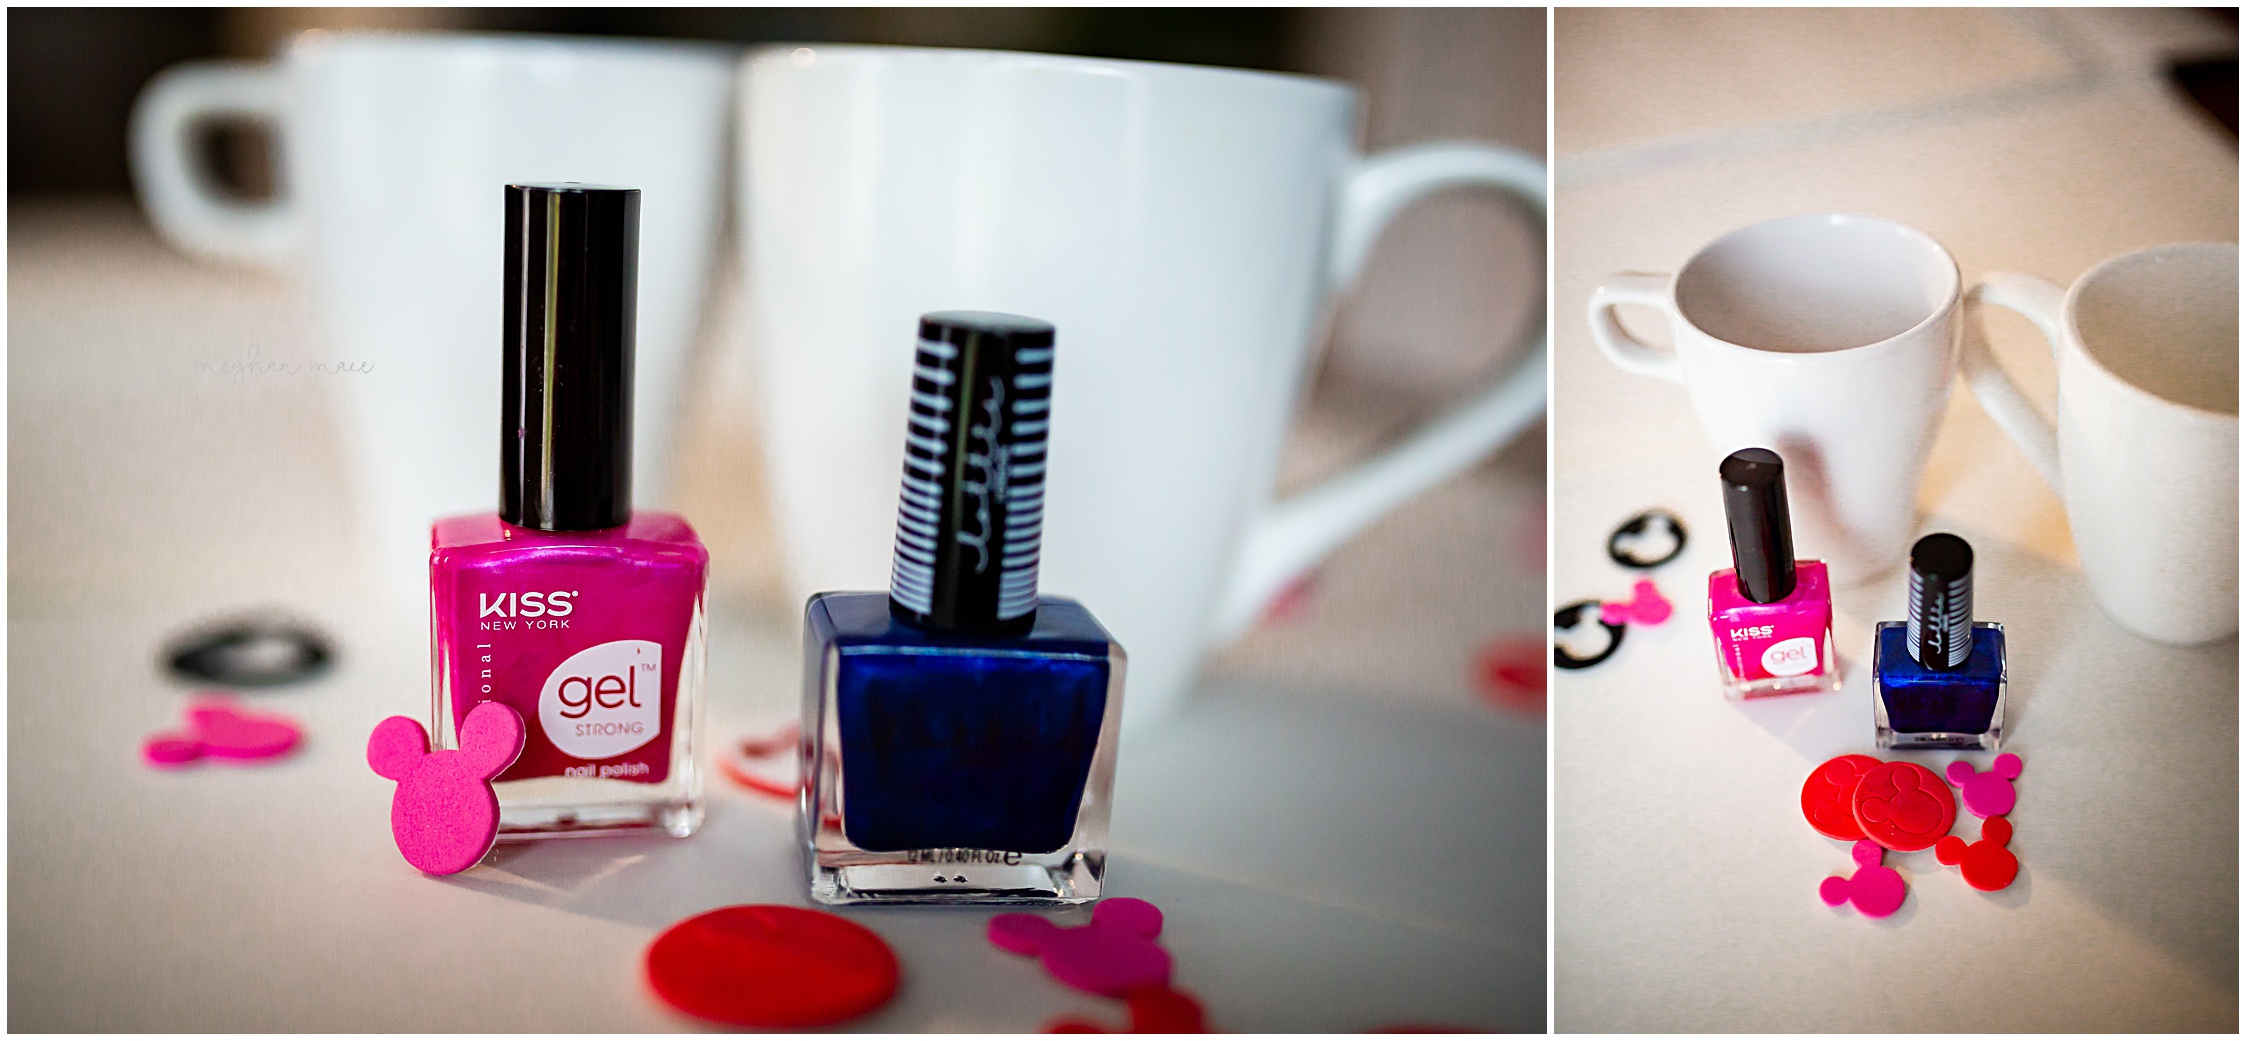
Grab some old nail polish, any color will do. (I went with a ‘make it blue, make it pink’ theme). I used regular, not shellac style polish, so I can’t state if the shellac style might work as well. Once you have the nail polish, grab an old mug, preferably solid white in color.
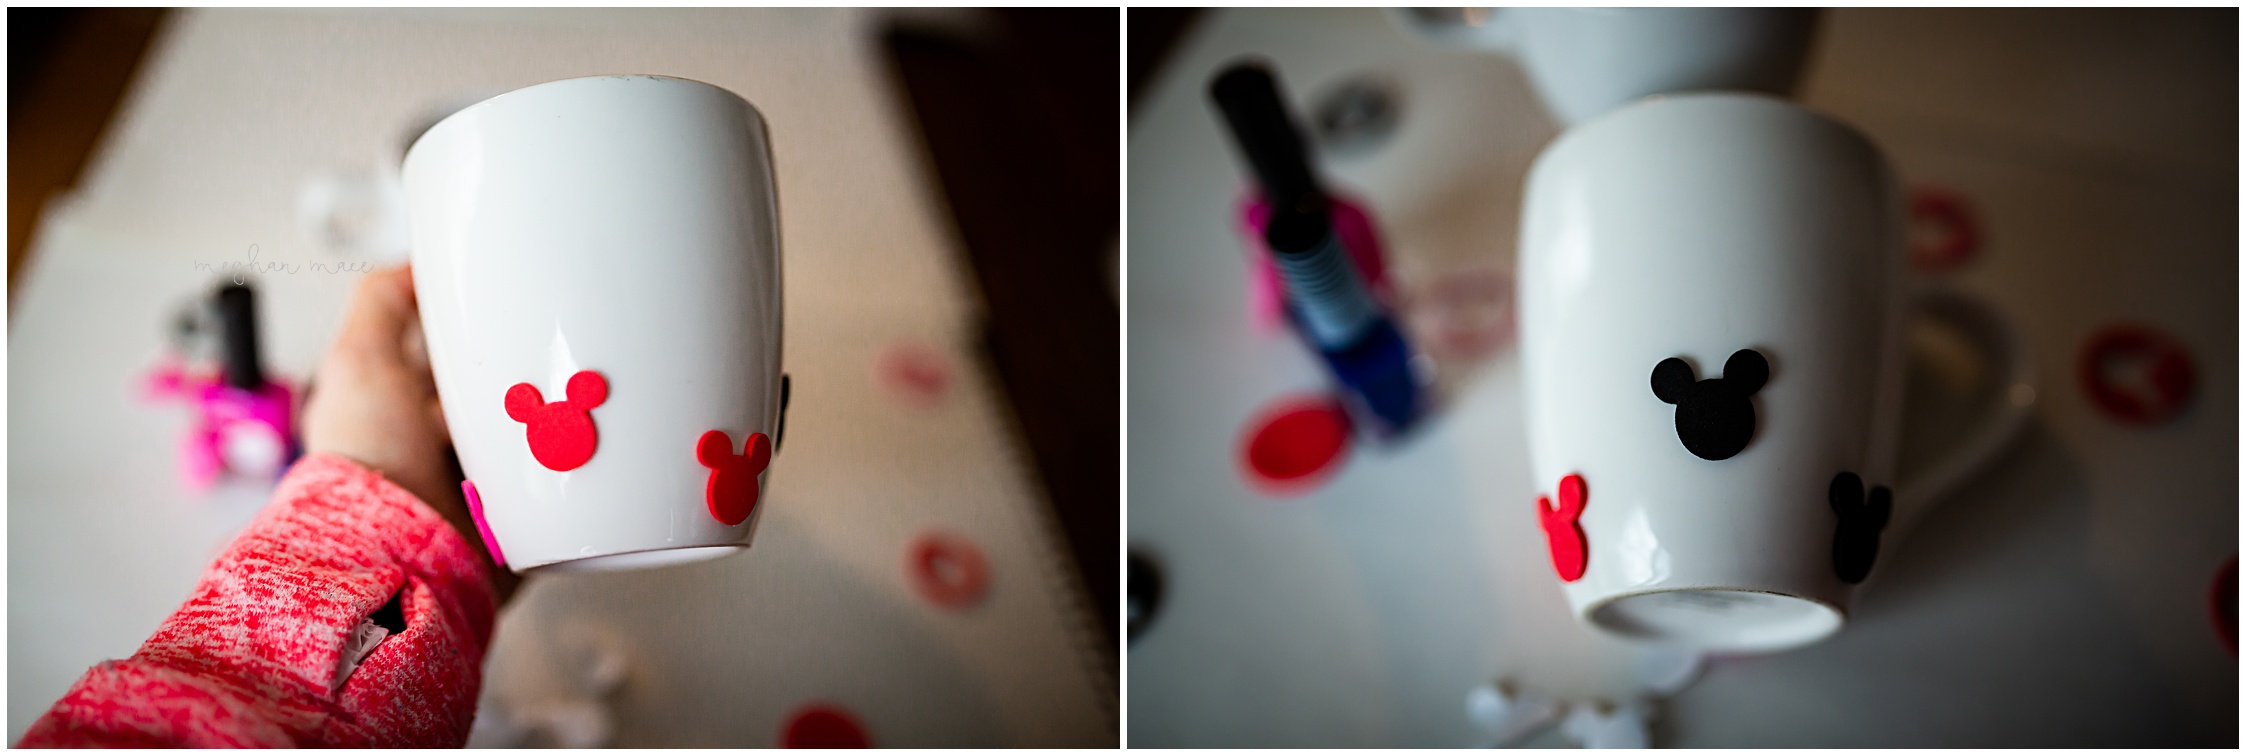
Add a few Mickey Mouse head stickers (foam stickers work great!) to your mug. Make sure the sticker has a little bit of a ridge so you will be able to pull it off once you’ve layered on the nail polish.
Step 2 Find Your Bowl
Grab an old bowl or container and fill it with water. Make sure it’s not a priceless heirloom style container. After I finished this DIY, the bottom of my bowl was still covered with nail polish remains. If you have any empty recyclable containers they are a perfect fit for this project.
Step 3 Upcycle an Old Towel
Fill the old bowl or container with warm water and set it on top of your counter. Placing the bowl on top of an old towel (again, one you don’t mind getting dirty), would be a good plan in order to protect your counters. Additionally, the old towel might double as a good spot to set your DIY ‘Hidden Mickey’ tie-dye mug down after you are done using it.
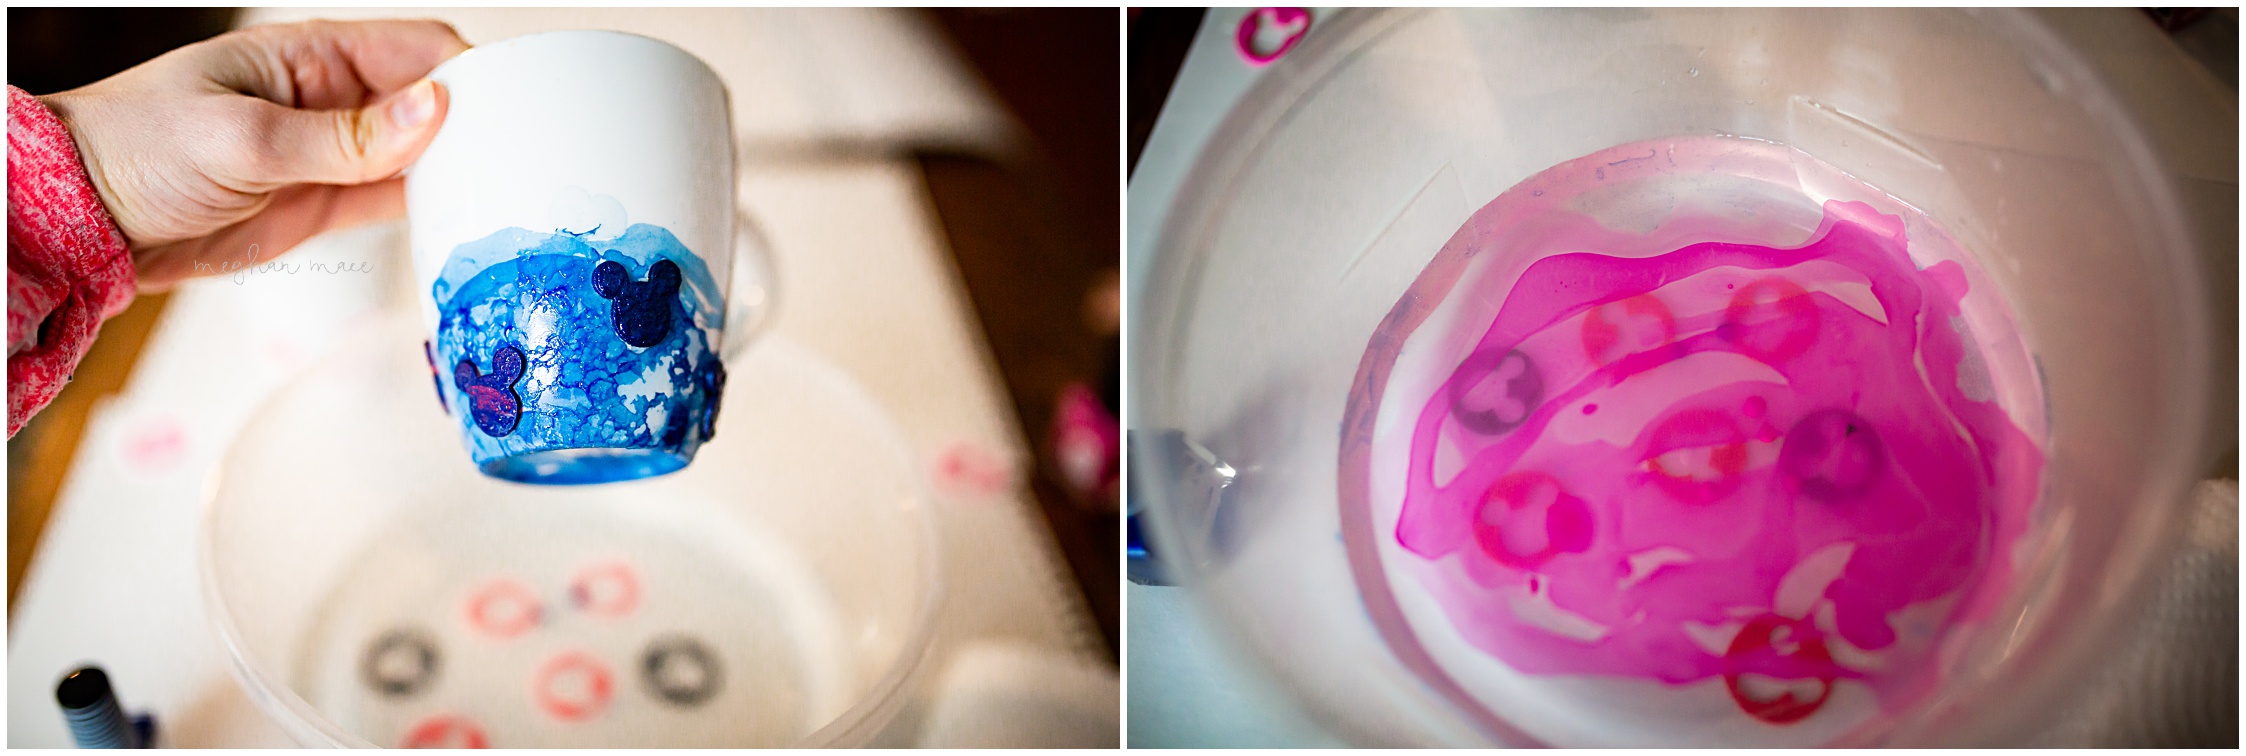
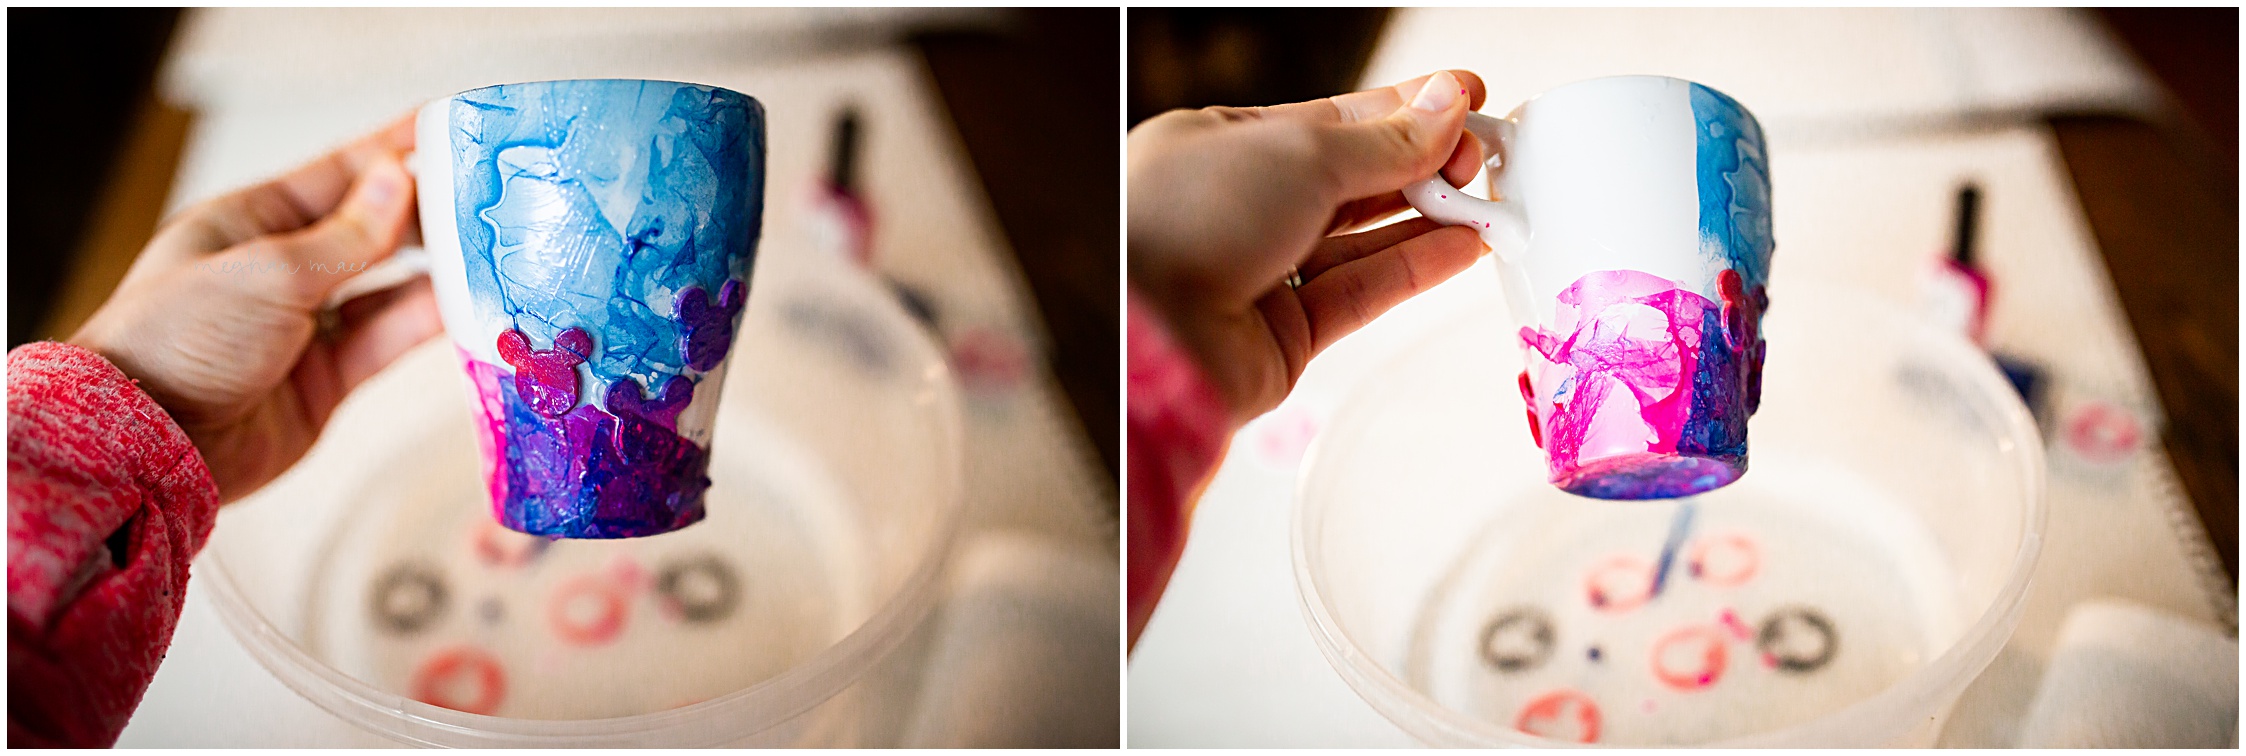
Step 4 Add in the Nail Polish
Add in a few drops (or a lot of drops!) of nail polish into the water. Then, quickly set the nail polish container down and dop your mug into the water and nail polish mixture. Rotate the mug and watch as the nail polish clings to your mug.
Step 5 Let Your Mug Dry
If you want to repeat the process and add another color, start by setting your mug aside. Let it dry for a little while, I waited for about 20 minutes (mostly because I was impatient!). The longer you let it dry the more solidified the base color will be.
Step 6 Clean Up Your Bowl
Next, if you want to add another color, empty your water bowl with the residual polish from your first layer on your DIY Hidden Mickey Tie-Dye Mug. Give it a good rinse, possibly wiping down the bottom with some nail polish remover if anything sticks to the bottom.
Step 7 Switch Up the Color
Then, add fresh warm water to the bowl and a few drops of your second color. …or you could be like me and just keep the same water in your bowl, hoping for the best!
Step 8 Remove the Smudges from Your DIY Hidden Mickey Tie-Dye Mug
If there are any areas you want to wipe off, now is the time to do it. When the nail polish is still moist, take a cotton ball with nail polish remover to the areas you want to clean. The nail polish should lift away from the mug rather easily.
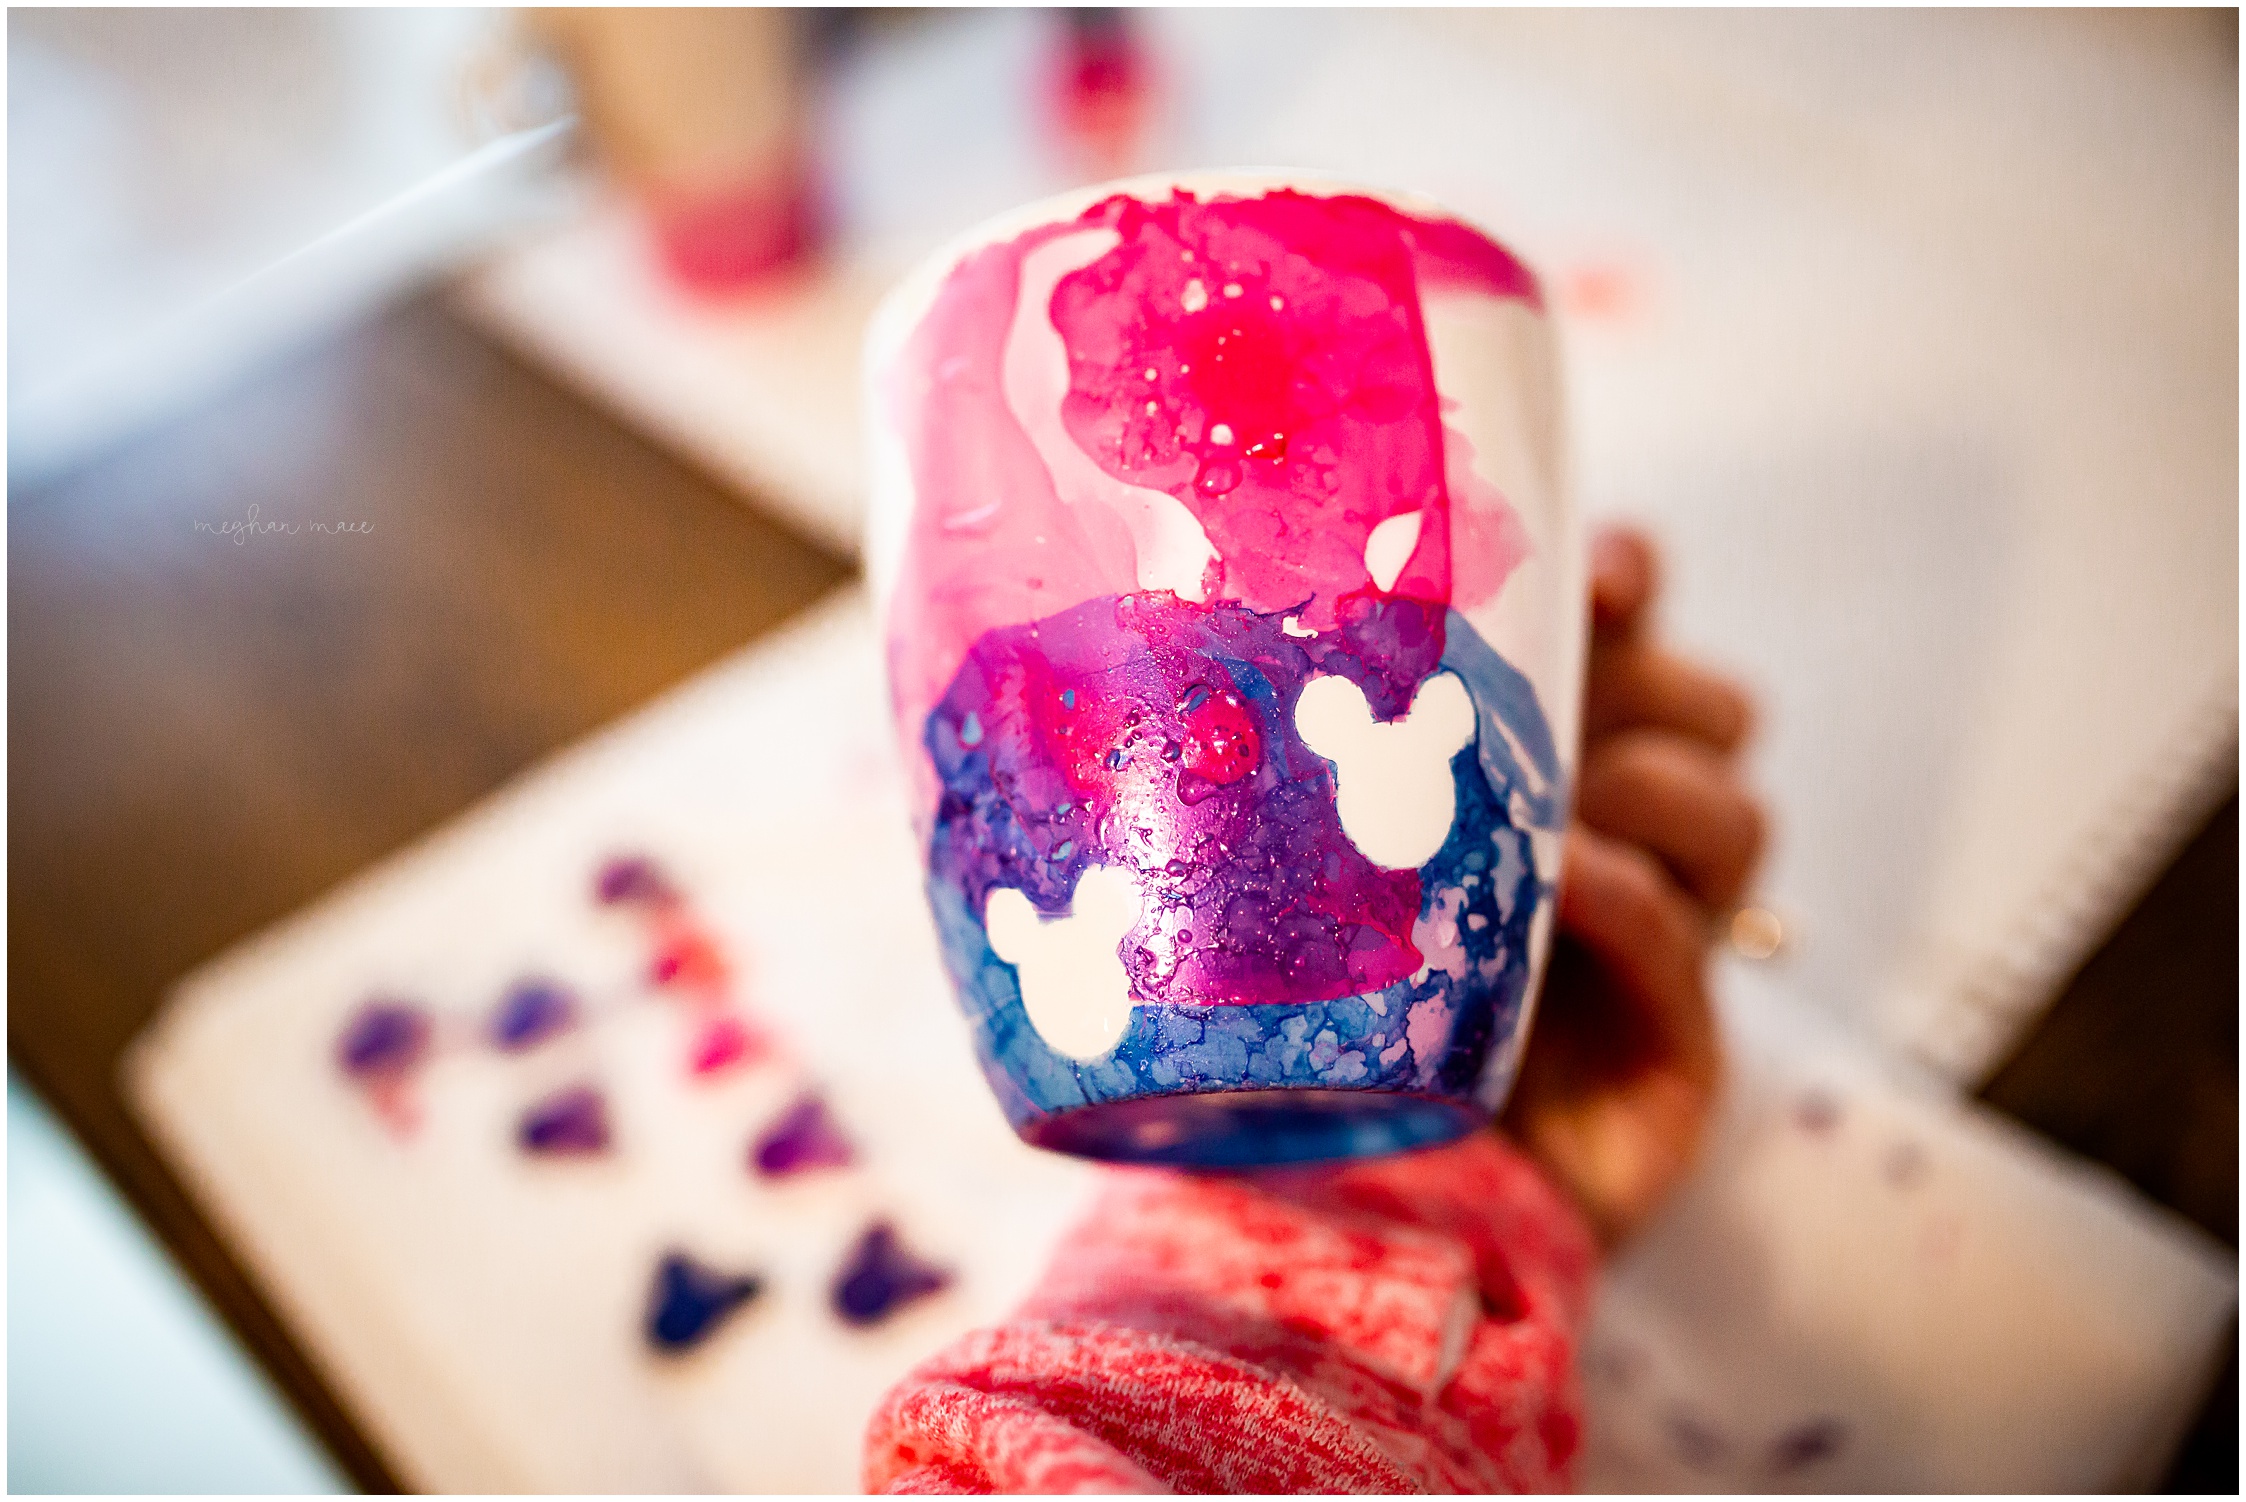
Step 9 Let Your Mug Dry Some More
Let the mug dry for several hours, allowing the nail polish to set. After the hours pass, be sure to remove your Mickey Mouse head stickers in order to reveal the ‘Hidden Mickeys’ on your mug.
Be sure to remove the stickers slowly as to not pull off any nail polish unnecessarily. Before the polish is completely dry, you can test a sticker or two to see if the
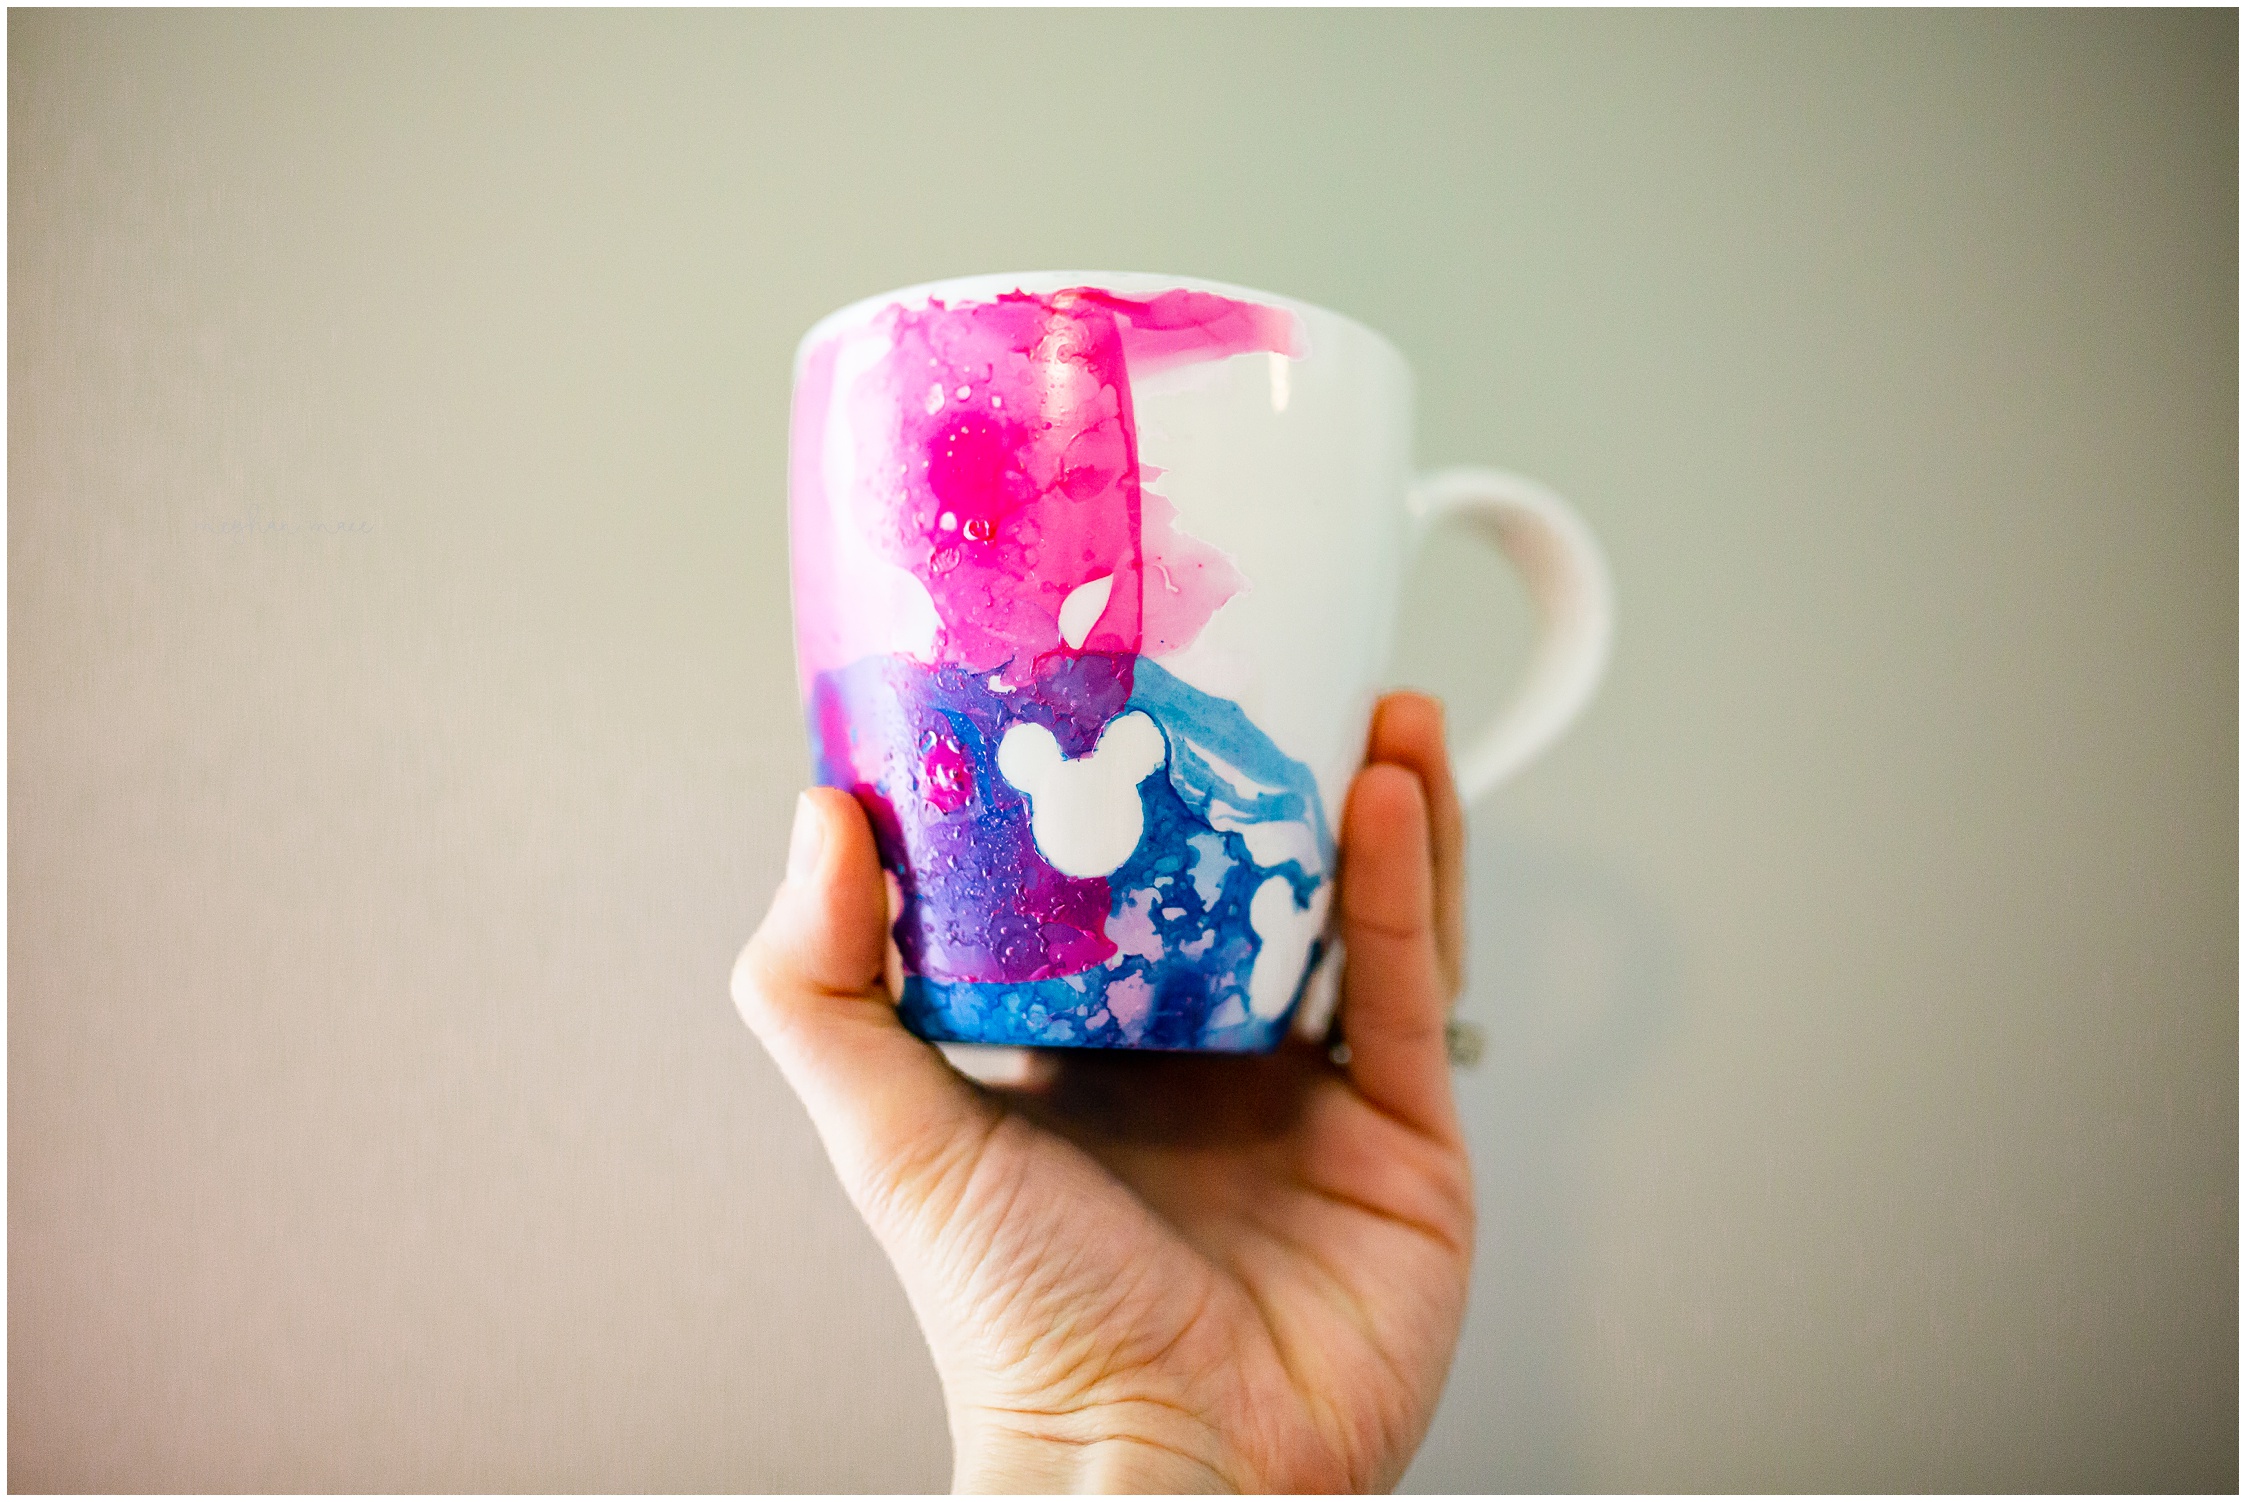
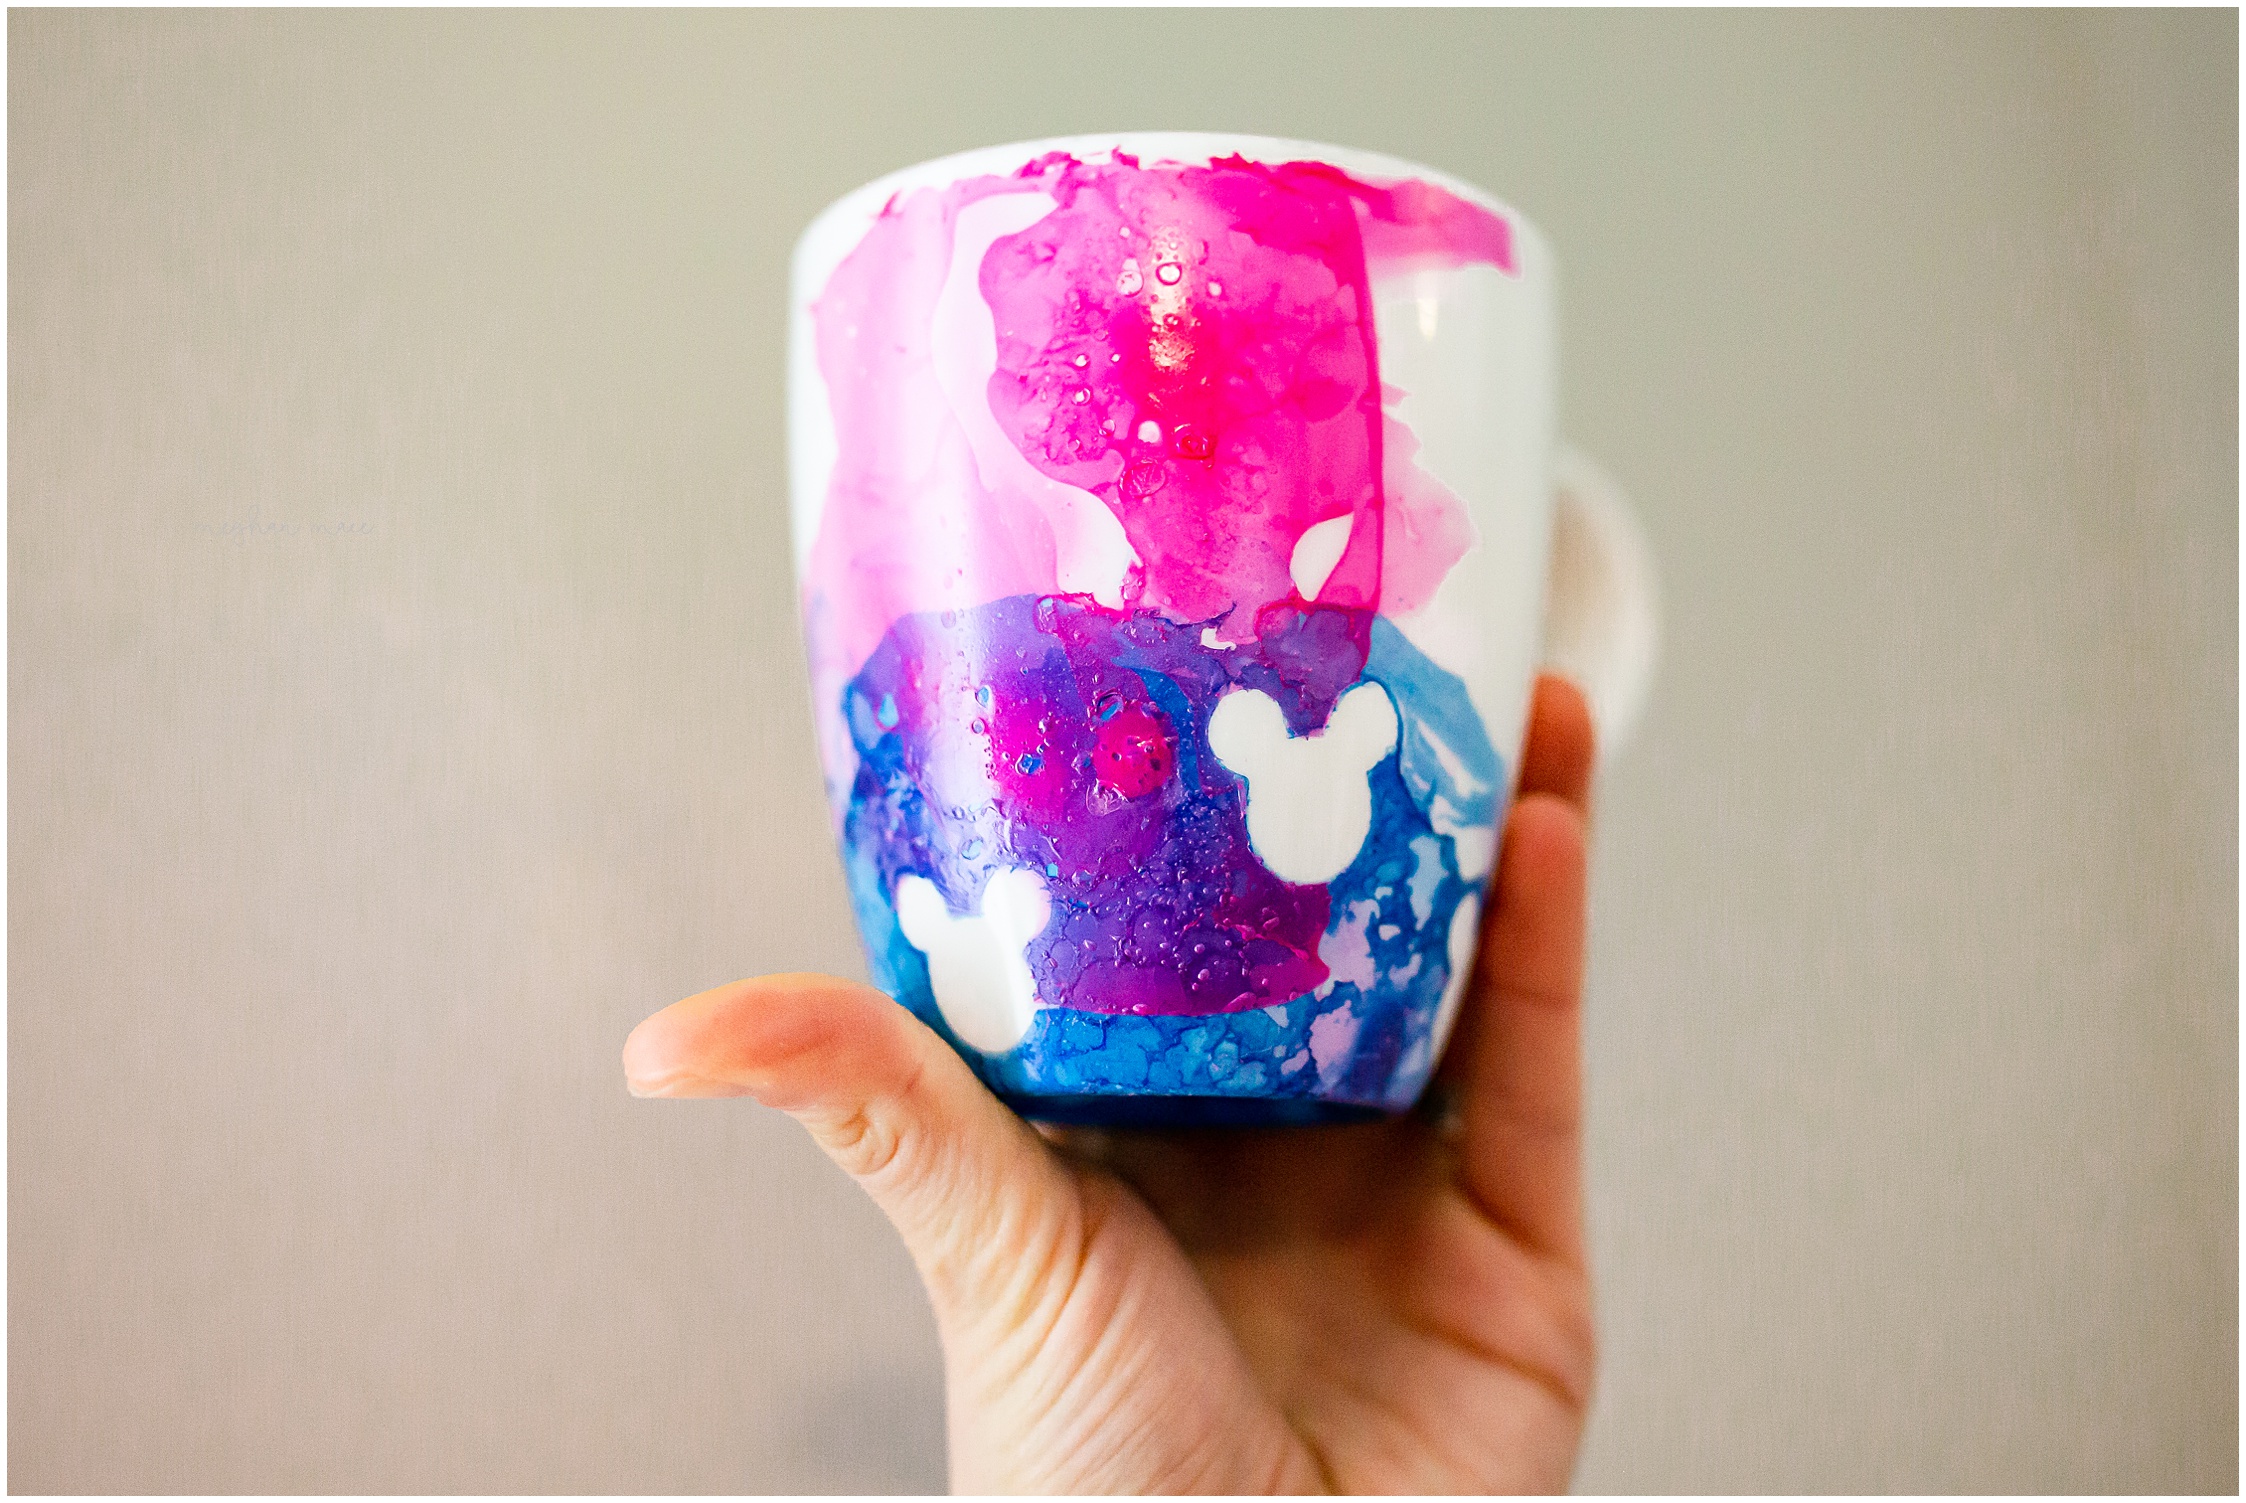
There ya go! Your very own DIY Hidden Mickey Tie-Dye Mug. To keep the paint on your mug, hand washing the mug is recommended. Be sure to use a nonabrasive rag or sponge when cleaning your mug, taking care to not pull the nail polish off.
Using Your DIY Hidden Mickey Tie-Dye Mug
Personally, I don’t recommend using the mug to drink out of once the nail polish is in place. This is especially true if the nail polish covers the entirety of your DIY Hidden Mickey Tie-Dye Mug. However, if you decide to just dip the bottom of your mug, you’re probably good to go!
Alternatively, if you want, you can use your mug as a cute pencil or utensil holder. Or, if you’re feeling fancy, go ahead and fill the mug with some freshly cut flowers. I am sure Minnie Mouse would approve of the freshly cut flowers in your ‘DIY Hidden Mickey Tie-Dye Mug’.
Conclusion
Let me know if you give this DIY Hidden Mickey Tie-Dye Mug a try. Hopefully, it is a project that can be completed with the supplies you have on hand in your house. Be sure to share your results in the comments below or give me a tag on Instagram with the handle @magic.for.miles.
Once you create your mug, be sure to make these white chocolate Forky spoons to complete your setup! Find the link here: White Chocolate Forky Spoons.
Happy creating friends!