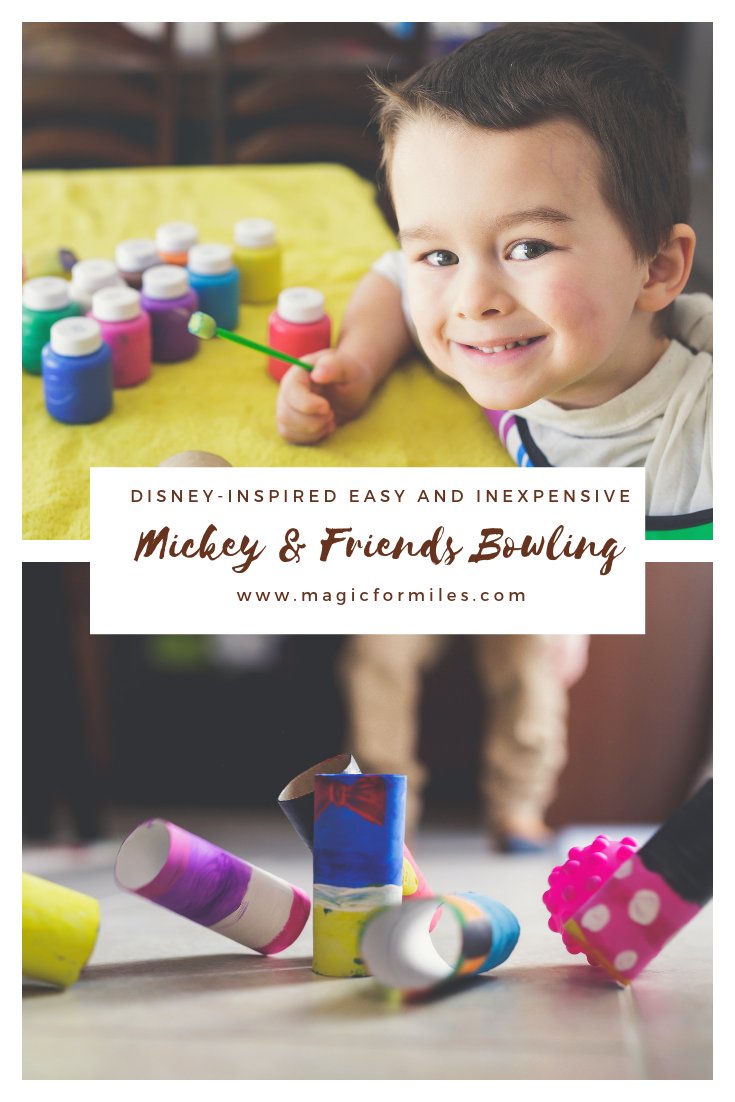
Is it just me or do preschoolers go through crafts (and food) like water? Some weeks I feel like I have all these fun ideas to complete with my four-year-old and once we get going each one lasts about fifteen minutes. Granted that is a decent amount of time in the preschool world, but that still leaves me with another 23 hours and 45 minutes to fill!
Hopefully, most days a decent chunk of that time is filled with sleep and a few meals, but there are days I wish the projects I put together would last at least an hour.
Guess what? I found one!
The best part? It’s so inexpensive to complete!
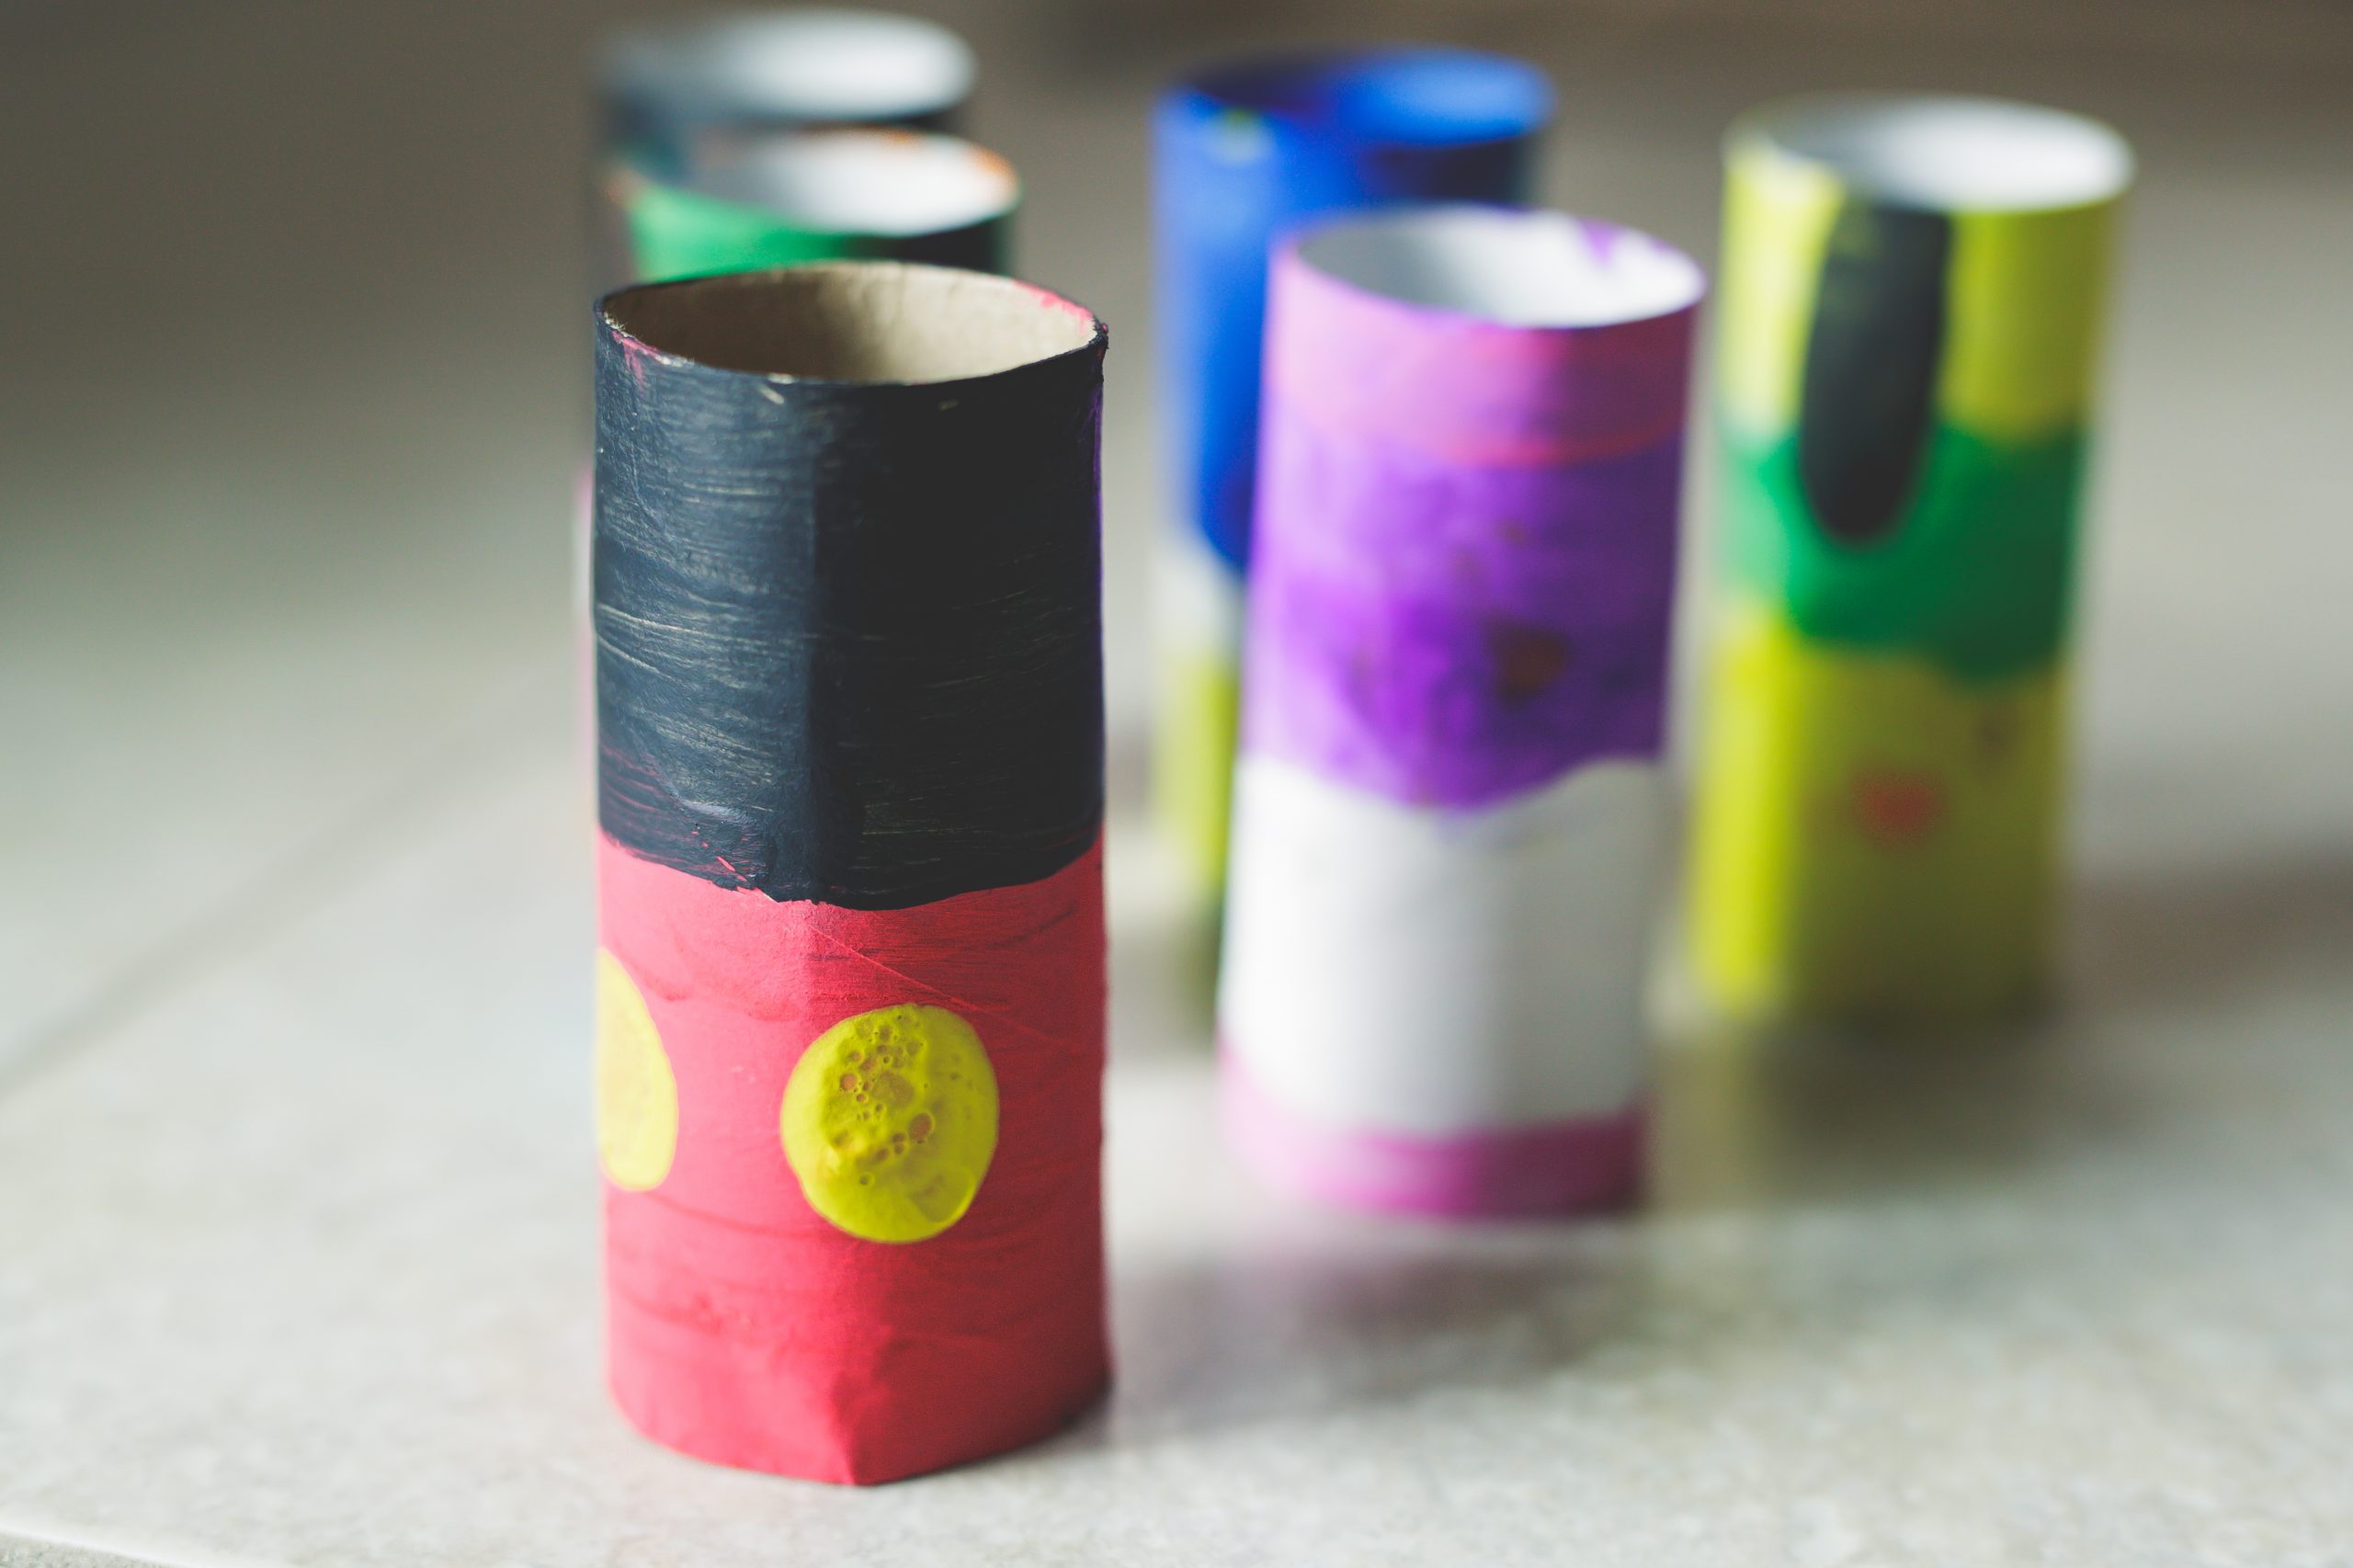
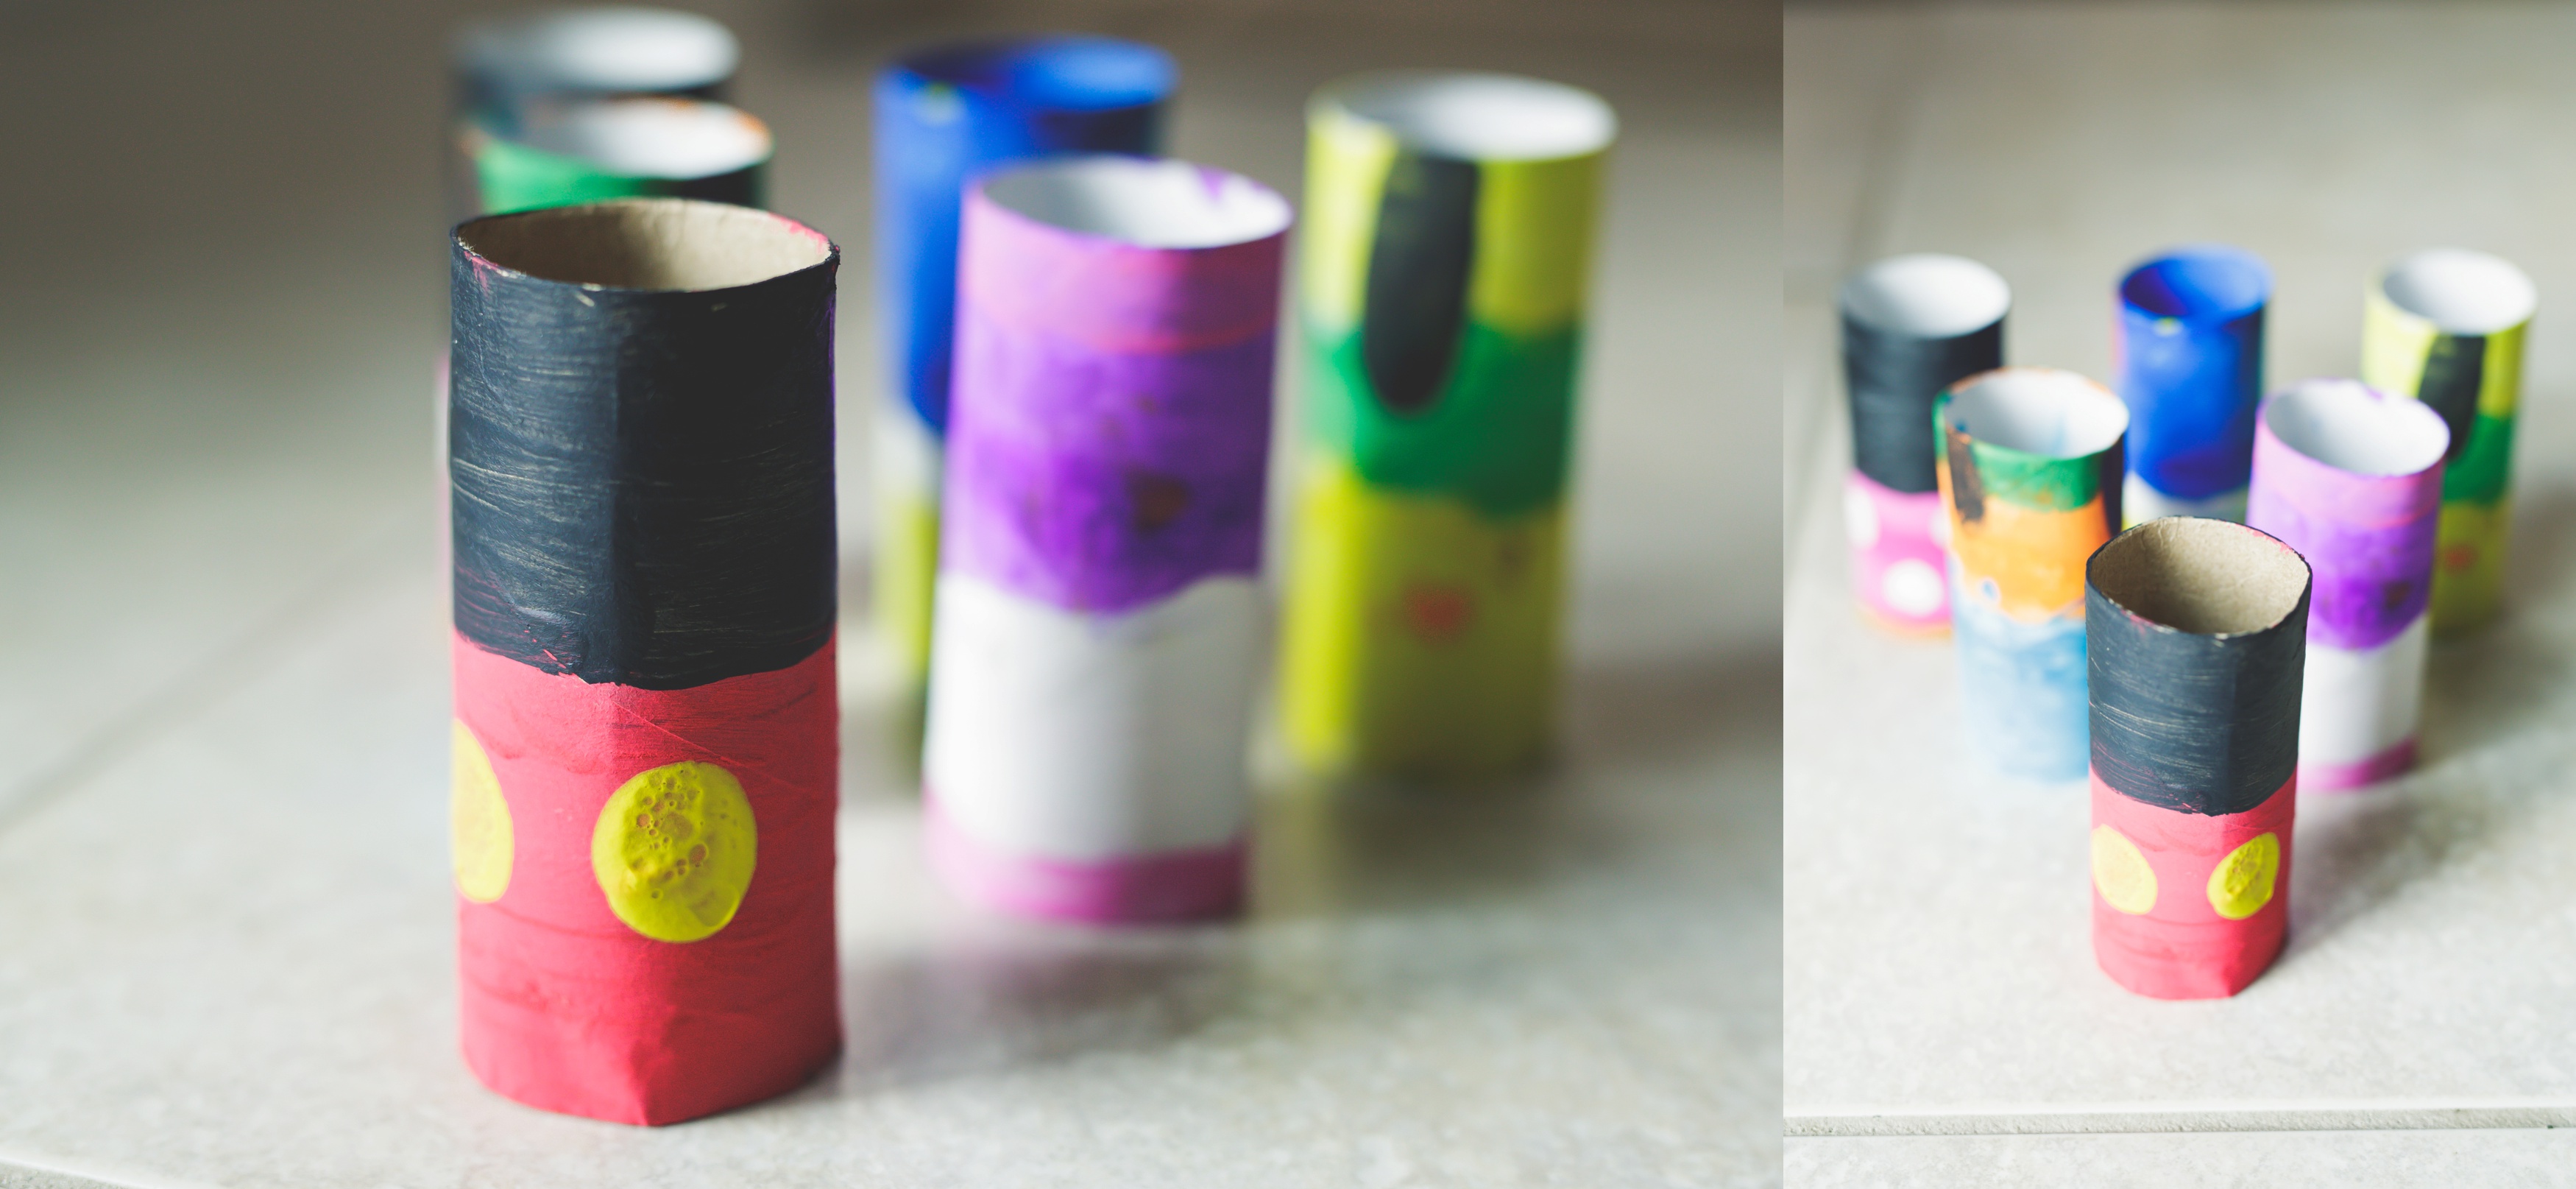
It requires very little in the supply department and can be done with or without a ton of guidance. A win-win craft all around! What is it? Toilet paper roll bowling using the empty rolls! I’m sure this probably isn’t a new craft project, but we added a little Disney magic to the craft to make it more fun and ‘magical’. Instead of just the empty rolls, we added a little paint to transform the empty rolls into the fab five (plus Daisy Duck)! Take a look below to see our DIY Mickey Mouse toilet paper roll bowling
DIY Mickey Mouse Toilet Paper Roll Bowling Supplies
6 Empty Toilet Paper Rolls
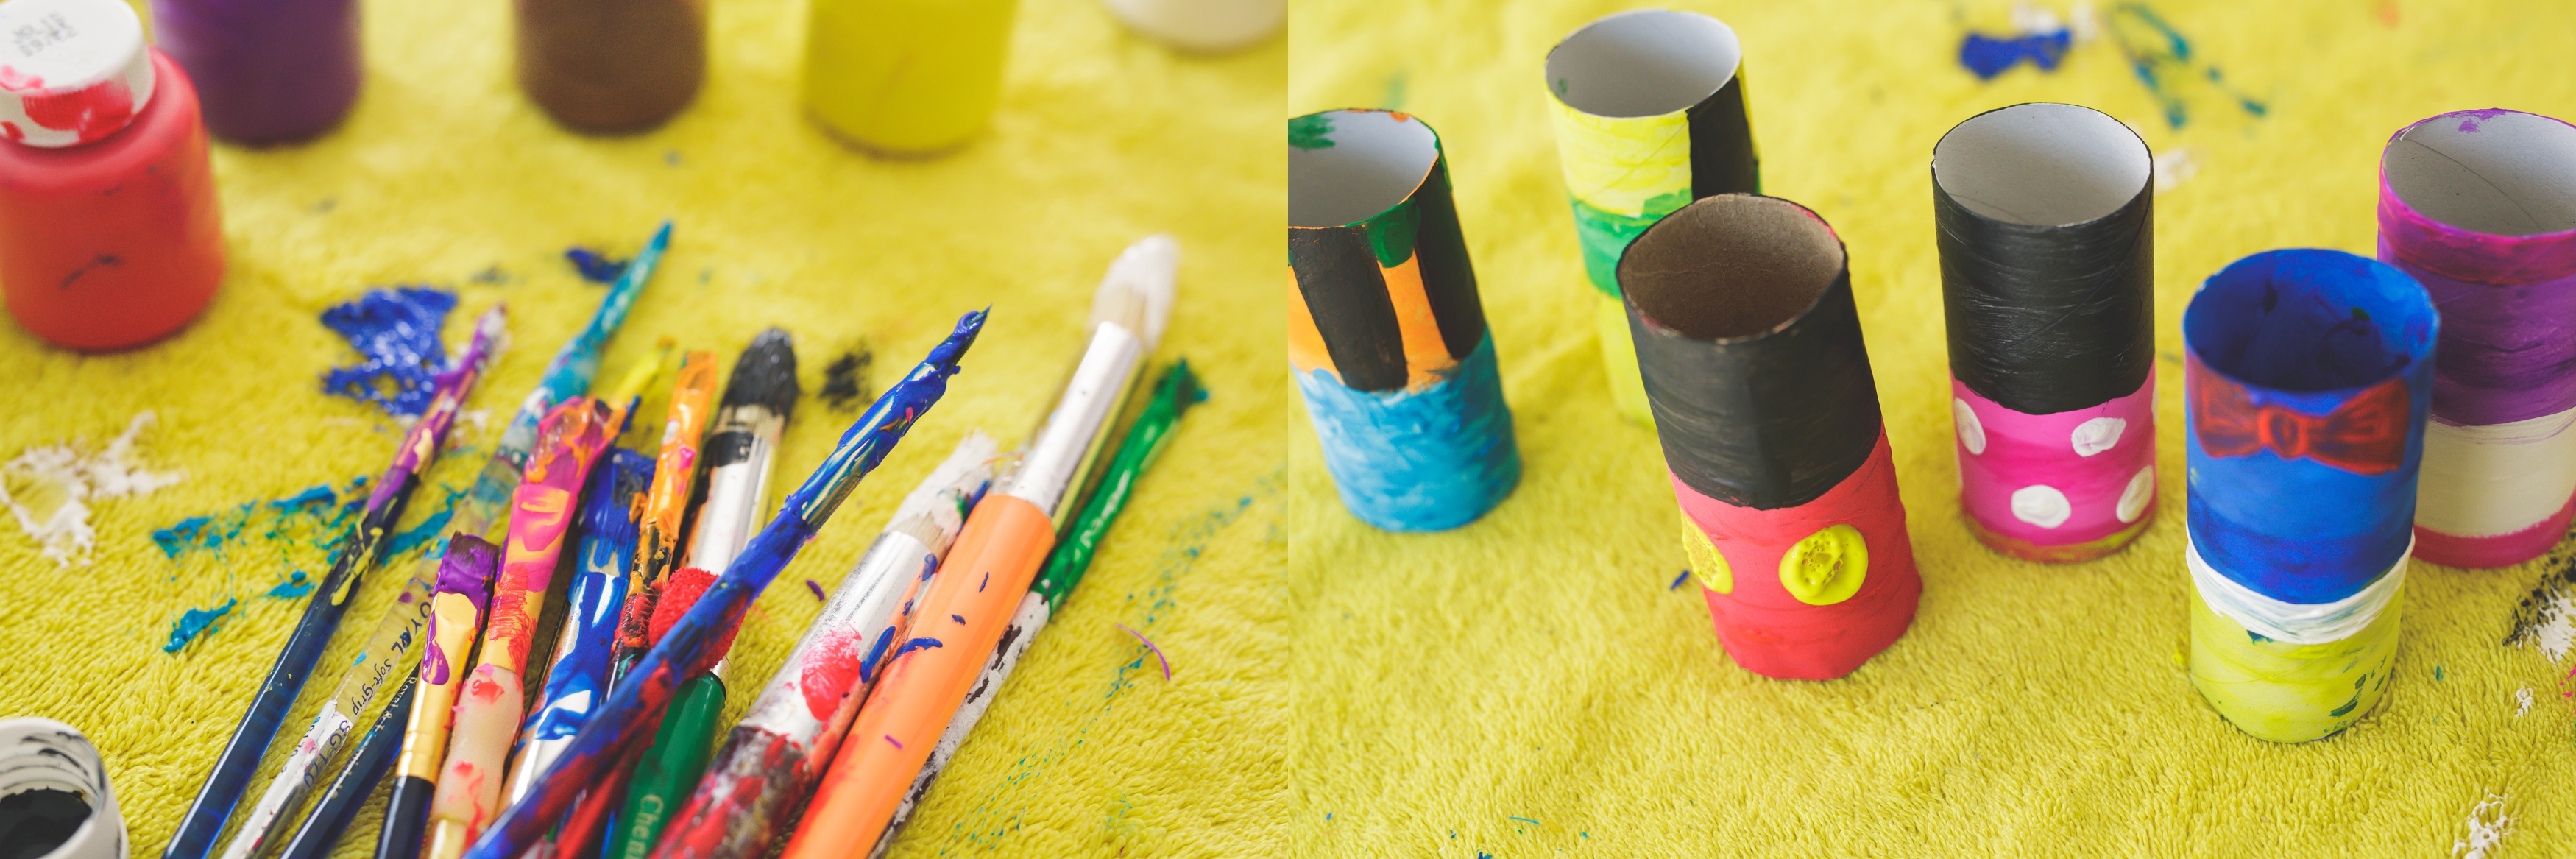
Washable Kid-Friendly Paint: Red, Orange, Yellow, Green, Blue, Purple, Black and White (Crayola has a GREAT starter pack you can purchase from Amazon right here or by clicking on the image below.
Step 1
Gather up all your supplies!
If you ended up purchasing the paint pack listed above, you’ll notice there is no black paint included. (Probably isn’t super washable??) You can either use brown as a substitute or mix together a few colors to create a black color.
As you are gathering things up, note the type of ball you use doesn’t matter, it’s going to be used to knock down your empty DIY Mickey Mouse toilet paper roll bowling pins. My son liked to try out a variety of different balls, until he found the right now. Kinda like picking out a bowling ball if you don’t go regularly, need to test a few out before you find the perfect one!
Step 2
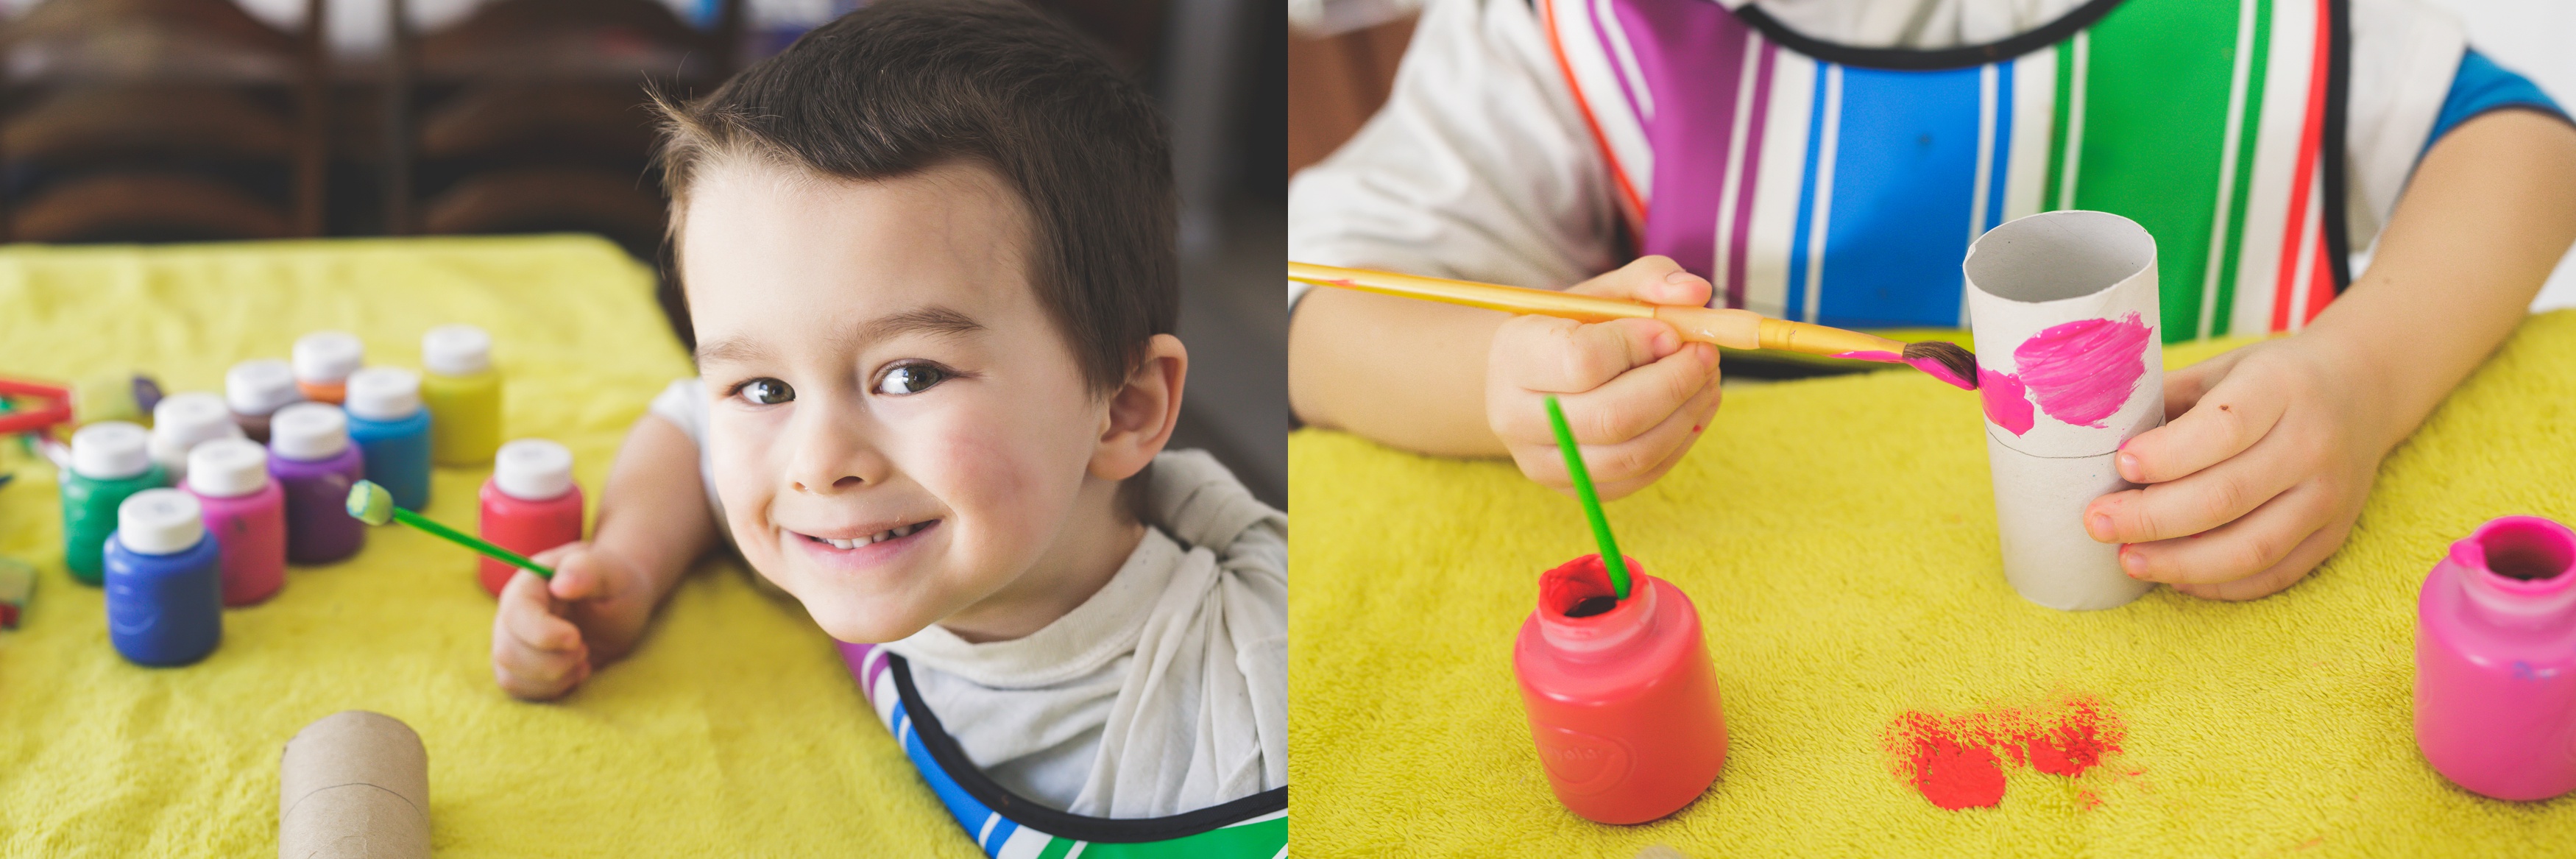
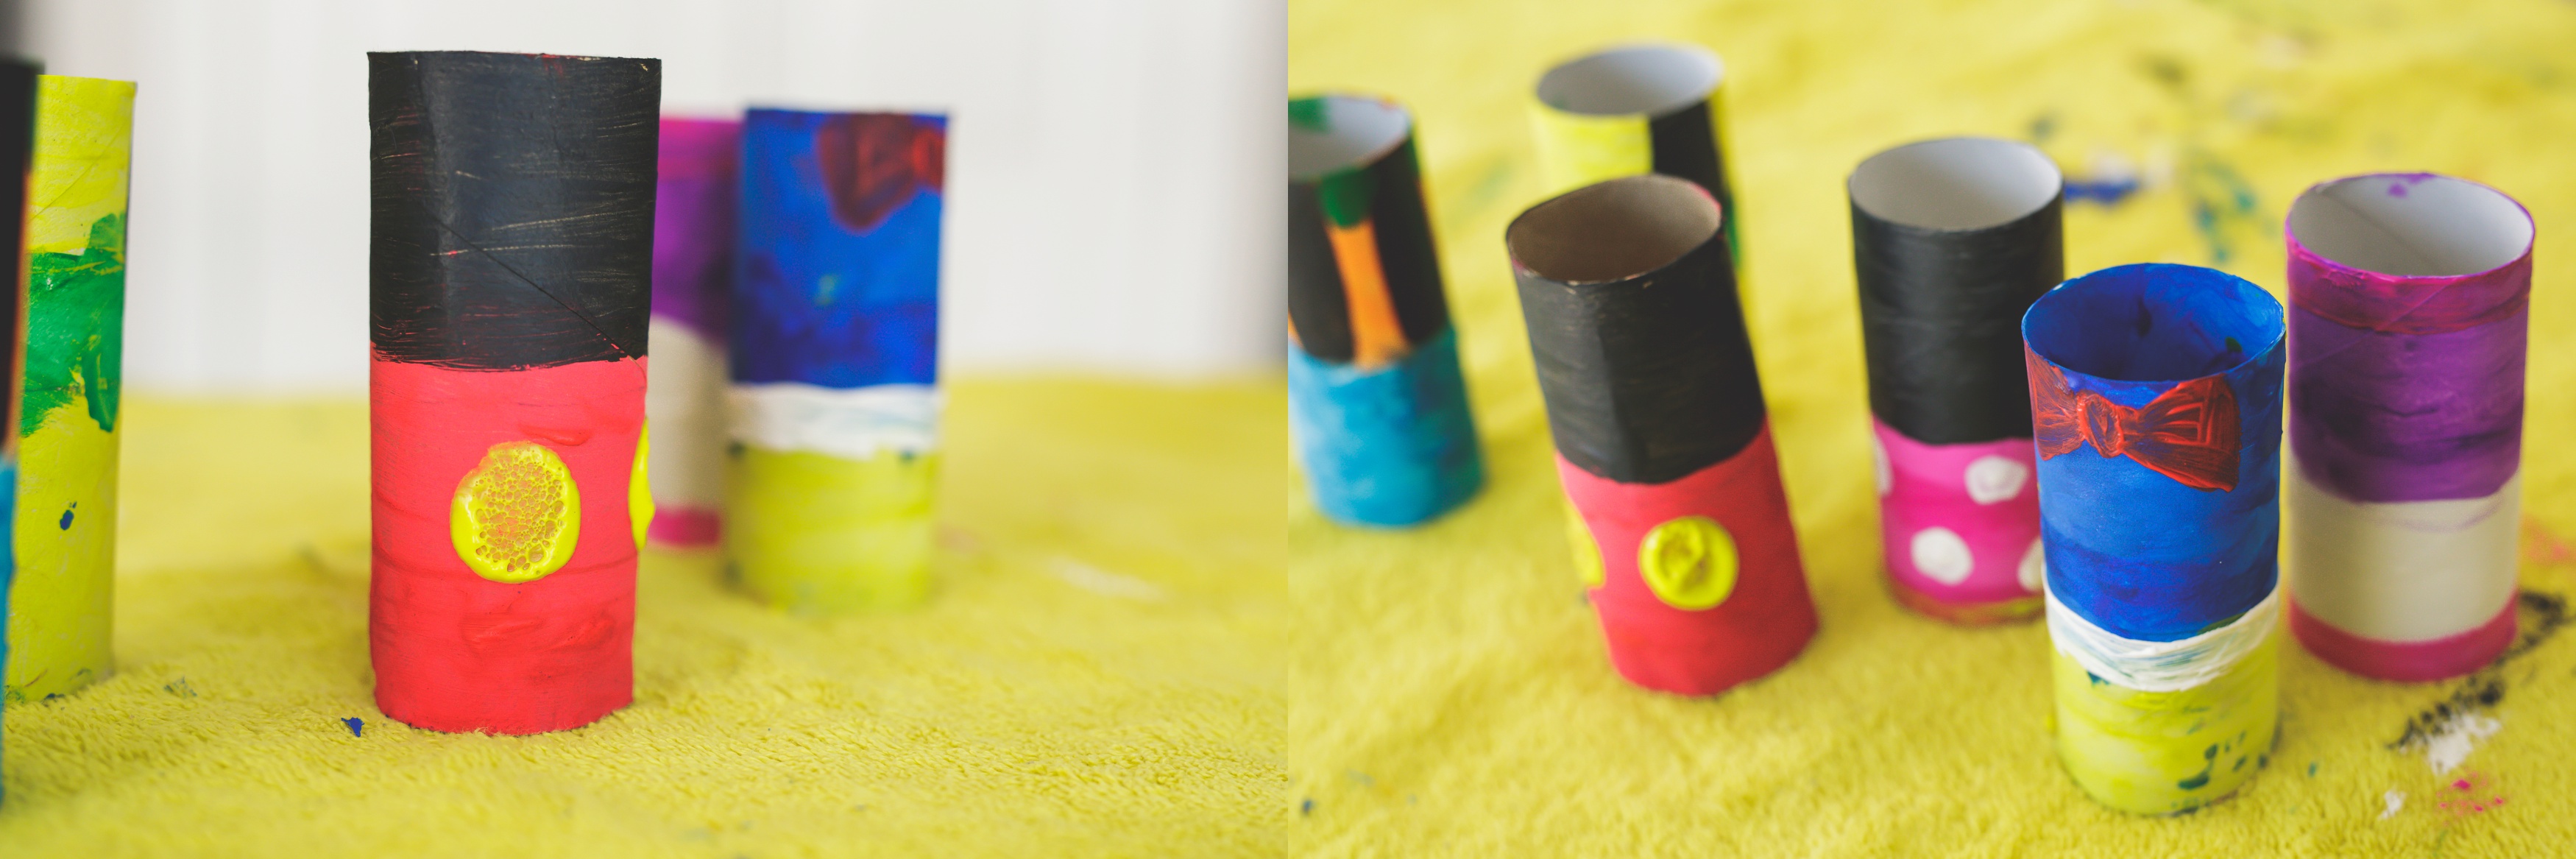
Time to get painting! You can get as technical as you want with this step, but I let my son do a majority of the creating. Half the reason for putting this craft together was letting him paint and stay busy. Things don’t look ‘perfect’, but you can still make out the ‘fab five’ based on the paint colors used.
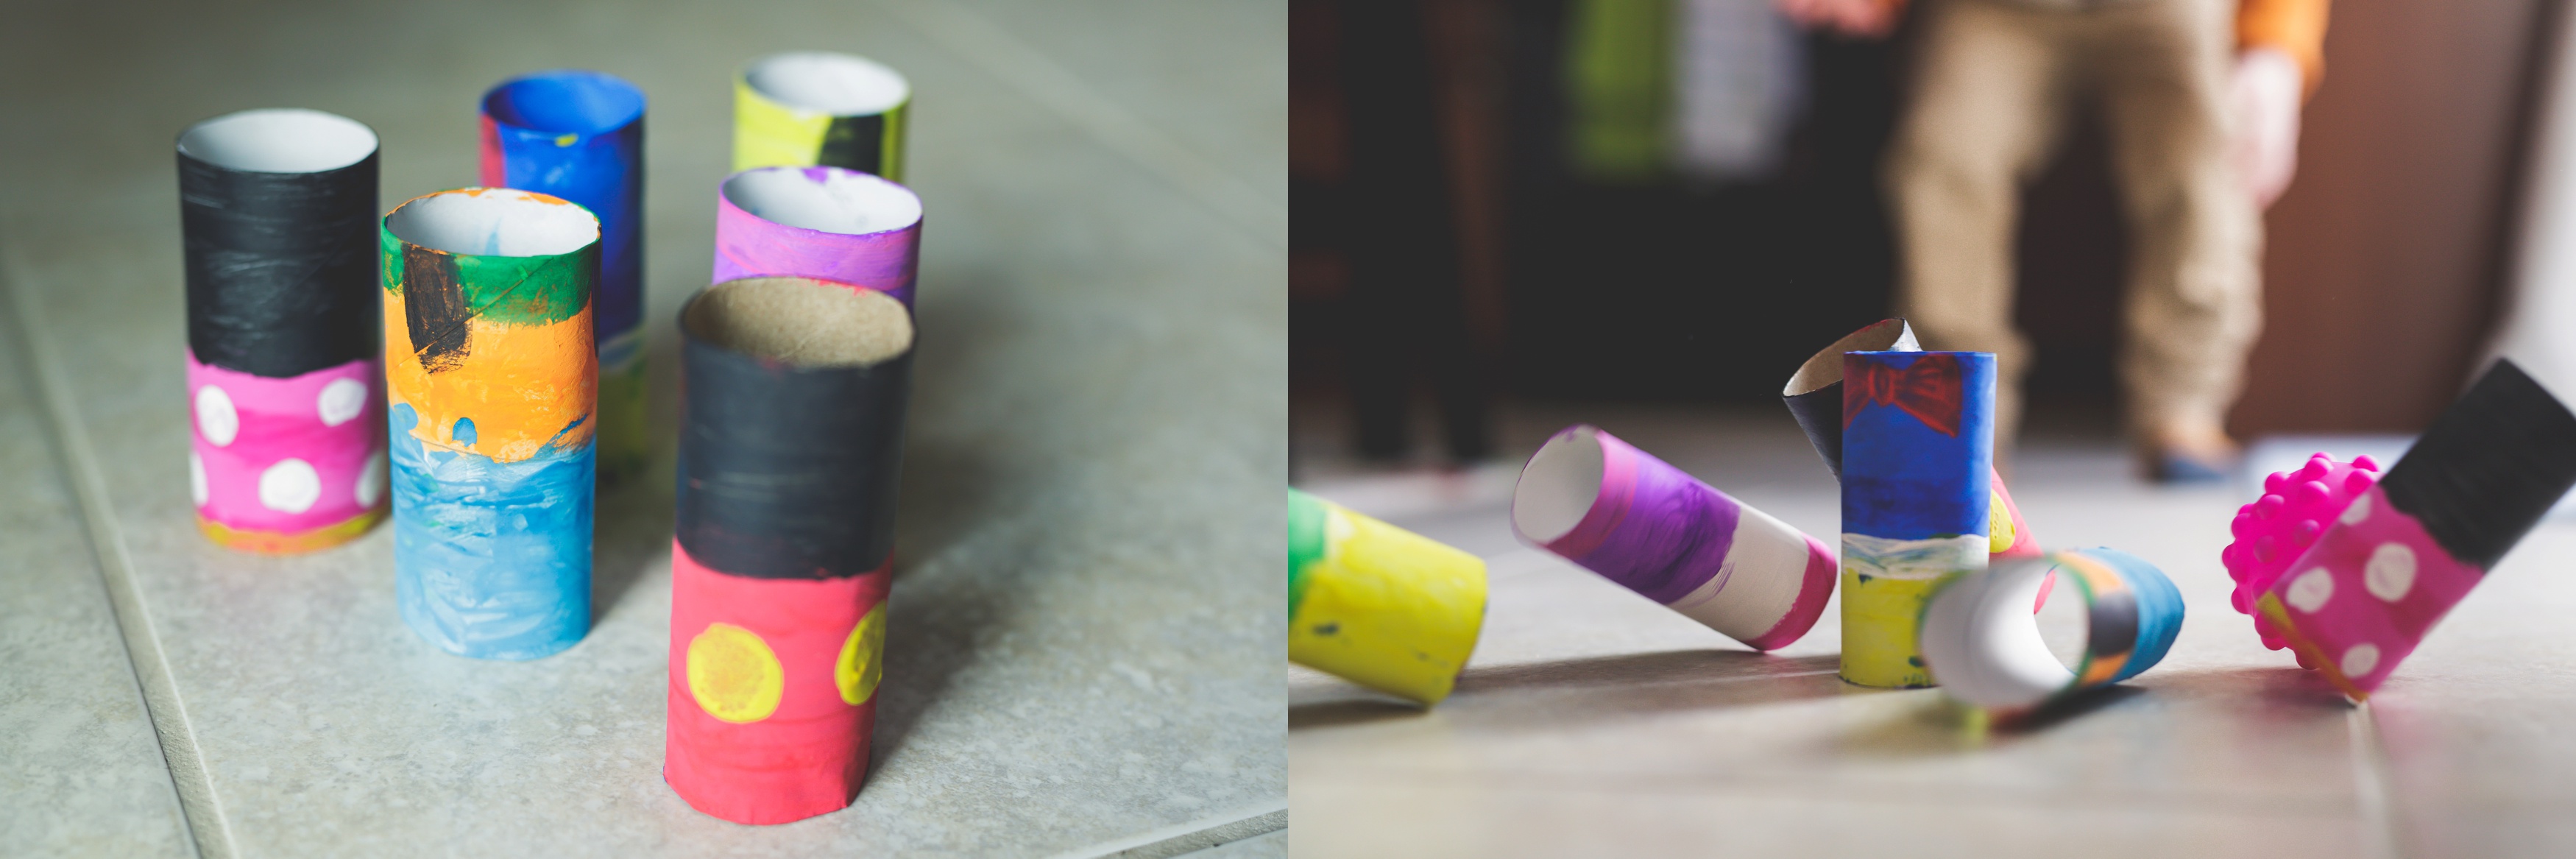
First, taking the empty toilet paper rolls, I drew a line down the middle. Then my son would decide which character needed which colors. For example, Mickey had black and red, Minnie he made pink and red, and so forth. He painted the top end, let it dry and then moved onto the bottom end. After the whole roll was dried we put on a few character ‘details’ to complete the rolls. Mickey needs his yellow buttons!
Step 3
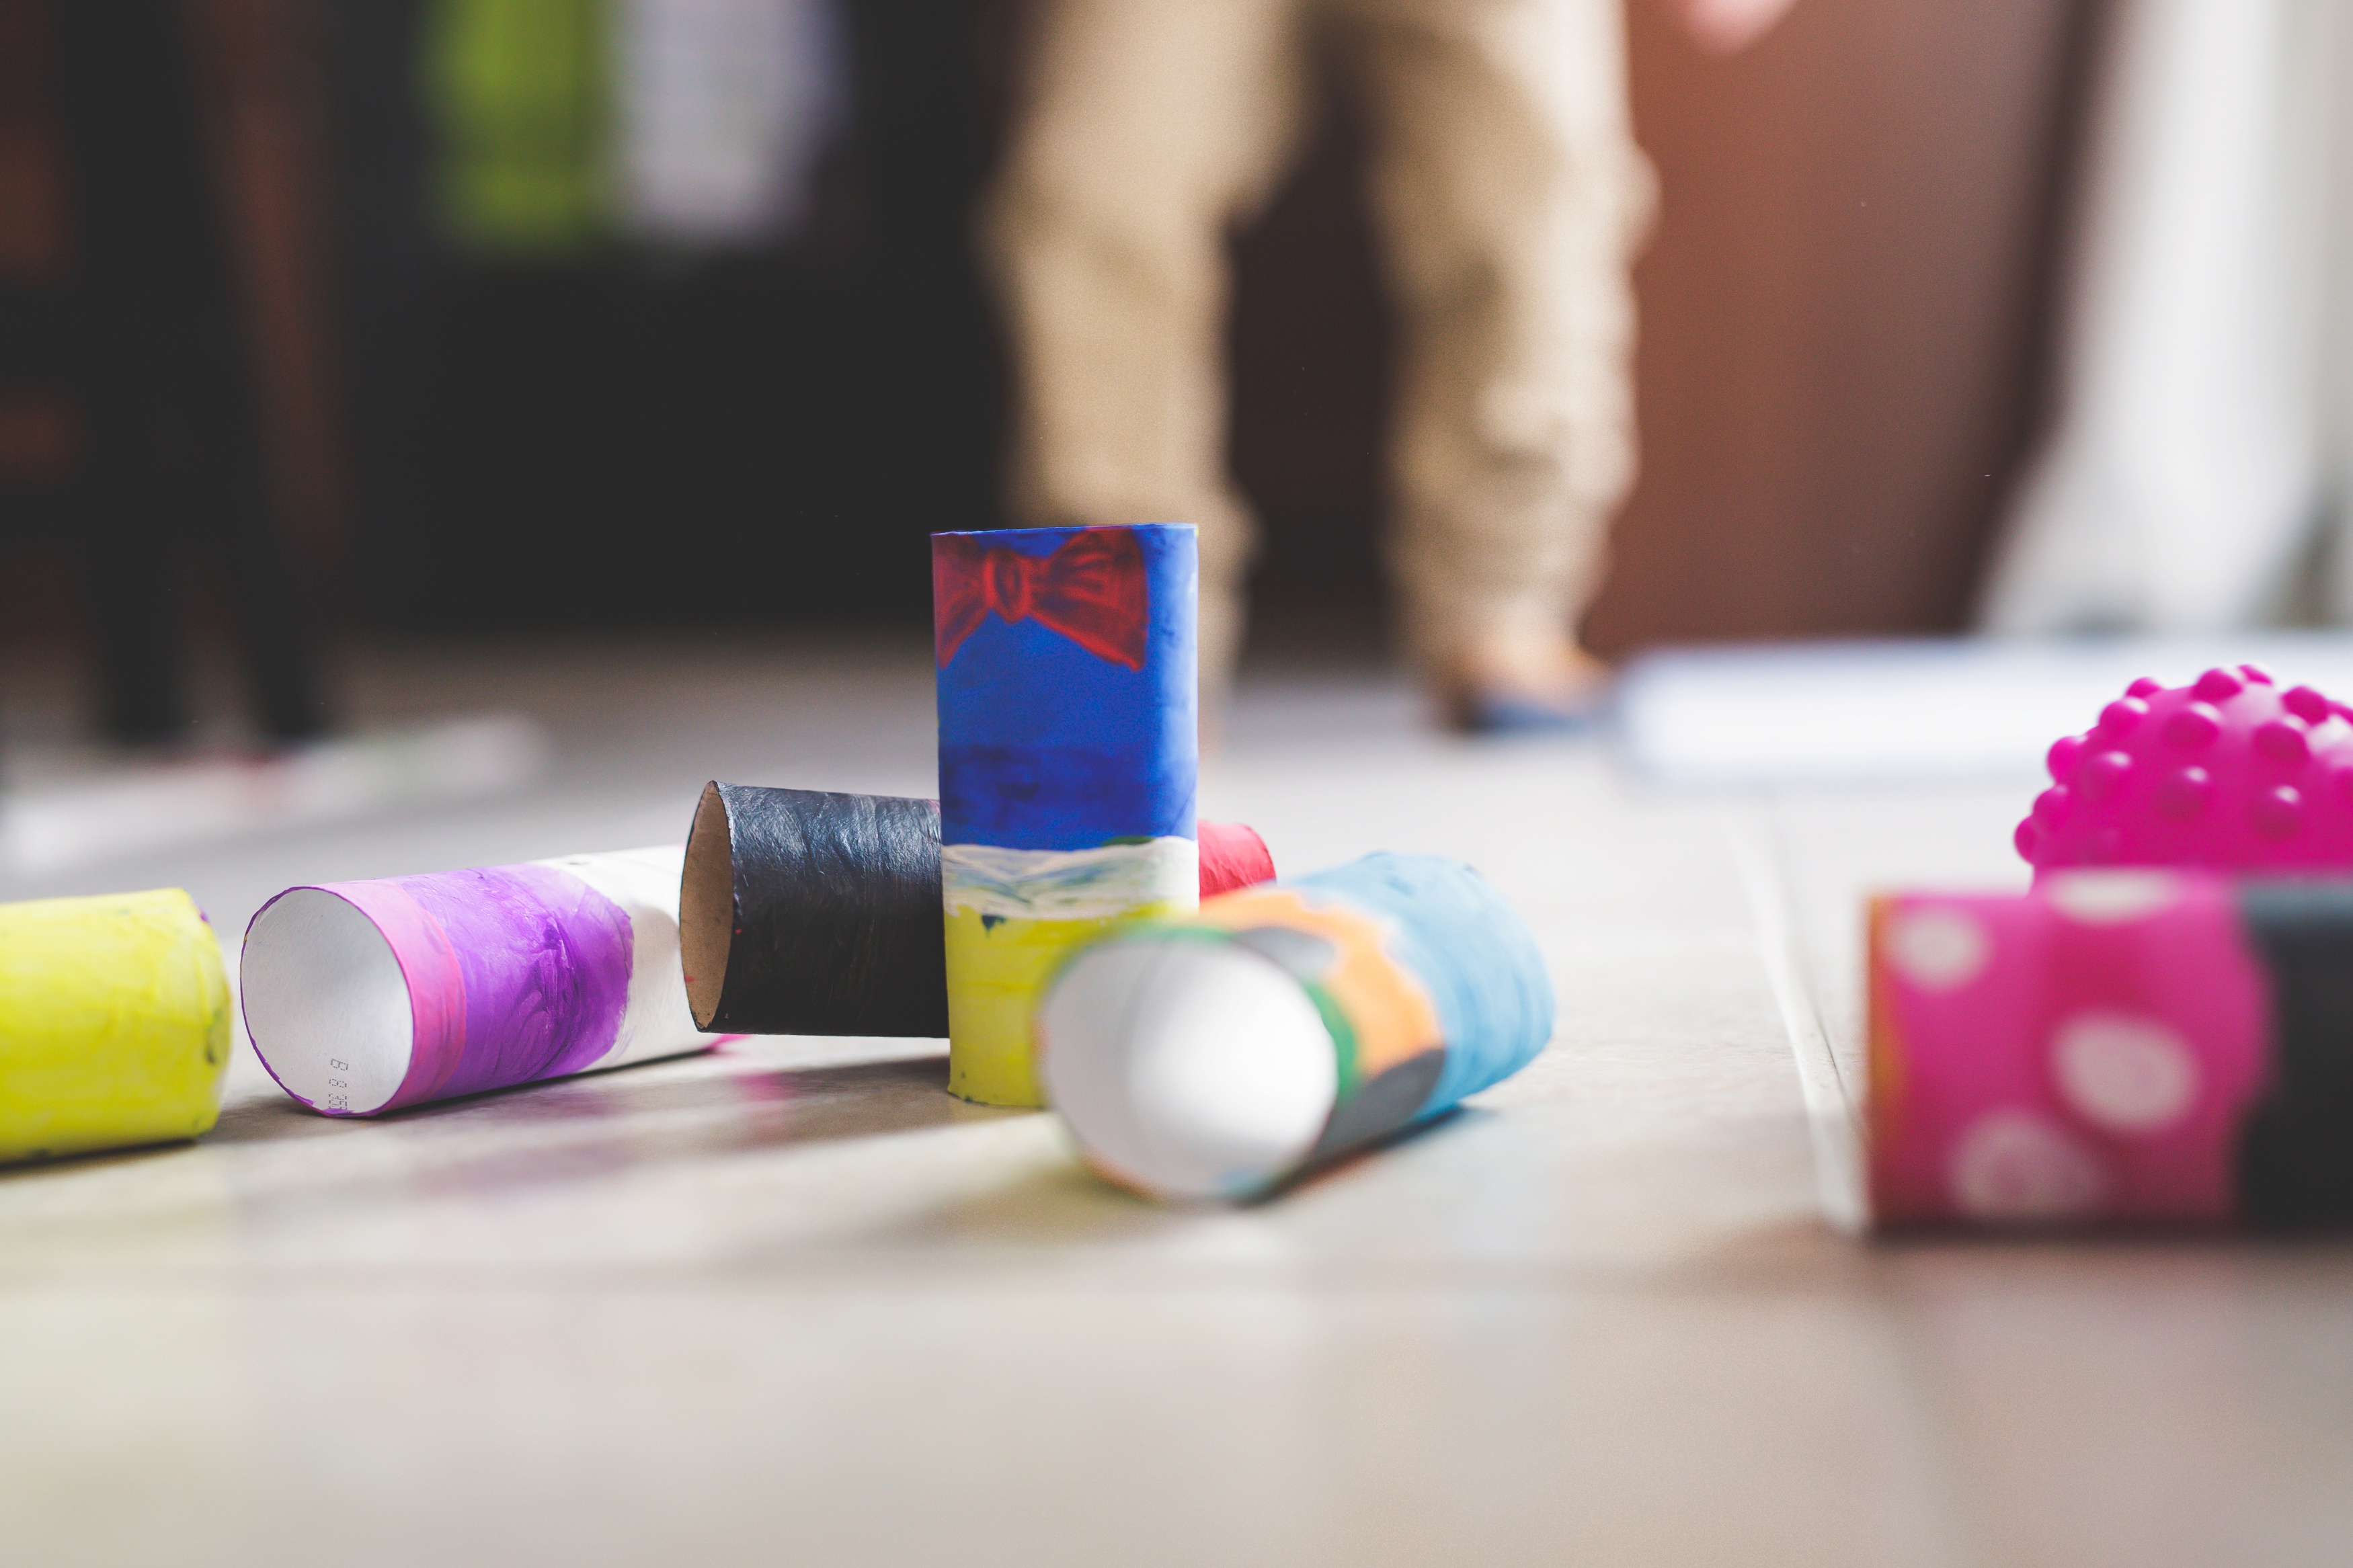
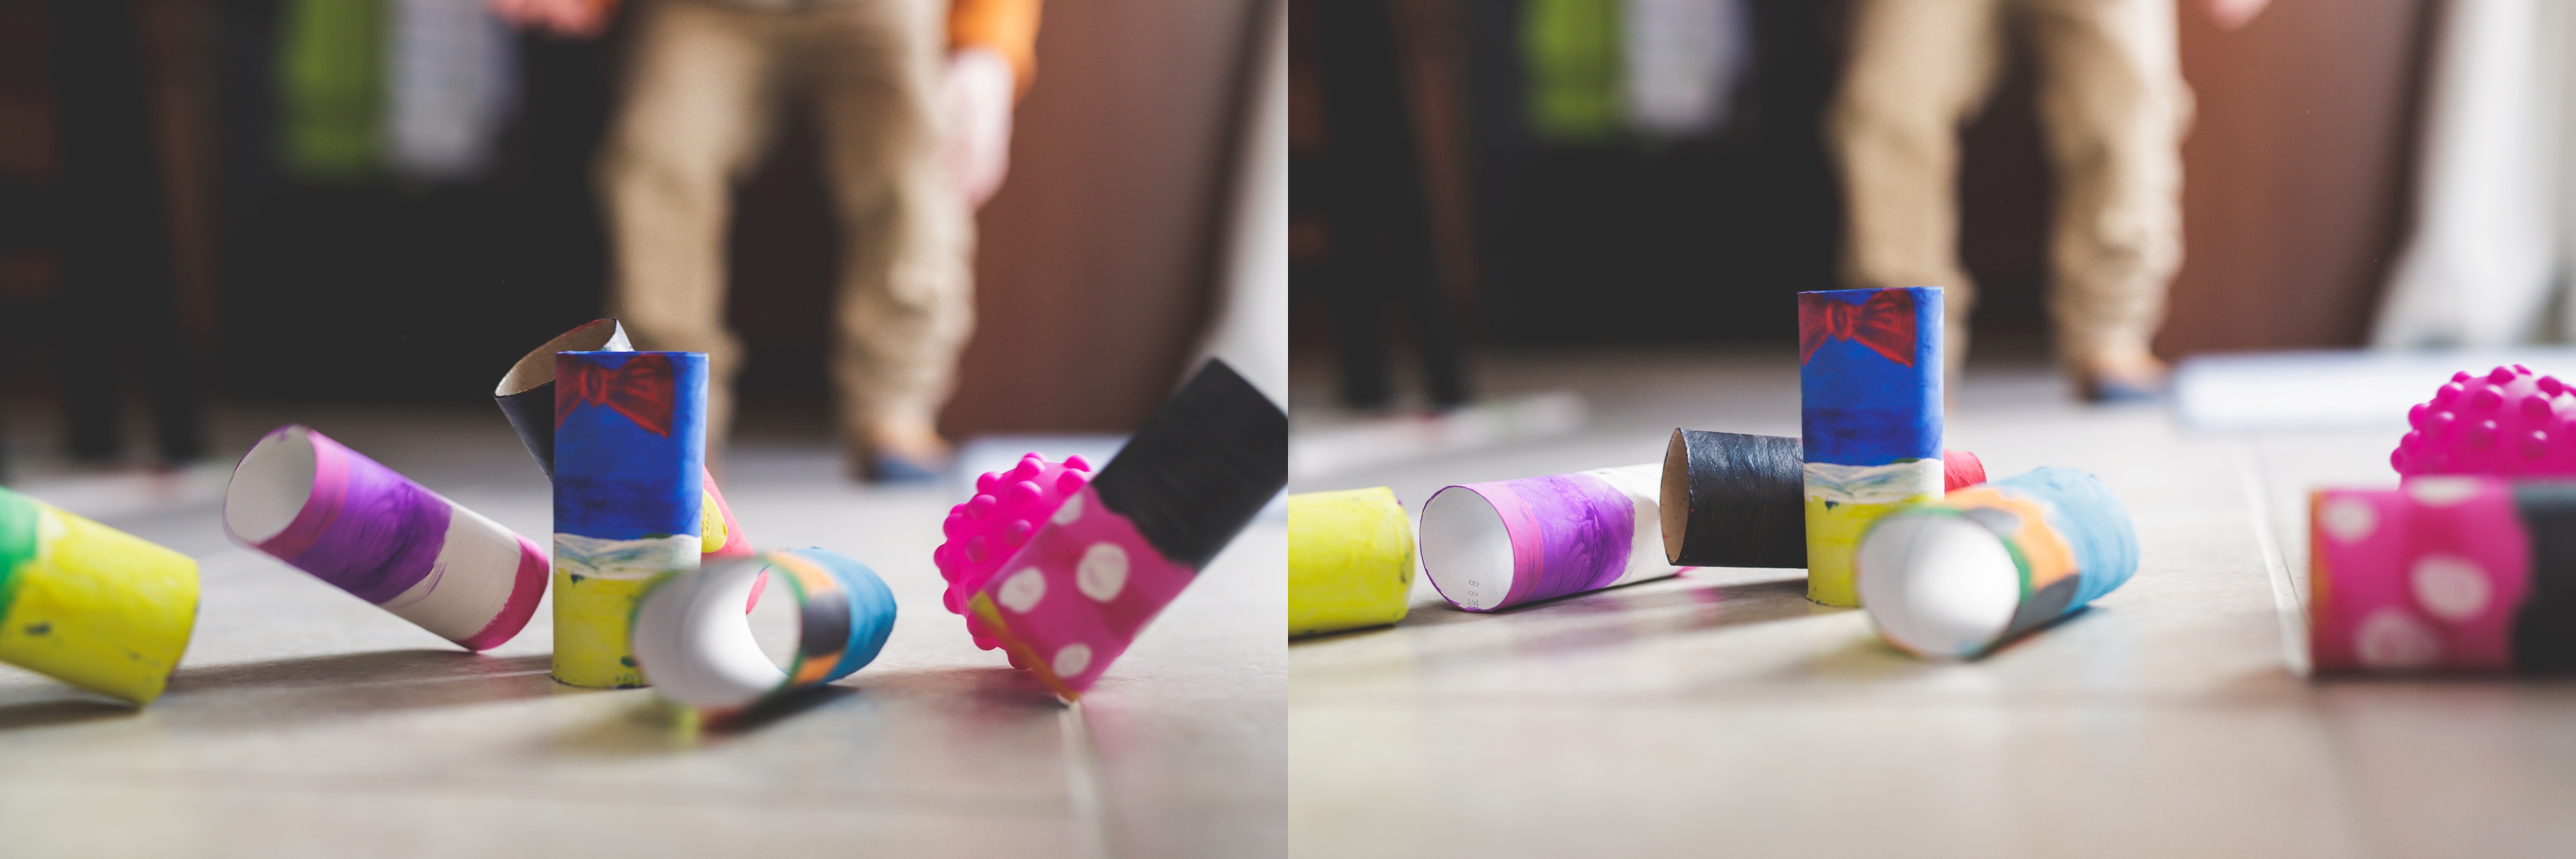
Once everything is dry, it’s time to bowl! Setup your ‘bowling pins’ with three in the back, two in the middle and one in the front. Grab your ‘bowling’ ball and start having some fun! It was surprisingly a little more challenging than expected to knock down all the pins. Have fun!
There ya go! A super simple and inexpensive craft that will (hopefully) keep your preschooler busy for a little while. If you wanted to get extremely detailed, you can add in more details for each of the characters like ears, arms, eyes and so forth. The sky is the limit!
Be Sure to Pin the Above Image and Follow-Me on Facebook, Pinterest and Instagram: @magicformiles

