Mickey Premium Bar Luggage Tags: A Disney DIY
What is a Mickey Premium Bar?
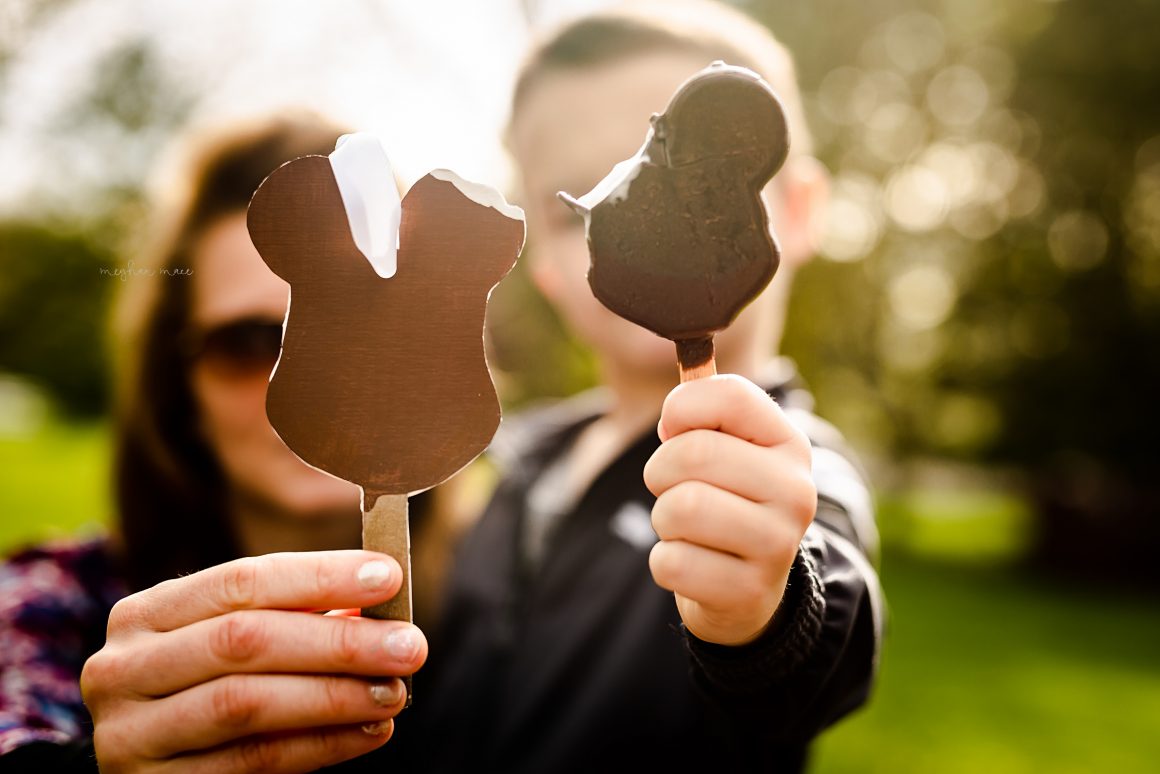
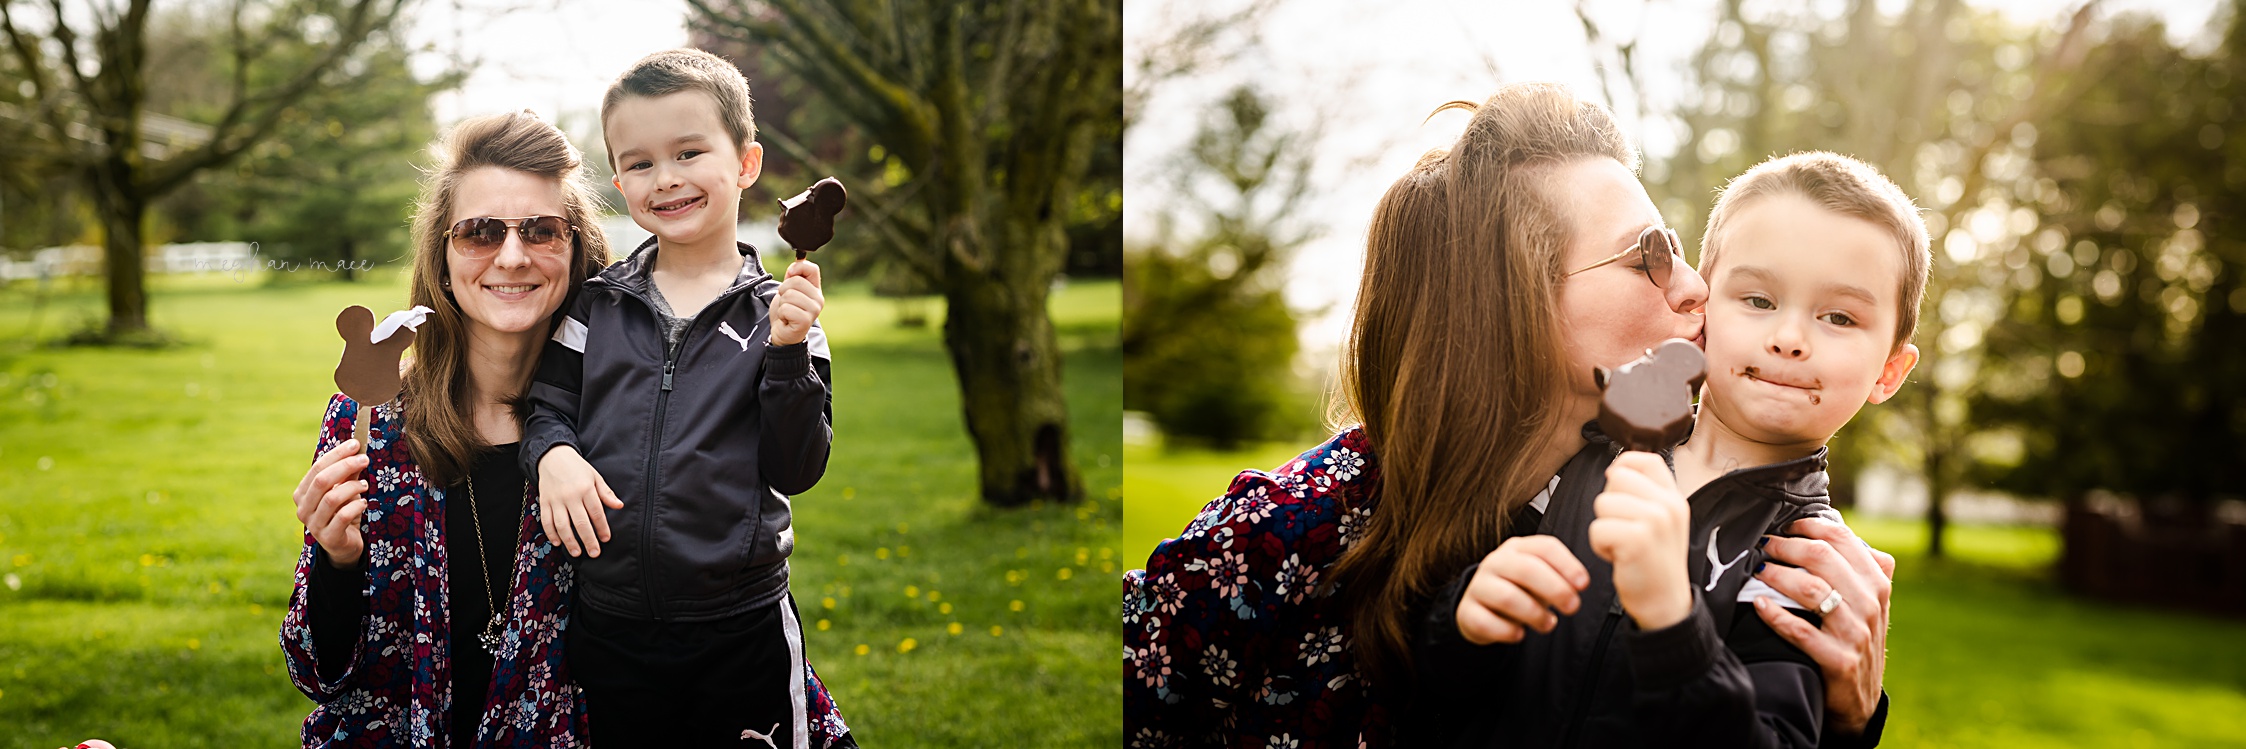
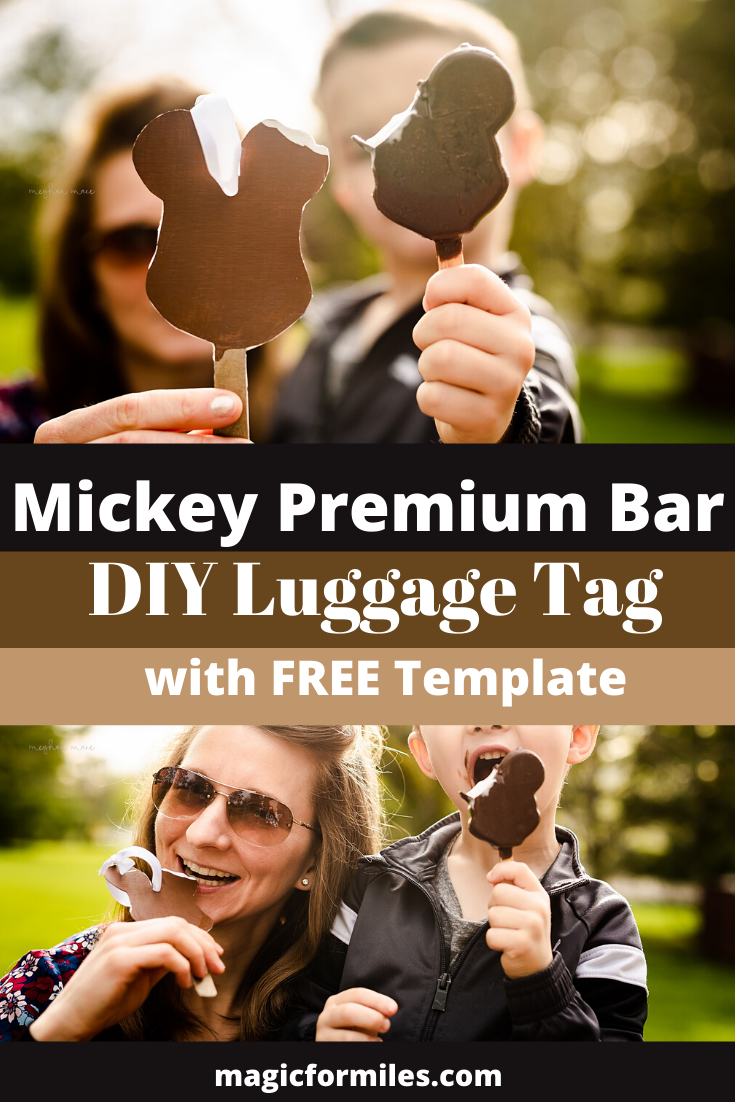
A Mickey Premium Bar is a vanilla ice cream shaped Mickey Mouse on a popsicle stick. The vanilla ice cream is then coated in milk chocolate to form a hard candy shell.
It’s creamy, delicious, and very refreshing. This is especially true on a super hot day in the Walt Disney World parks.
If you don’t like chocolate, vanilla ice cream, or popsicles, then a Mickey Premium Bar is not for you. For everyone else, outside of those just listed, you need to have at least one.
Where Can You Get a Mickey Premium Bar?
Mickey Bar at the Parks
Mickey Premium Bars can be purchased all over the parks at Walt Disney World. That includes the Magic Kingdom, Animal Kingdom, Hollywood Studios, and Epcot. The premium bars can usually be found scattered around the parks in various locations. Most notably, at ice cream/cold food carts that are sporadically dispersed along the footpaths of park goers.
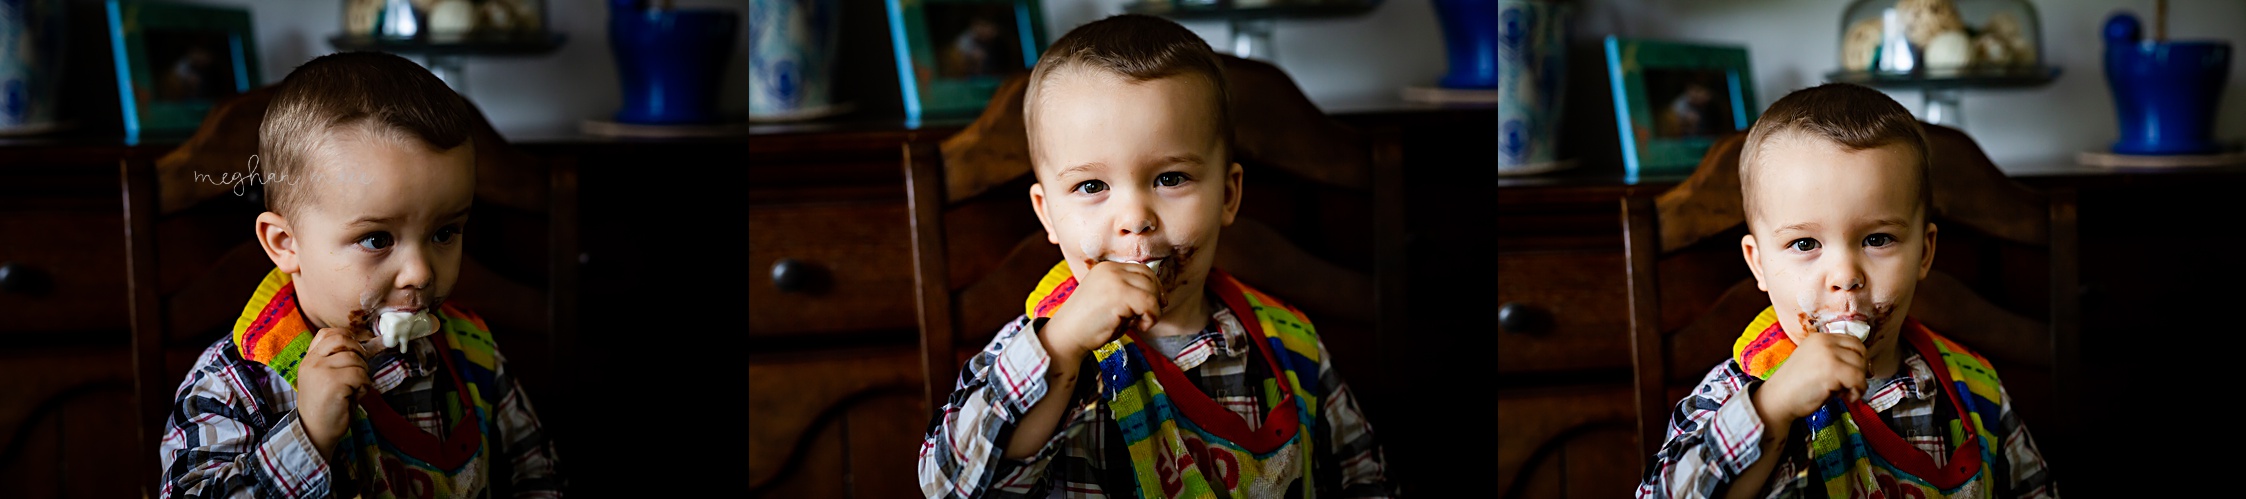
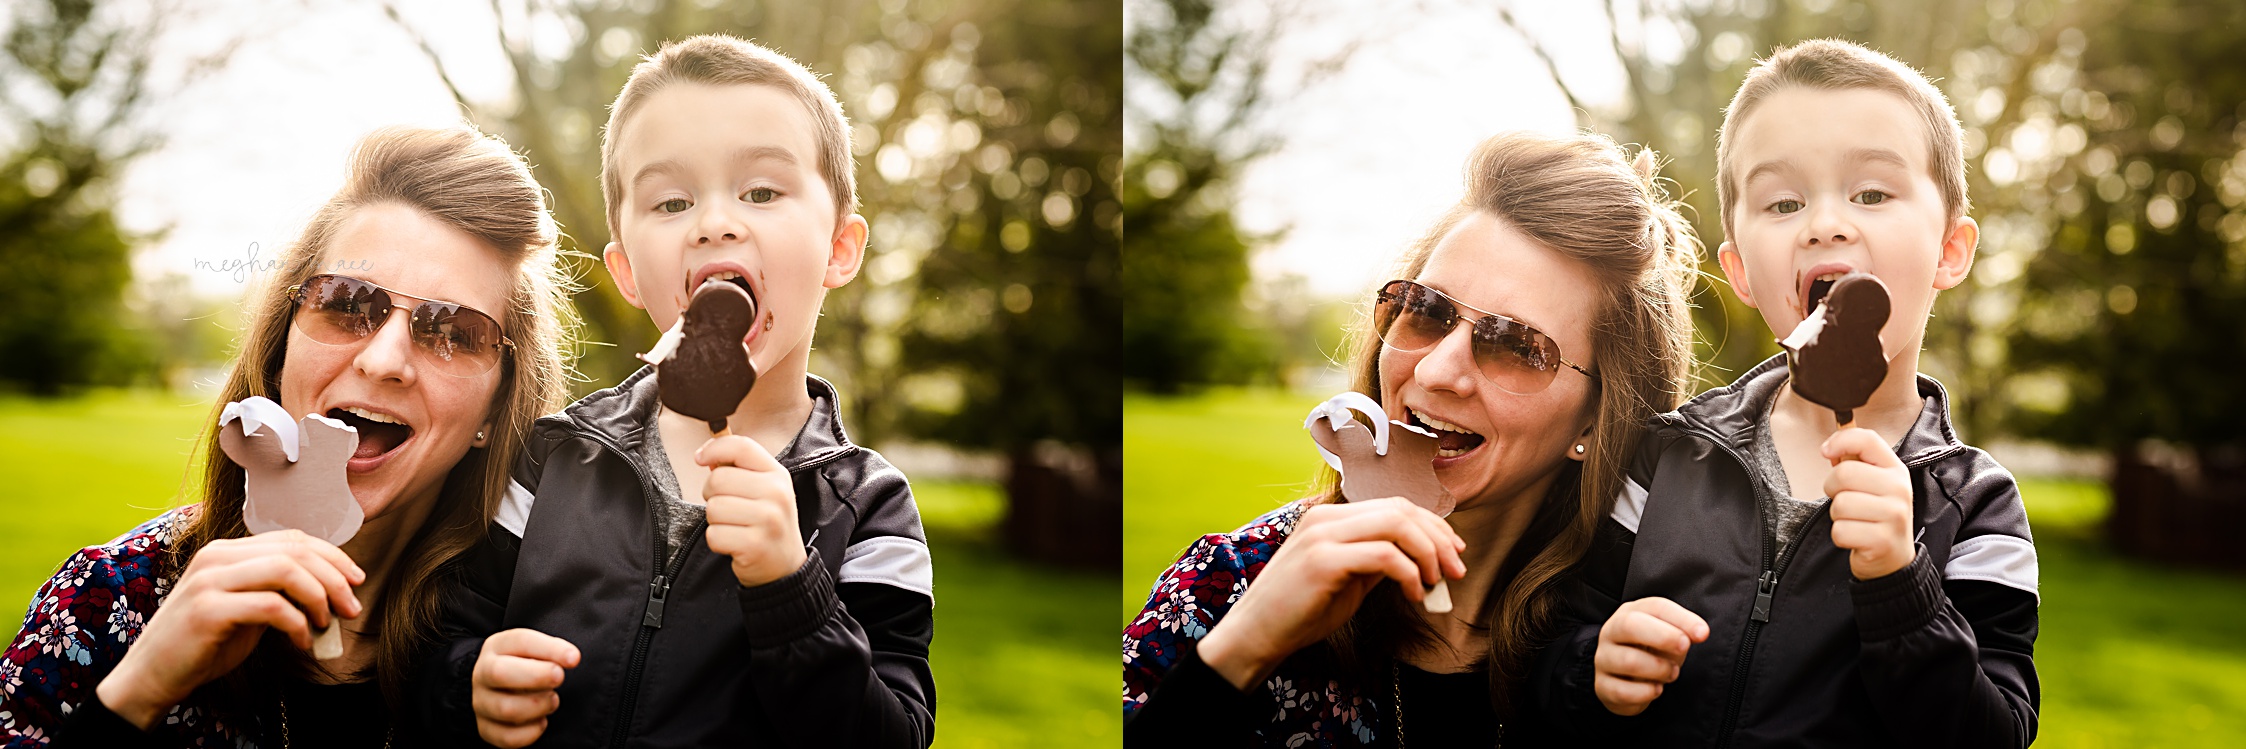
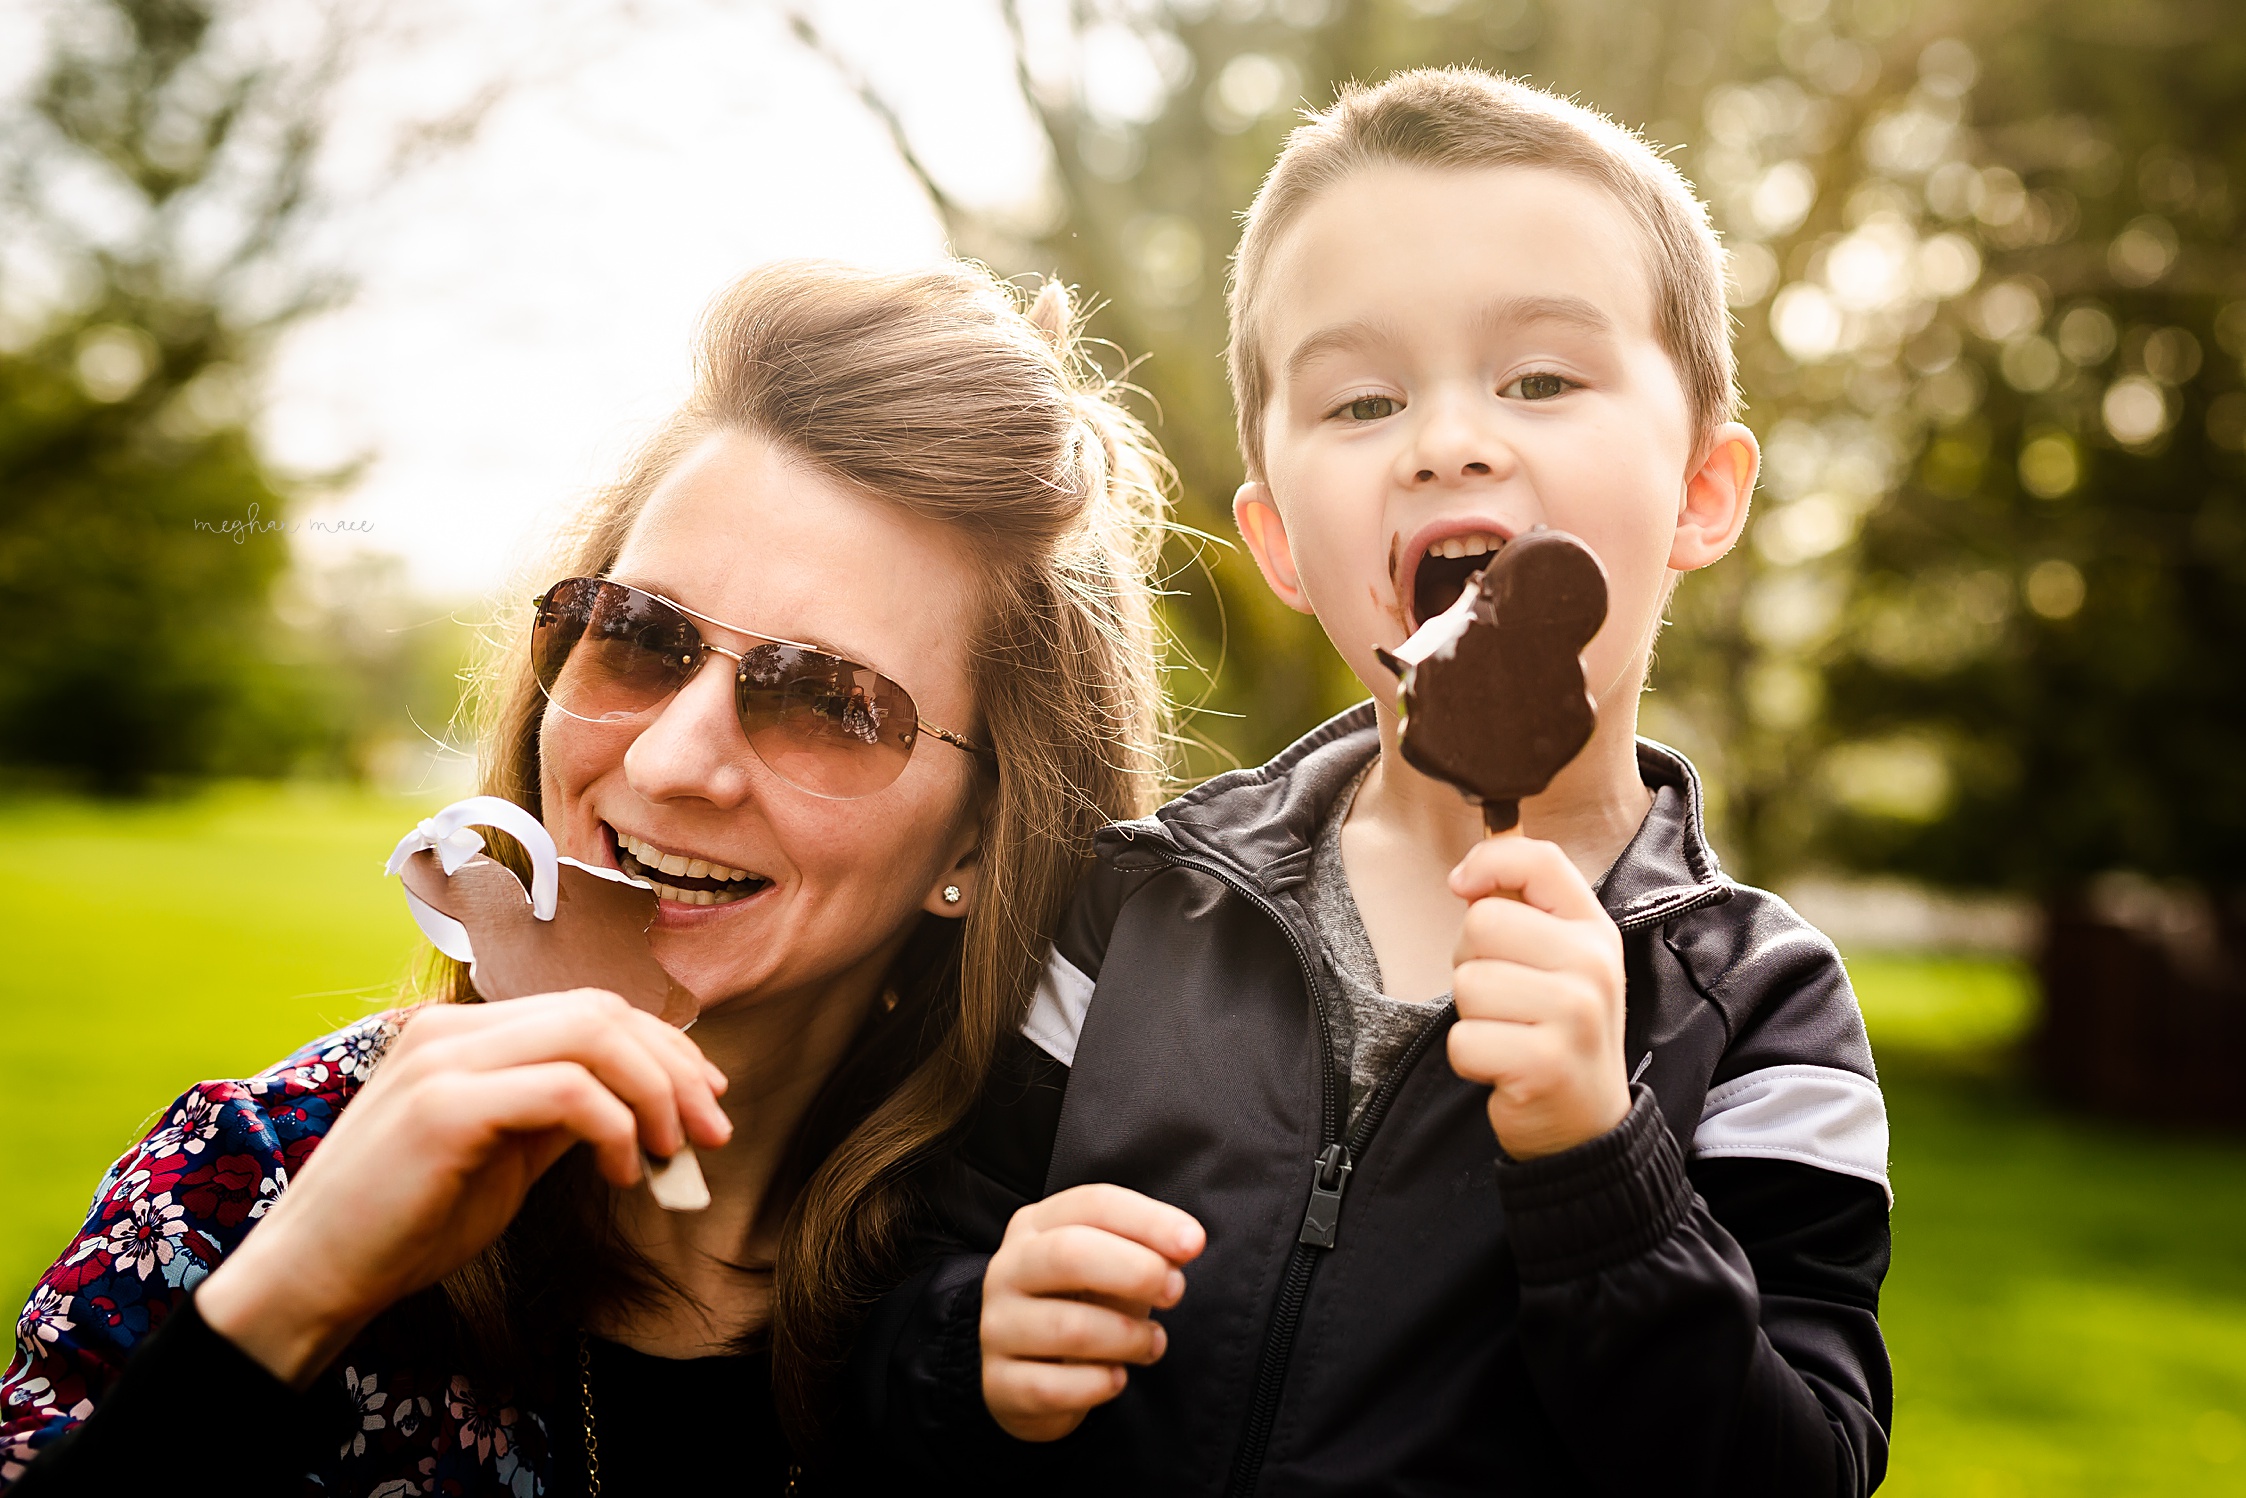
Be aware that Mickey Premium Bars melt FAST! The hot Florida sunshine is no match for the chocolate shell exterior. After you take a bite and crack the shell, the vanilla ice cream becomes very, very melty. The chocolate shell slowly starts to slide off as the vanilla ice cream drips away.
Your mission? Eat the chocolate shell as quickly as you can, saving as much vanilla ice cream as possible in the process. You’ll know you have succeeded by the lack of melted chocolate on your feet accompanied a cleanly licked ice cream stick.
There is a science to it my friends. A science. Act fast and if at first, you do not succeed, try, try again. Just give up.
Mickey Bar at Home
Not too long ago, the Disney company made some of our ‘Disney at Home’ dreams come true.
How did they do that exactly?
Well, they made the Mickey Premium Bar available at home! The release was in celebration of Mickey Mouse’s 90th birthday (he looks pretty darn good for his age, doesn’t he?). Pretty sure everyone was up for celebrating the main mouse’s annual celebration with a few frozen treats at home.
Yes, it is a slightly smaller, less chocolatey version of the Mickey Premium Bar found in the parks, but it is still delicious, nonetheless.
When the Mickey Premium Bar came out at home it took a while for all stores to carry it. Now it can be found at most major grocery retailers in the freezer section. There is no word on whether or not Disney will pull the frozen treats from stores, but at the time being, the treat sales continue to go strong.
Why Not Have a Mickey Premium Bar Around All the Time?
Completely agree over here. Having a Mickey Premium Bar around all the time sounds like the way to go.
Therefore, we created something in order to do just that.
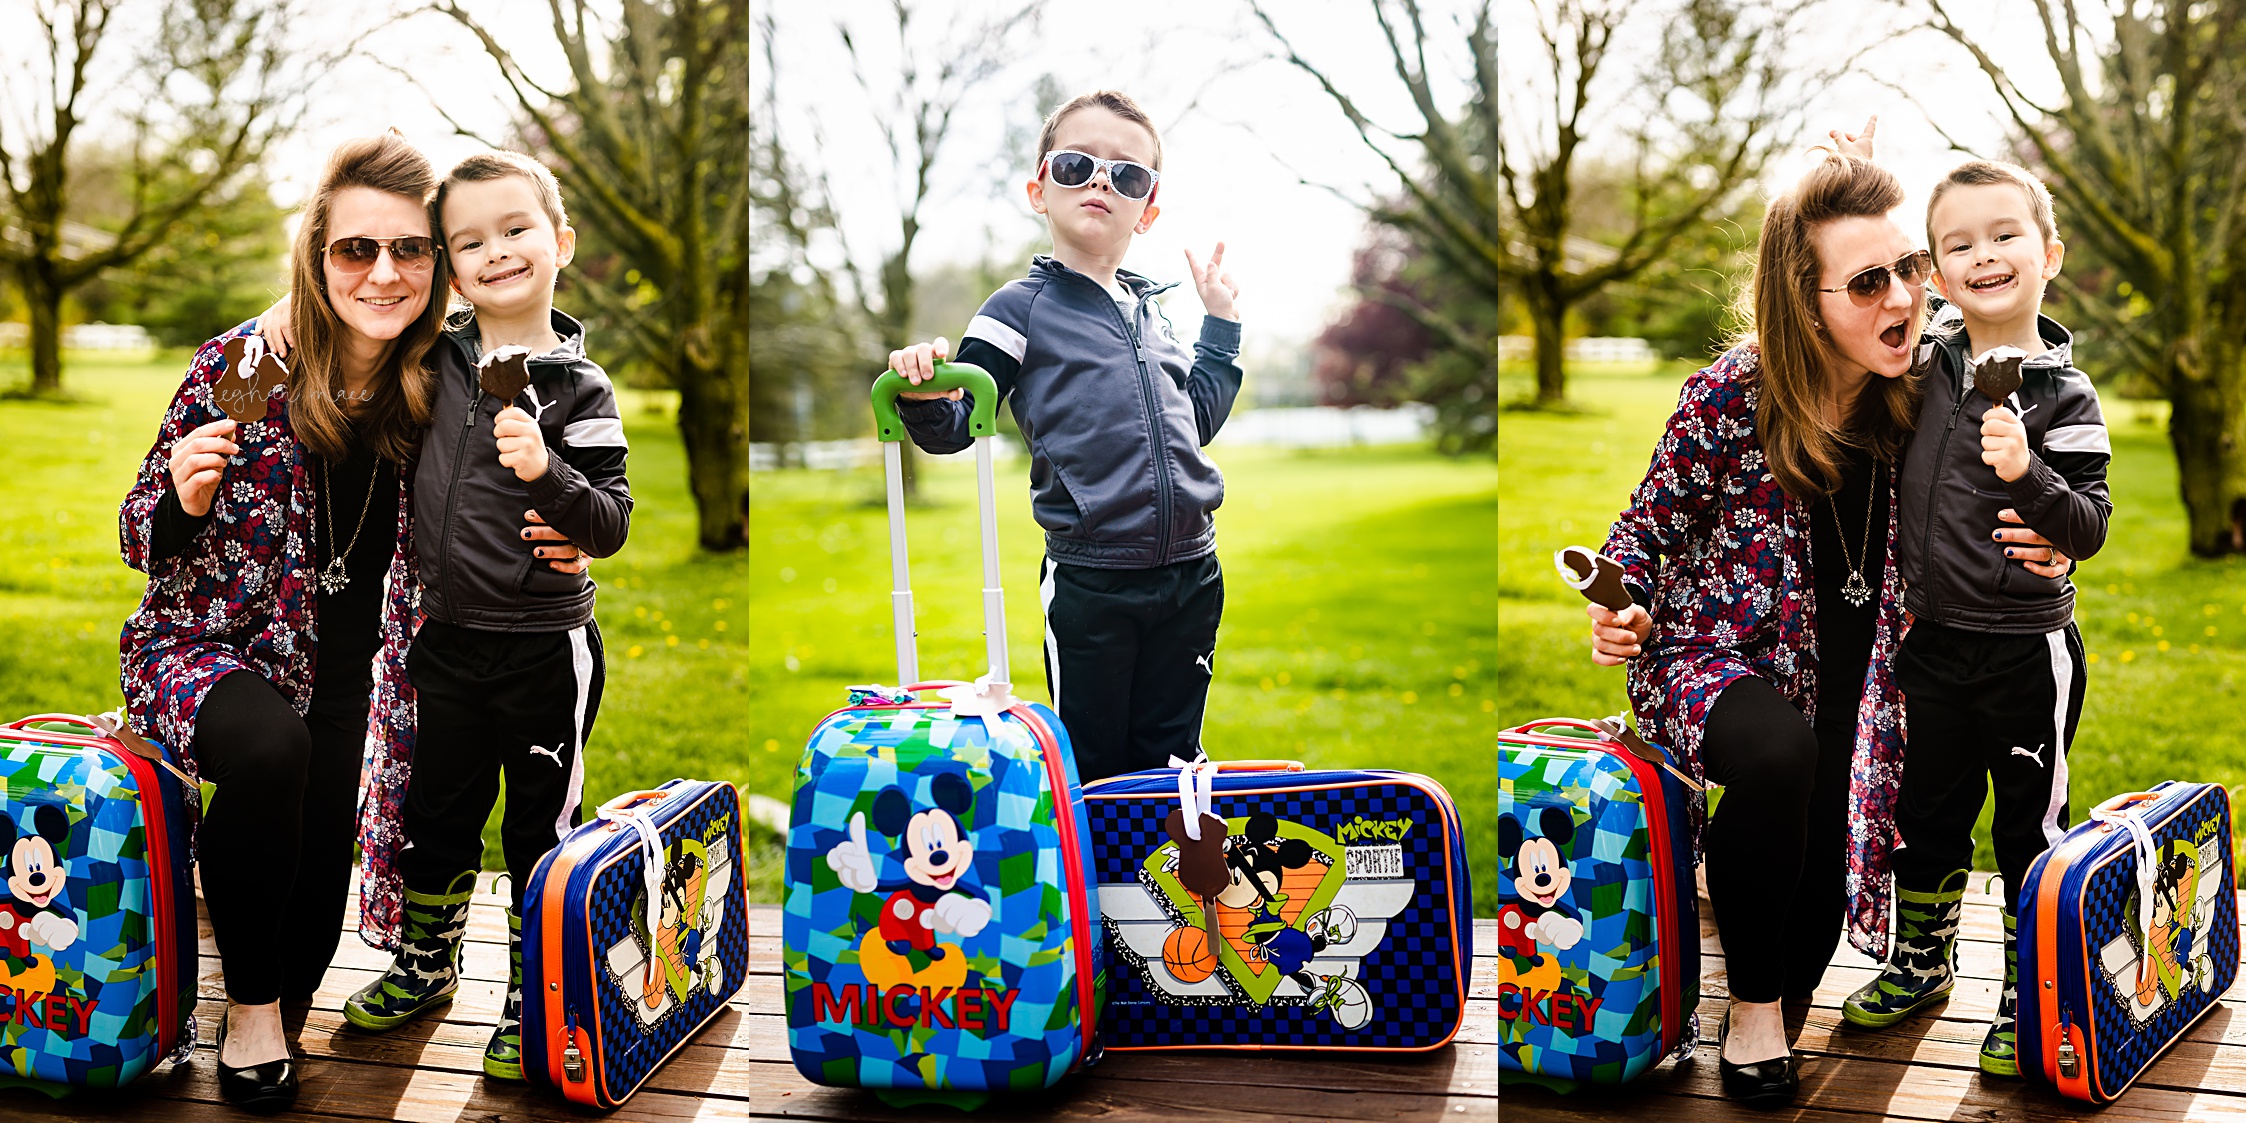
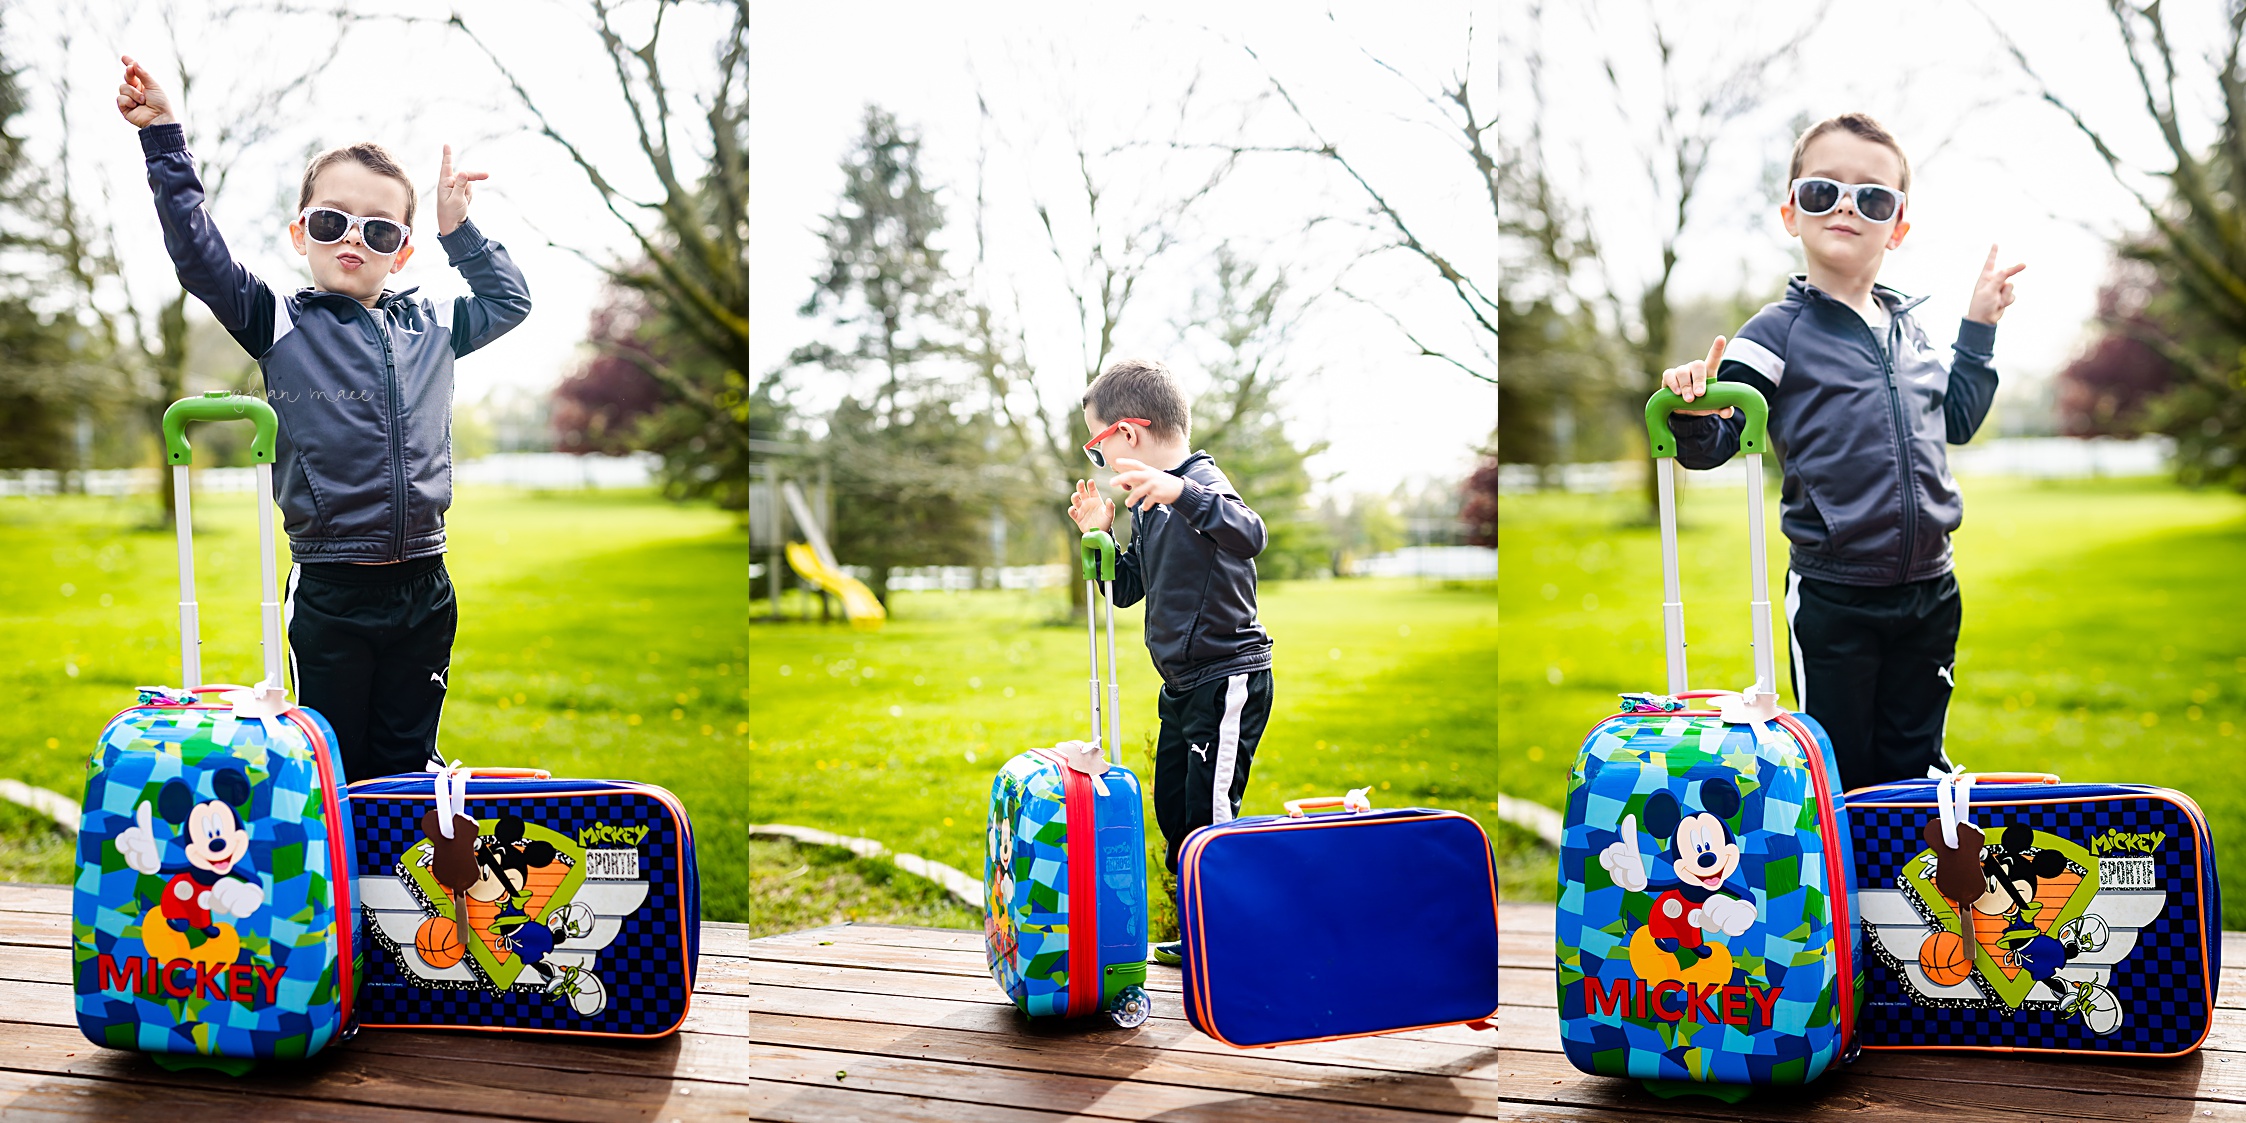
No, it’s not chocolatey or vanilla, nor is it frozen. It is however meltproof! Plus, it will add a nice touch to your Disney luggage should you plan to visit Walt Disney World in the near future.
There ya go! It’s a Mickey Premium Bar luggage tag! It’s easy to make and if you follow the step-by-step instructions below, you’ll have your own in no time.
How Do You Make a Mickey Premium Bar Luggage Tag?
Step One
First, print this PDF of the Mickey Premium Bar luggage tag template here. Alternatively, you could freehand the luggage tag in order to make it the size you want. If the template is too large for your liking, this could be an excellent alternative.
Step Two
Next, print out the template on paper that is thicker than computer paper. You want something that can hold up to some acrylic or crafts paints, but not so thick that you can’t cut it out. Then, cut the template out.
Step Three
After your template is cut, glue the template to a piece of hard cardstock. Or, if you don’t have cardstock handy, you could glue it to an empty cereal box. We used an empty falafel box and an empty macaroni box to get the job done.
The boxes are designed to create a solid foundation for your luggage tags. Therefore, make sure you don’t use anything too flimsy.

Step Four
Then, once the glue is dry and the template is solidly fixed to its backing, it’s time to break out the paint!
Grab your brown, white, and tan and get to work. Be sure to paint in the tan stick first. We used a combo of tan and gold to make things sparkly. Then, make sure the paint is nice and dry before moving onto the next color.
Step Five
After the Mickey Premium Bar stick is dry, it’s time to color the chocolate part of your Mickey bar. It might take two coats of brown to color in your Mickey bar. Therefore, give your bar time to dry between coats. This helps the color solidify and become darker.
Step Six
Finally, once the brown is dry, be sure to add just a touch of white to the top of your Mickey Premium Bar luggage tag. The white paint represents the ice cream, but you already knew that!
Step Seven
Now, the Mickey Premium Bar is pretty sturdy on its own. However, luggage tags usually take a beating. This is true whether or not it is going on an airplane ride or riding in the back of your car. To make the luggage tag even stronger, consider laminating it.
If you don’t have access to a laminator, check out this one on Amazon.

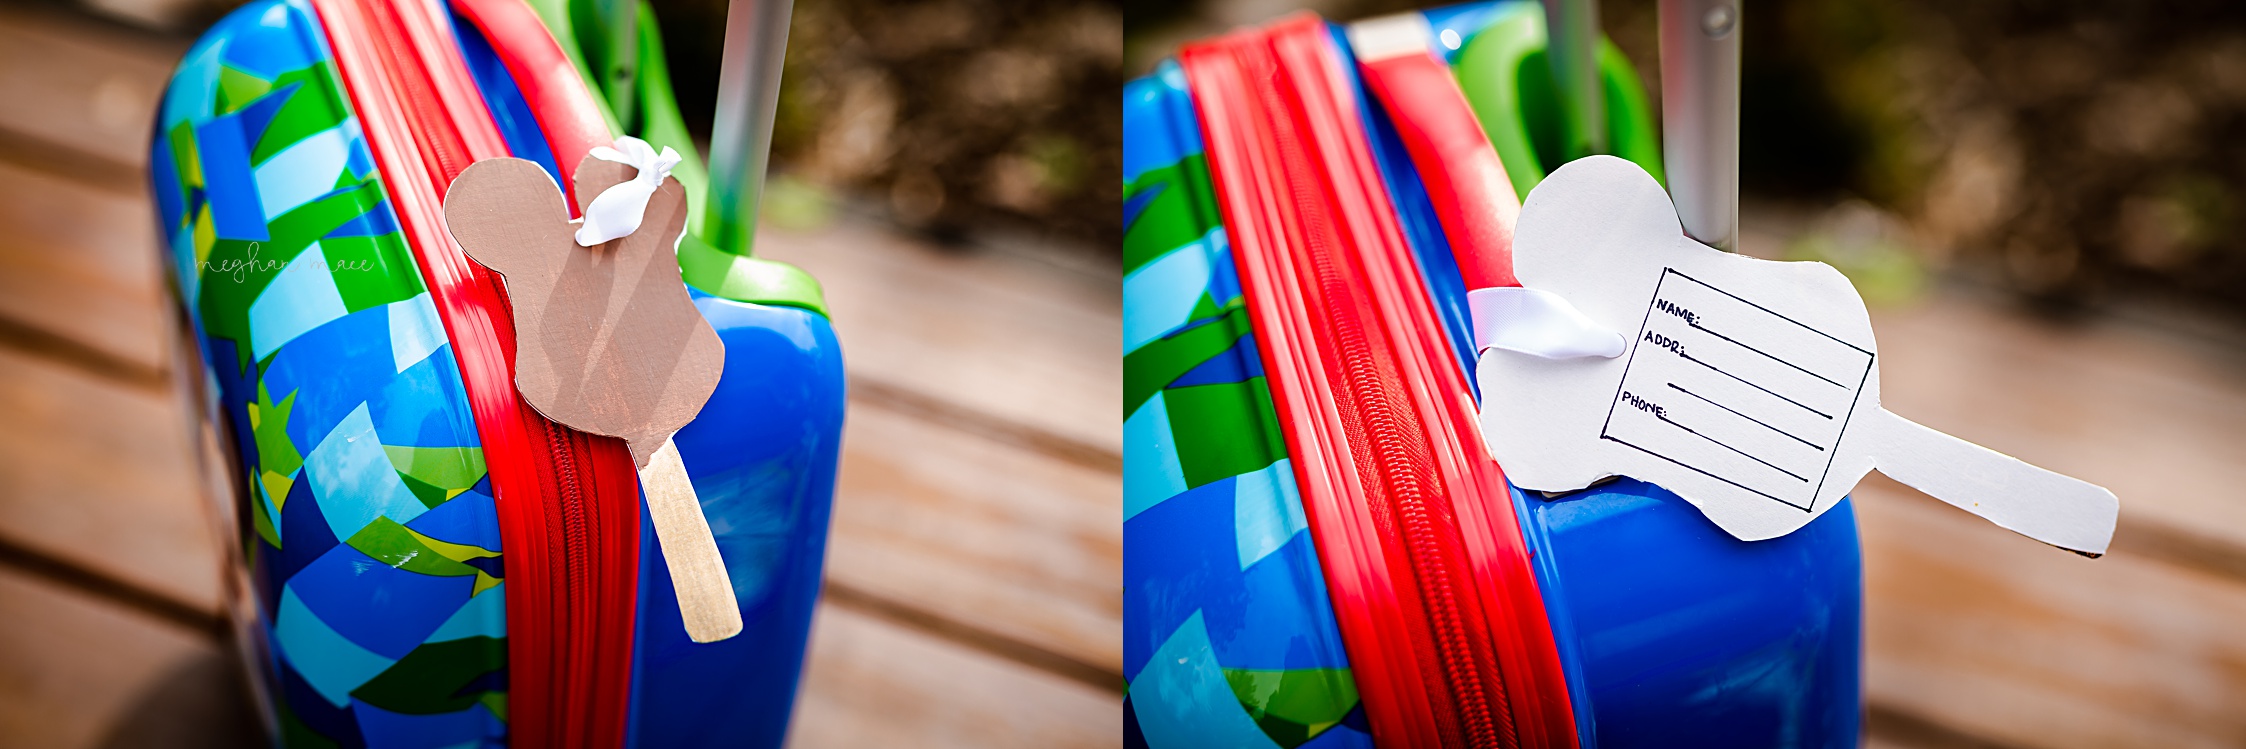
Finally, after lamination, punch a hole on the top of your luggage tag and stick a ribbon through the top. Finish the ribbon off with a nice tie and a bow.
Ta-da! Your Mickey Premium Bar luggage tag is complete! Woohoo!
If you missed the template, here is the link one more time:
Mickey Premium Bar Luggage Tag Template

Skills Necessary to Create a DIY Luggage Tag
As always, my OT heart wants to help make the creation of your luggage tag something that can help to improve a few of your little ones (or yours!) functional skills.
As luck would have it, this project has a bunch of fine motor skills, sensory, and executive functioning skills built right in!
Cutting Skills
First, by having your little one (again, or you ;)) cut out the luggage tag template, they will be working on their cutting skills. Be sure the thumb is pointed upwards when cutting and arms are tucked into their body. Often arms tend to fly out and look like wings when cutting activities are completed. It’s important to keep the arms tucked to add in extra stability when completing a cutting task. Beyond that, when arms are tucked, it encourages the paper to be rotated when a cutting task is completed. This is instead of your little one’s hand moving up and around the paper as they are cutting.
Sensory Exploration
Second, if your little one paints their luggage tag, they have a little built-in sensory exploration. Painting is messy and is a great way to explore different textures. We used acrylic paint on our luggage tags, but if you prefer washable paints, these Crayola ones are our favorite.

Executive Functioning
Last, if you have a kiddo who is able to write and knows (or is learning) his or her address, you’re in luck! If you draw a few lines on the back of your luggage tag you can provide a space for him or her to write his or her address. Allow your little one to place their name and try to judge how to space things out appropriately. There is planning involved in this task, along with visual-motor integration.
Win-win!
Conclusion to Mickey Premium Bar Luggage Tag DIY
There ya go! I hope you enjoy the details on how to make your own Mickey Premium Bar luggage tag. If you have any questions, be sure to leave a comment below.
In the meantime, if you’re looking for more ways to bring Disney treats into your life, be sure to check out the Bugs ‘n’ Grubs DIY recipe or the Mickey pretzel recipe. Neither, unfortunately, are luggage tags, but both are still lots of fun! The posts can be found right here and right here, respectively.
Be Sure to Follow Me on Facebook, Instagram, and Pinterest: @magicformiles